Just before Christmas, as the year was drawing to a close, I decided to escape the festivities by venturing to the Mogollon Rim. I had heard about this stunning Arizona landmark and realized it would be an ideal addition to my portfolio, especially during a low-traffic time of the year. Hiking Mogollon Rim was a mission to capture breathtaking landscape photography, experimenting with different times of the day and perfecting the right aperture. I also explored staged conceptual ideas, which you’ll discover as you continue reading this article.
Where Is the Mogollon Rim in Arizona?
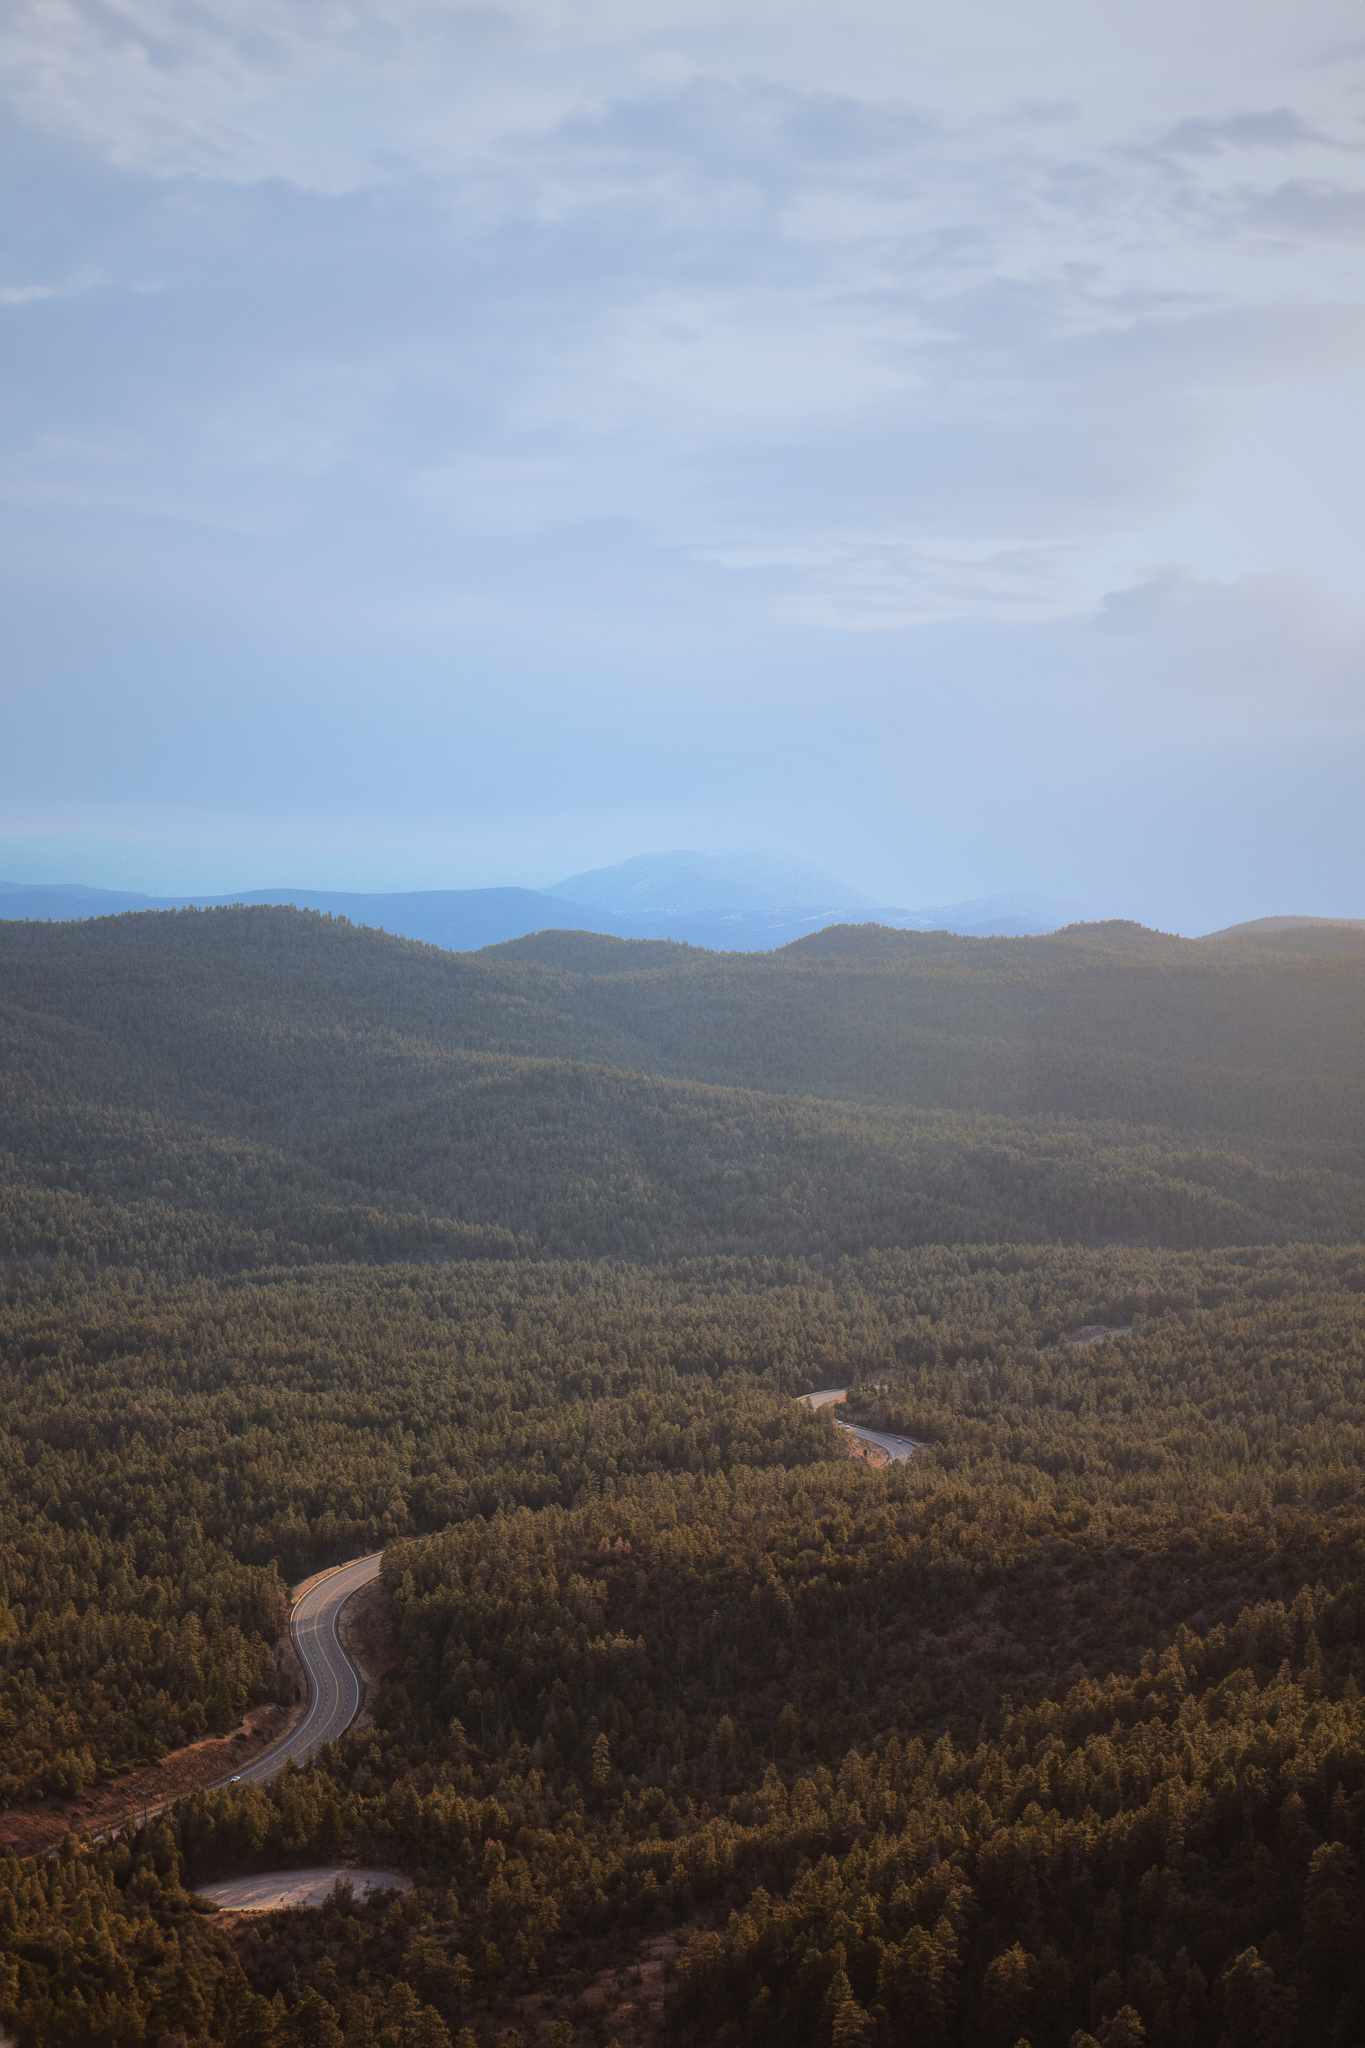
Extending approximately 200 miles from Flagstaff to the New Mexico border, the Mogollon Rim marks a dramatic transition from the Colorado Plateau to the White Mountains and the Sonoran Desert. During this trip, my main destinations were the Rim Road and Bear Canyon Lake. The Mogollon Rim, which can be visited year-round, reaches an elevation of 8,000 feet and is also known for its towering ponderosa pine forests.
Mogollon Rim Lakes and Trails
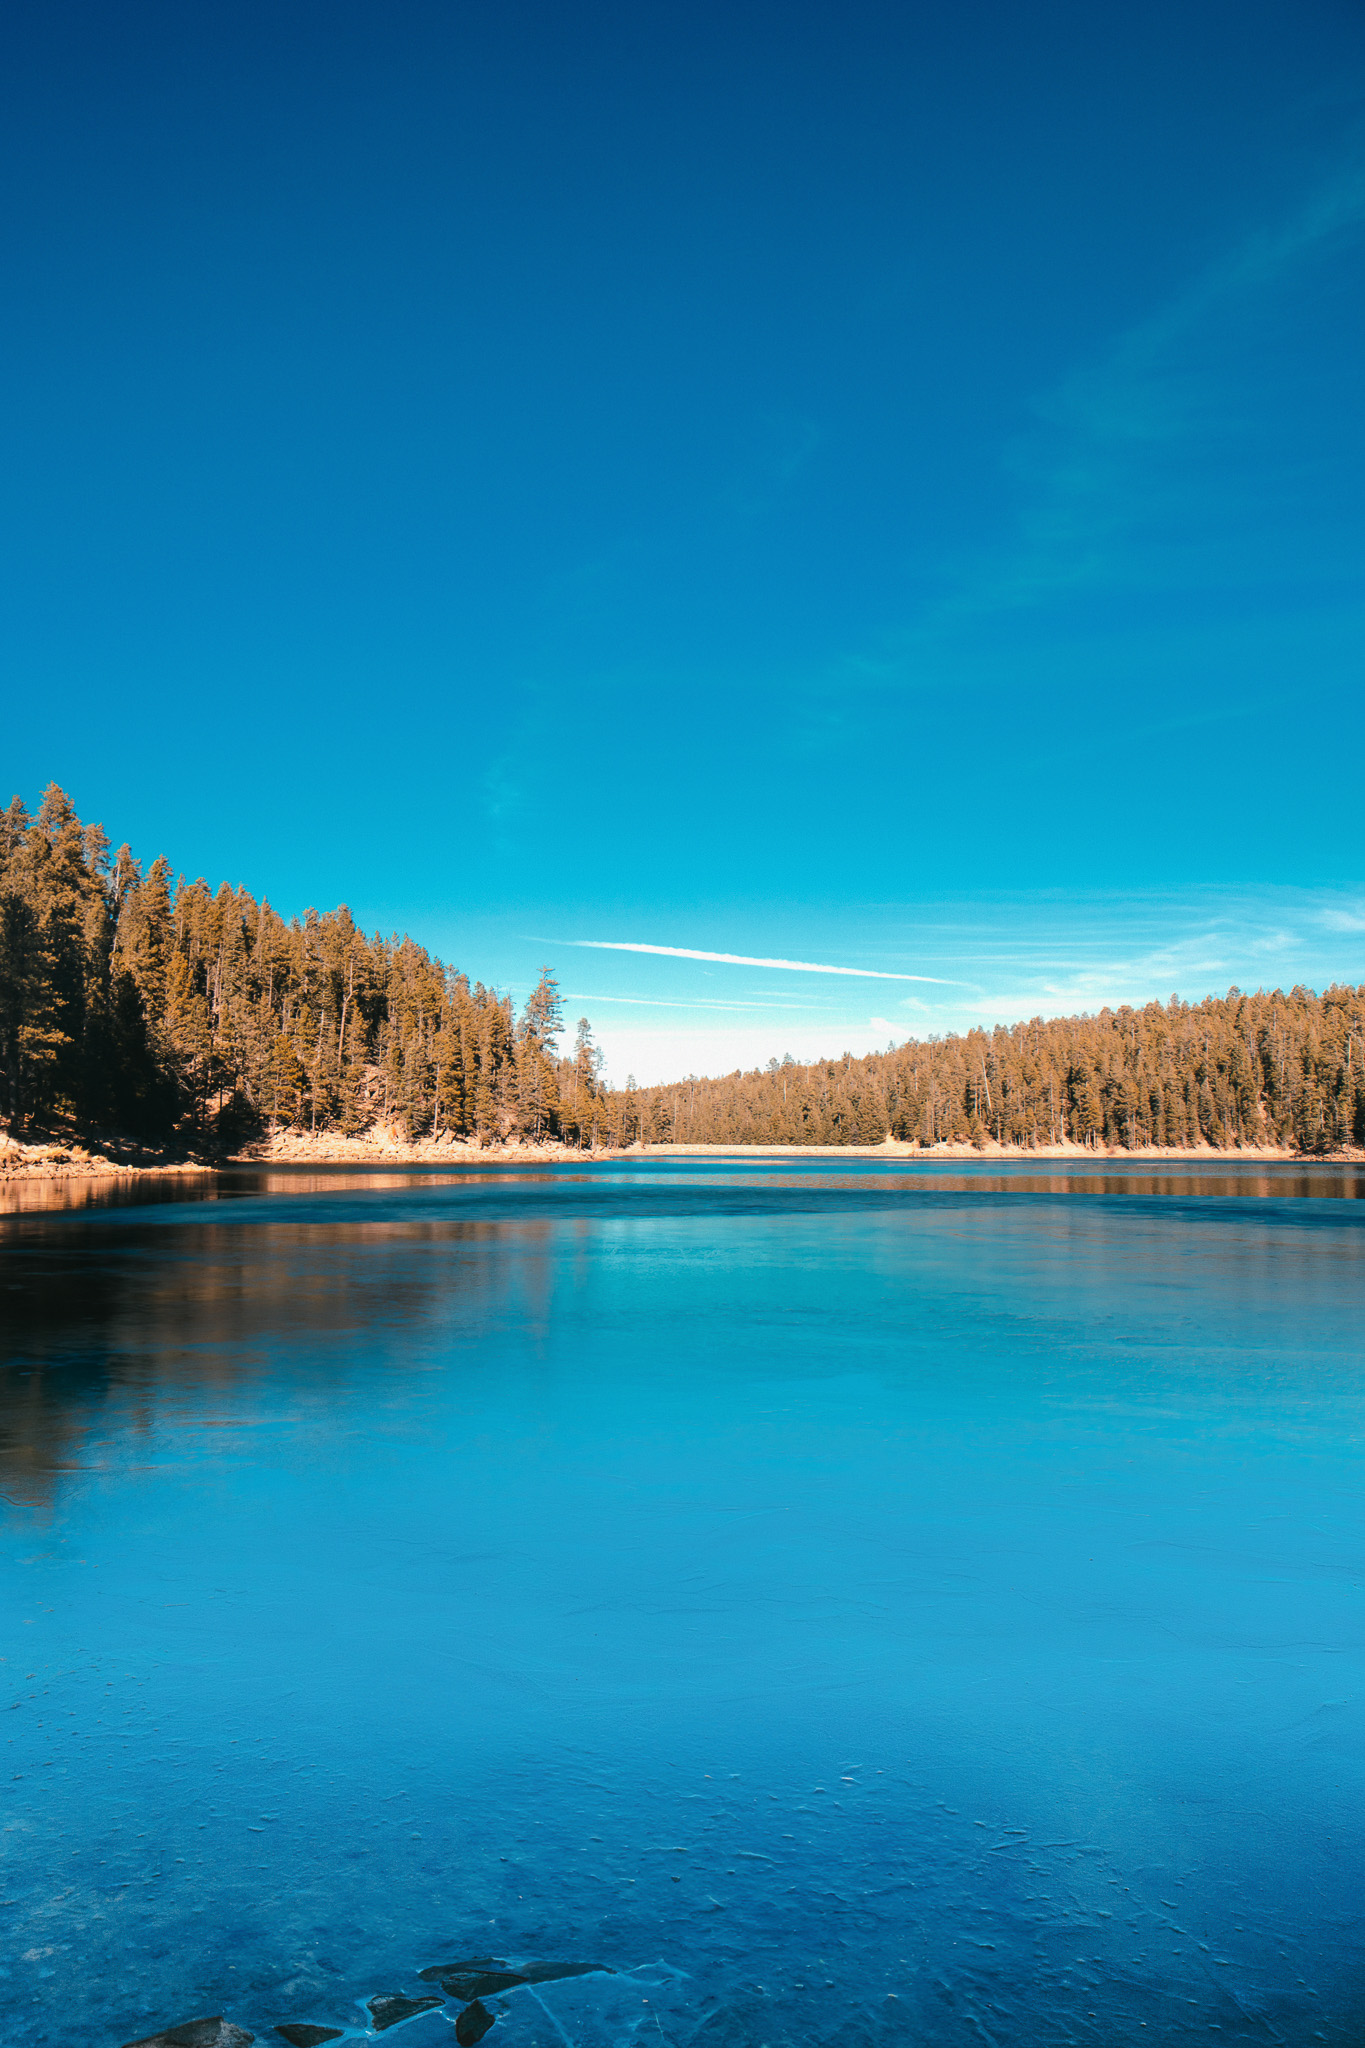
My Mogollon Rim hike started early in the day in the area around Bear Canyon Lake. I was surrounded by blue-iced water juxtaposed against a vibrant blue sky, which made the shots strikingly interesting and sleek. Christmas Eve meant I had the area almost entirely to myself, allowing me to pause at various viewpoints and experiment with compositions and different angles. Later, I ventured along Rim Road, discovering trails that led to incredible overlooks. I set up my camera and captured the vistas at different times throughout the afternoon, culminating in the golden hour.
Landscape Photography Tips for Mogollon Rim
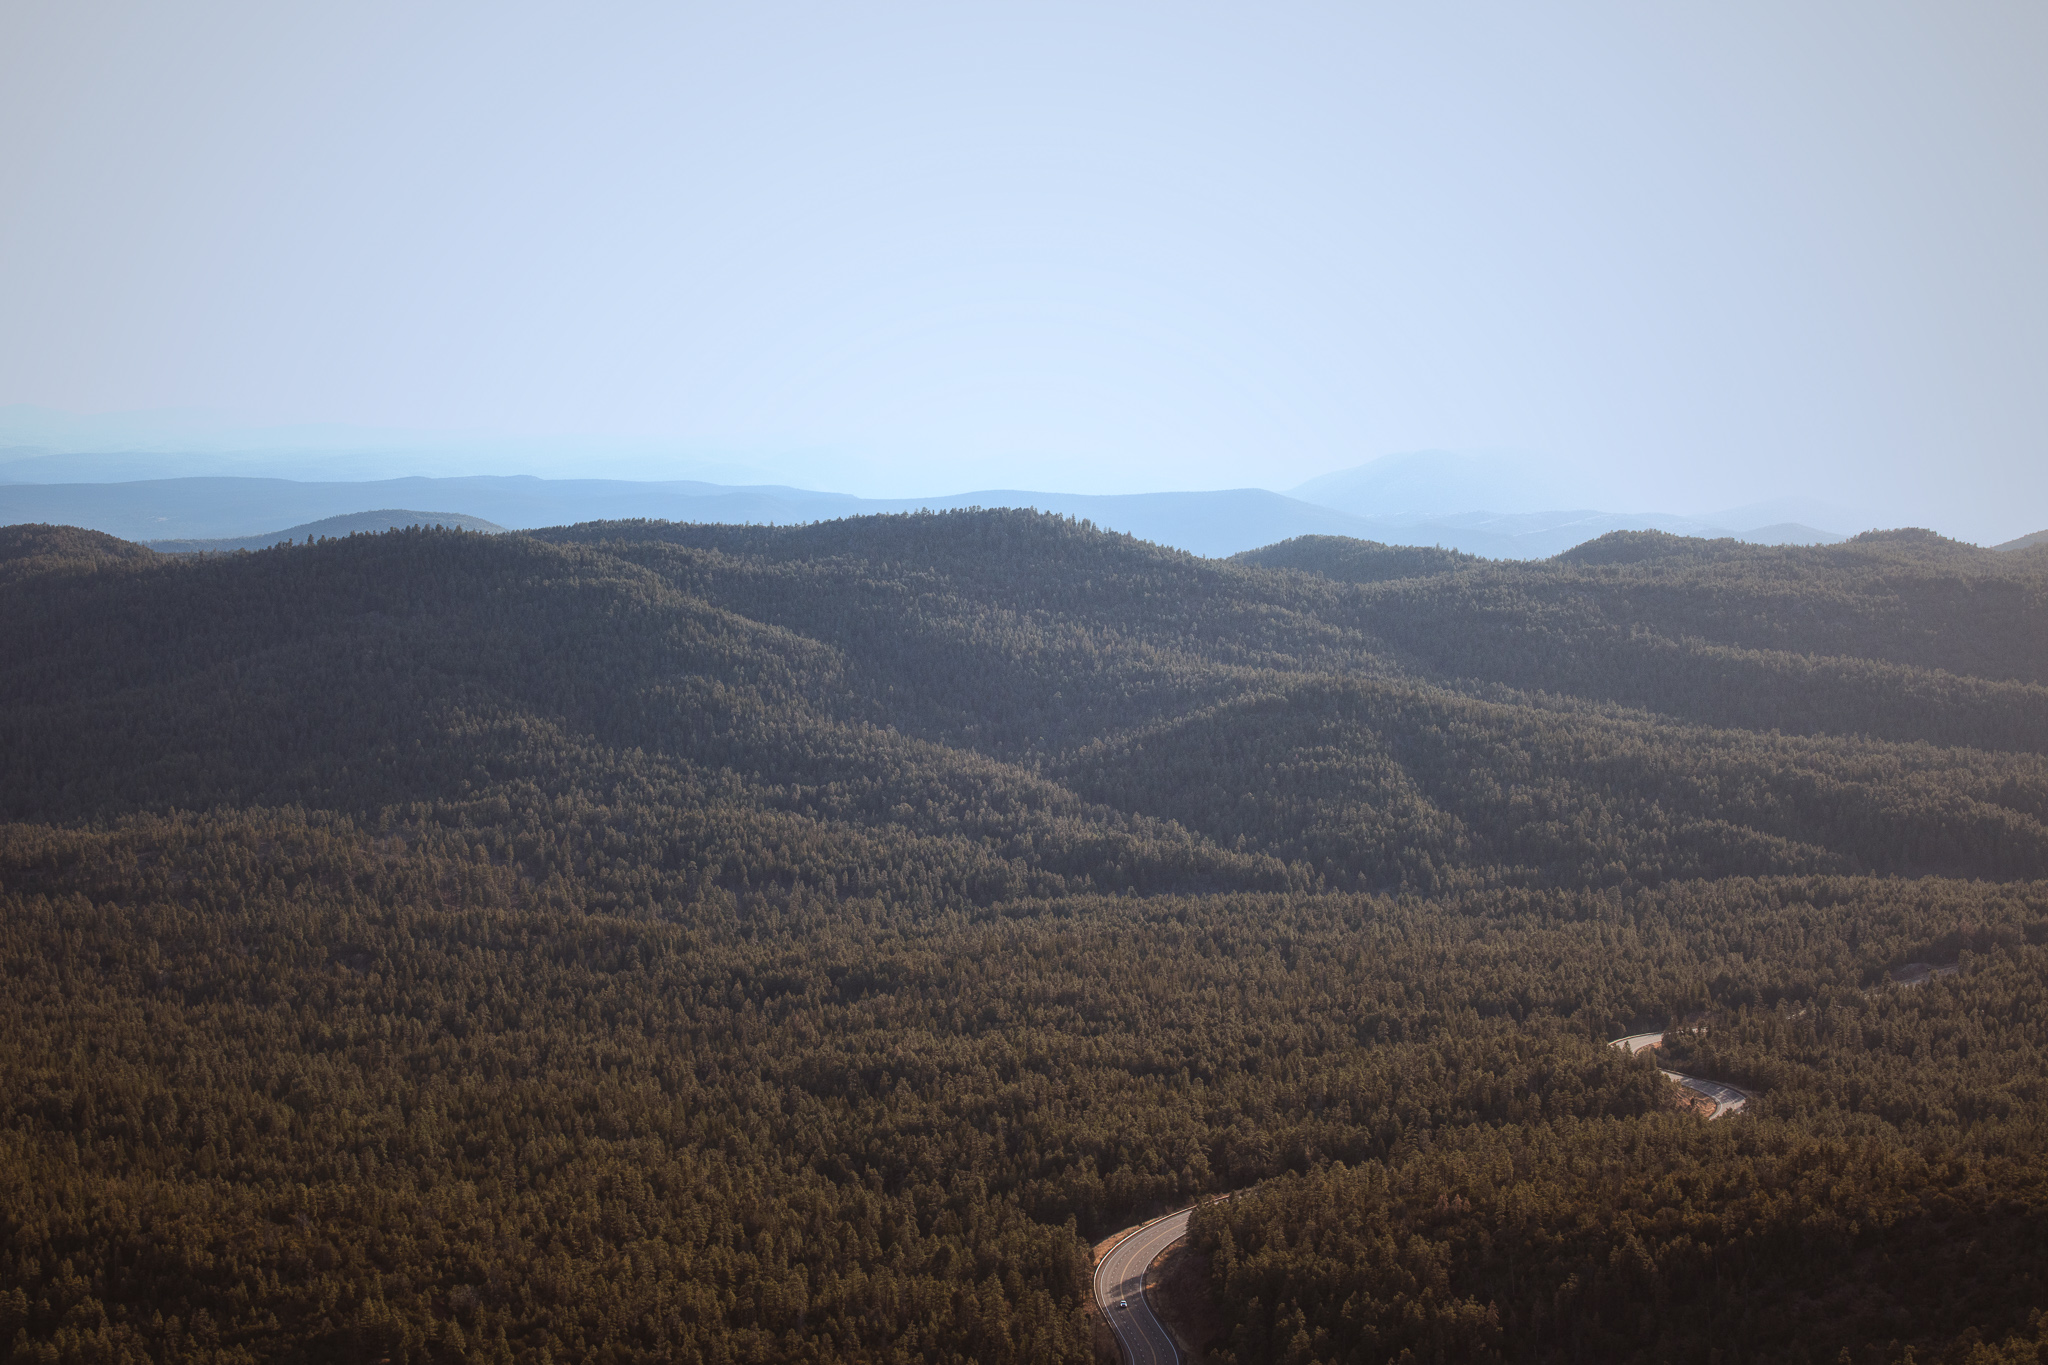
The changing light throughout the day demands versatility, especially at the Mogollon Rim and in outdoor, specifically landscape photography. Here are some tips that have worked for me and can help enhance your shots:
- Bright Day: Use a polarizing filter to reduce glare and experiment with shadows to add depth and texture to your photographs.
- Golden Hour: Focus on layers (e.g., foreground rocks, midground forest, and background distant mountains) to create depth. Always carry a tripod when shooting during golden hour to ensure sharpness, especially for long exposures.
- Scout Locations: Identify the best vantage points during your hike and visualize how the composition will look at different times of the day.
- Shoot in RAW: Always recommended, RAW files provide the flexibility needed in post-processing to balance highlights and shadows. This is particularly important for photos taken under harsh midday sunlight.
Ease At The Edge, How I Staged the Shot
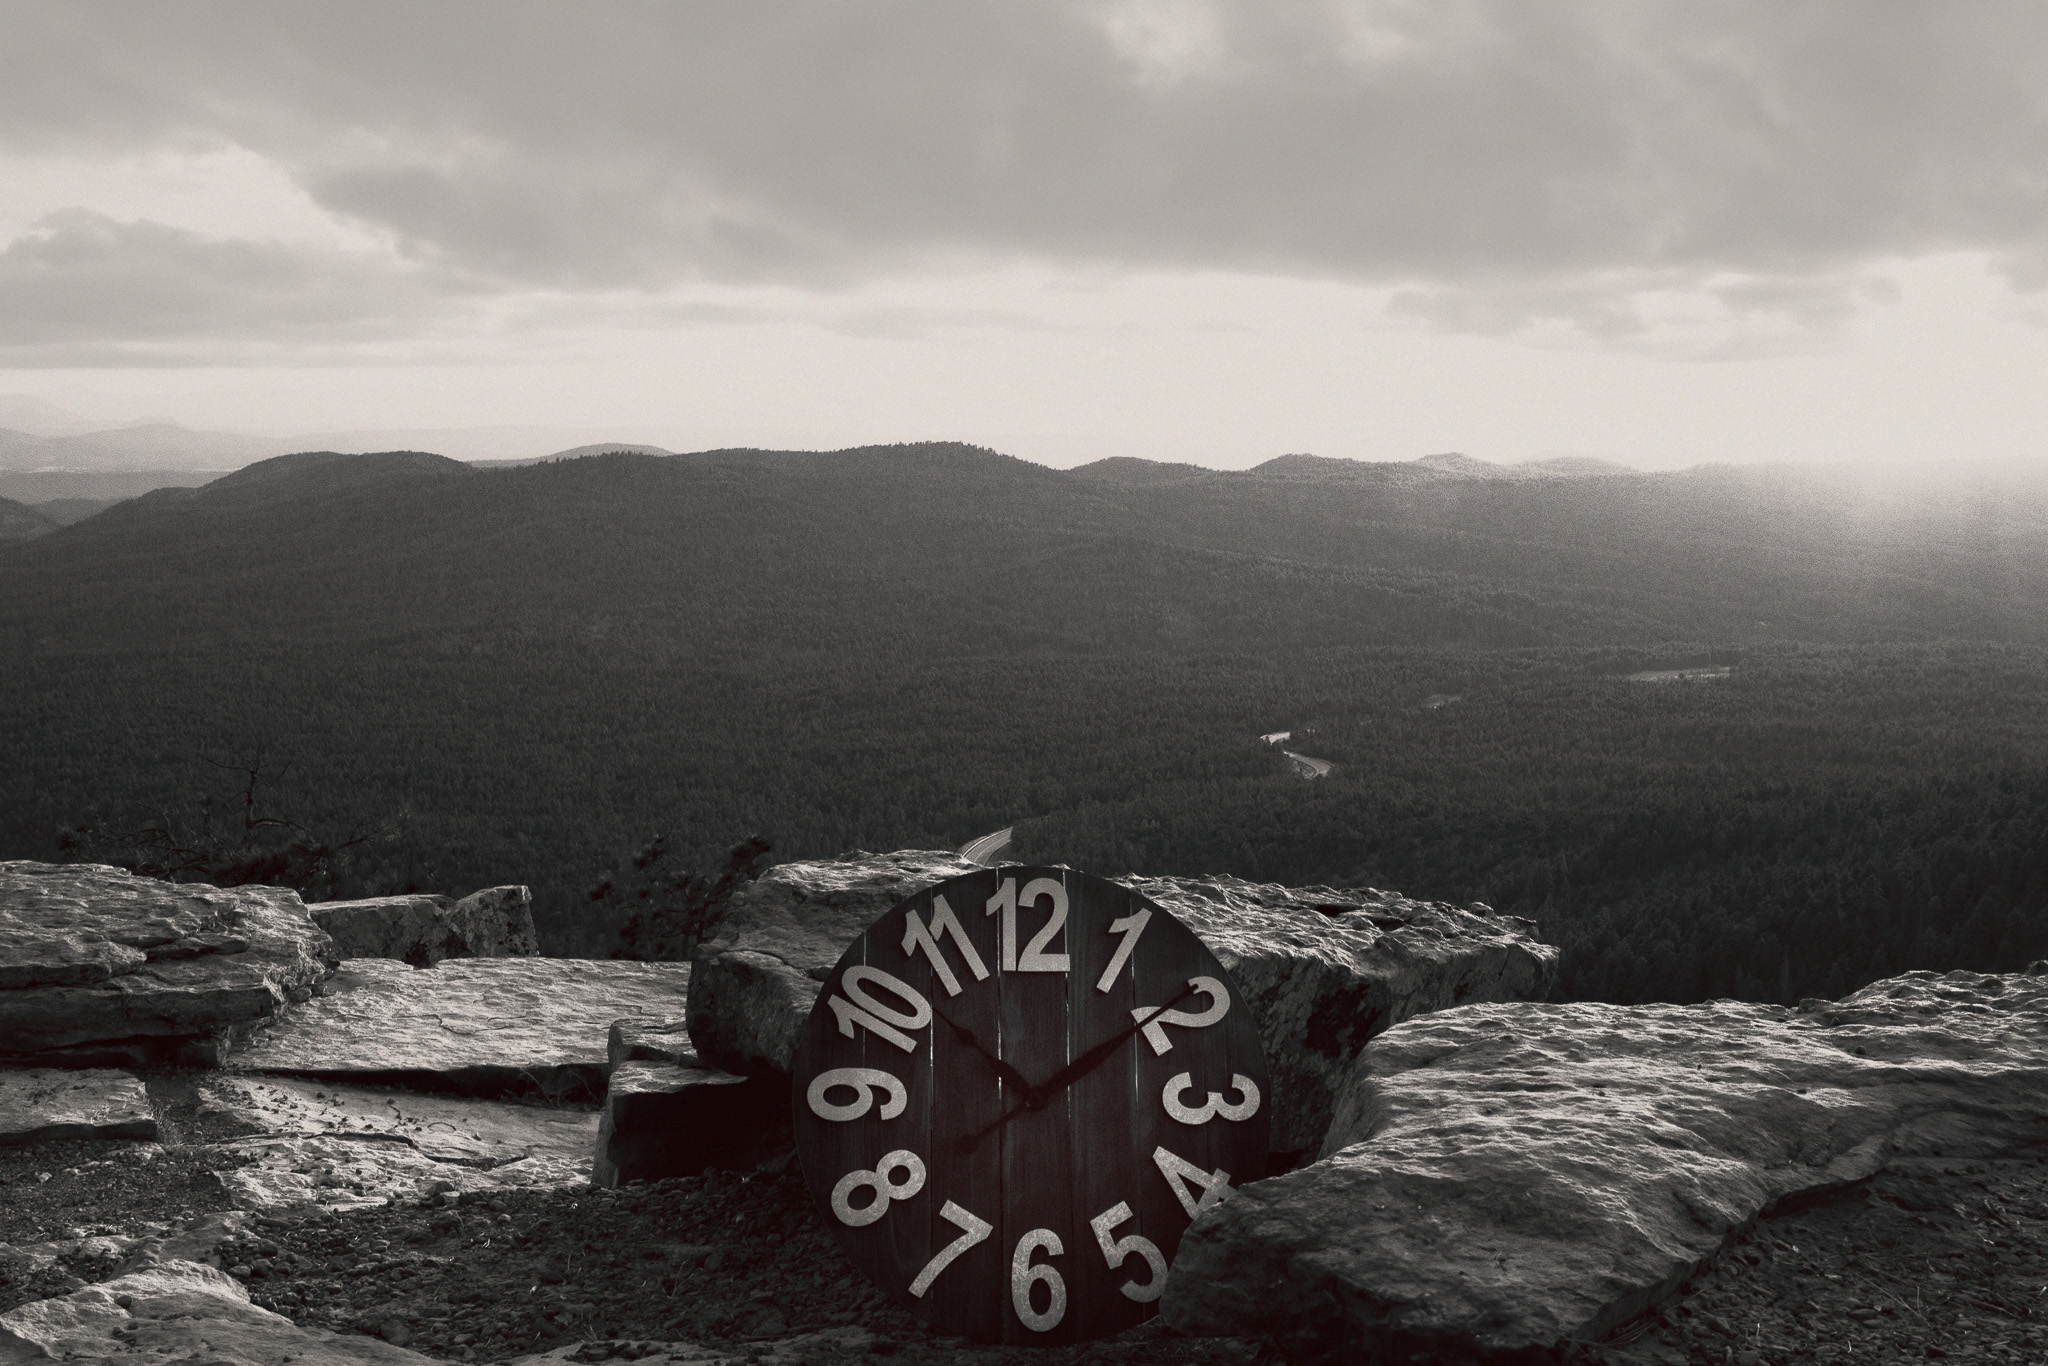
The night before departing for the Mogollon Rim, I was thinking about the views this trip was going to offer me. I imagined vast, untamed landscapes, which in my mind instantly translated to a sense of liberation; the contrast an artist feels to the pressure of conformity. I had the idea that if being on the edge of the Rim evokes risk, it also evokes freedom, creativity, and experiences beyond routine and formality. It took me a few hours that night to realize that the right prop to communicate such a feeling was a clock intentionally frozen at 10:10, a time often associated with symmetry and balance. Ease at the Edge represents the delicate equilibrium between adapting to our lives and society while remaining rooted in our true selves.
Planning Your Trip to the Mogollon Rim
The Mogollon Rim, aside from offering stunning vistas, provides a peaceful getaway and, for photographers, a chance to explore unique photo opportunities. If you’re planning to visit the Rim, consider going during the off-season when the lack of crowds allows you the space to explore at your own pace and create dreamlike compositions. If you’re visiting in the winter, be sure to check the weather forecast, as temperatures can get quite chilly. Lastly, plan accordingly, as the main Forest Road 300 may be closed or require a high-clearance vehicle.
With scenic thoughts,
Sal




Leave a Reply