Whether you’re focusing on product photography, professional headshots, or any studio related sessions, the enclosed spaces of indoor shoots demand precise camera settings for achieving optimal results. Given my experience in shooting within a studio environment, I’m going to share the best tips and tricks that will significantly enhance your photography outcomes. Mastering the art of indoor camera settings proves to be a rewarding pursuit.
ISO Mastery
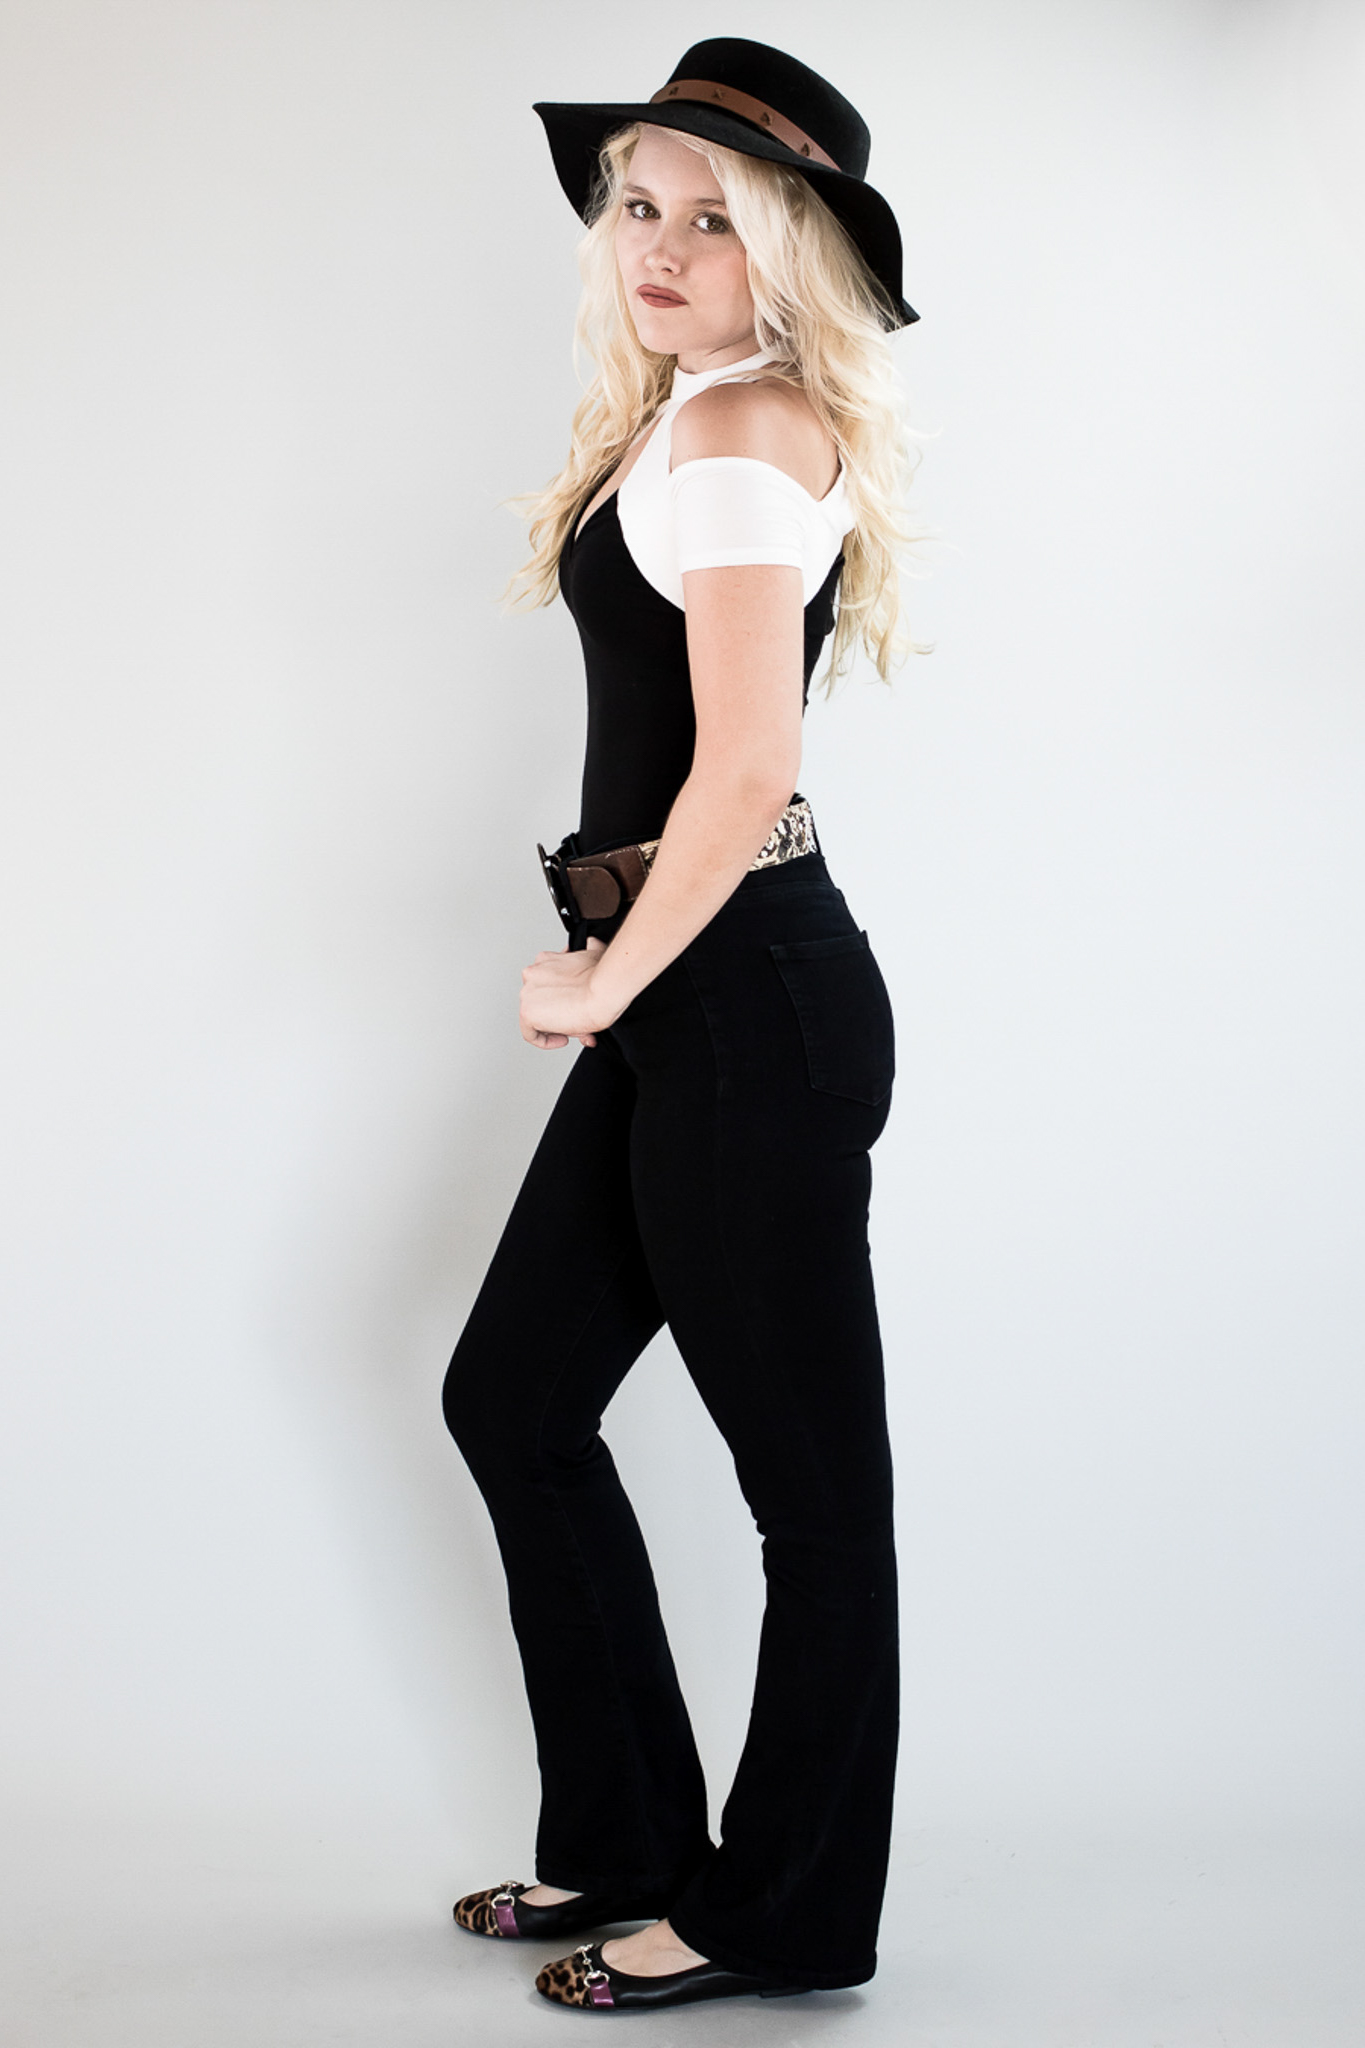
During indoor photoshoots, my goal is to keep the ISO 400 or lower. This practice minimizes noise and ensures optimal image quality. Because modern cameras are capable of handling higher ISOs, maintaining a bit of flexibility won’t hurt. However, if you strive to capture your image with maximum sharpness and detail, I recommend adhering to my tip: do not exceed an ISO of 400.
Tripods
When setting a low ISO, you might need to use a slow shutter speed to achieve the correct exposure. In such cases, a tripod comes in handy. A stable tripod is essential to ensure stability and avoiding blurring when using a slow shutter speed, which can be highly sensitive to shaky hands. The stability allows for long exposures, keeping images crisp and clear, especially in challenging low light conditions.
RAW Power
Setting your camera to RAW is a must to achieve maximum potential. RAW files offer more freedom compared to JPEGs in terms of fine tuning contrasts, colors, and correcting any mishaps during post processing. It’s very important to remember that the RAW file needs to be on point right from the start. Once you’ve nailed it, the editing software should only be utilized to refine and enhance an already excellent photograph.
Manual Settings
Opt for manual shooting to prioritize clarity. By precisely adjusting the shutter speed, aperture, and ISO, you can achieve crisp and clear images while minimizing noise. This approach not only ensures clarity but also grants you flexibility to craft the desired effect and mood in your photographs.
External Flashes and More
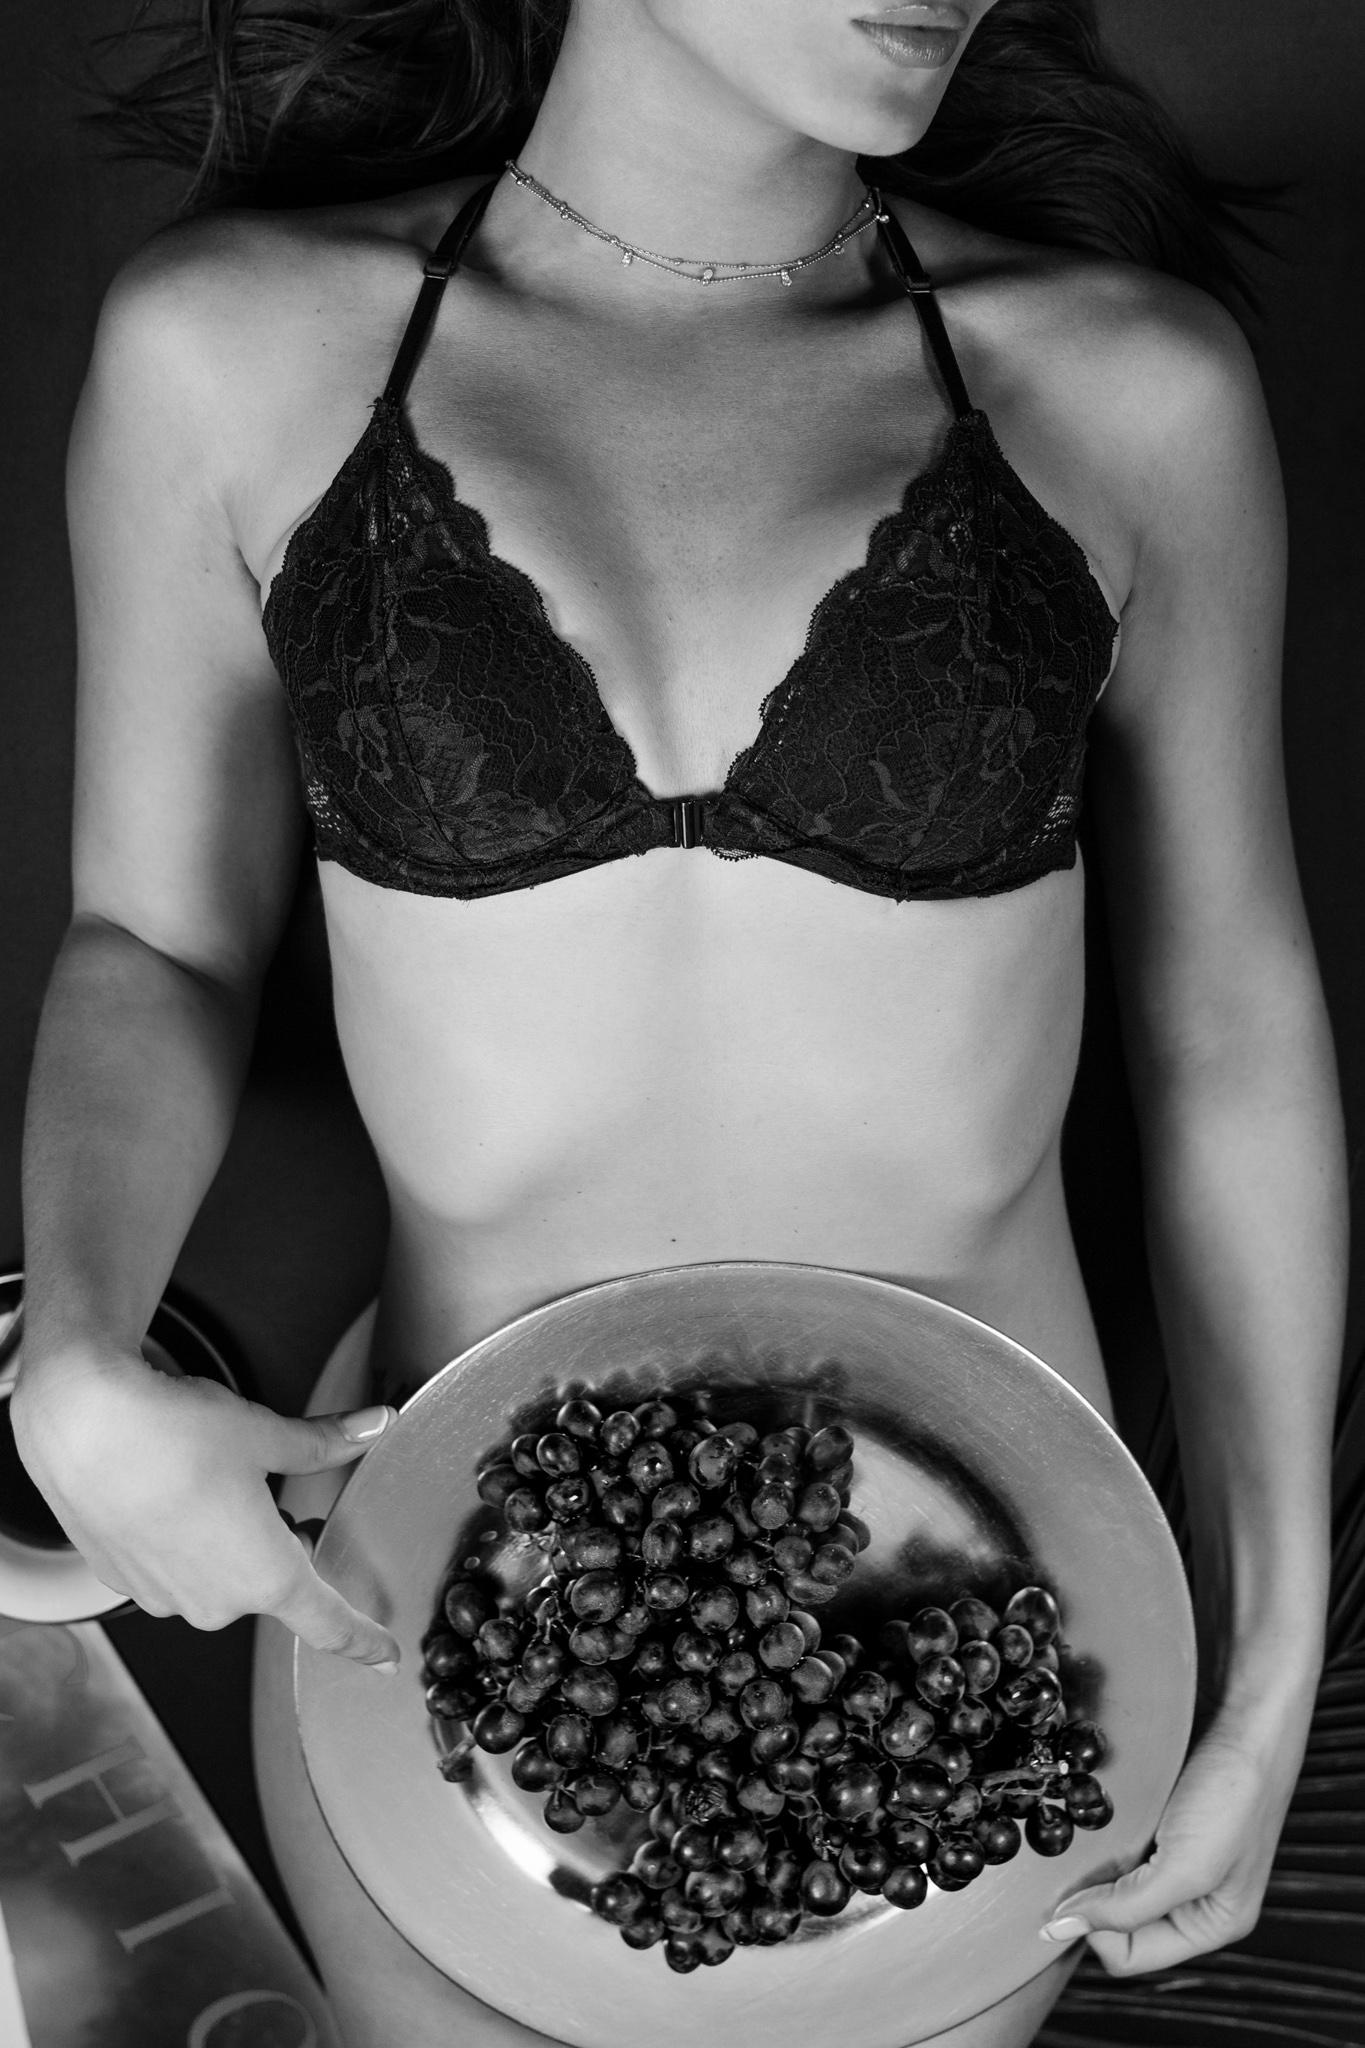
Consider including having an external flash in your arsenal, aiding in light control. In some situation, it allows you to experiment with exposure, white balance, and focus.
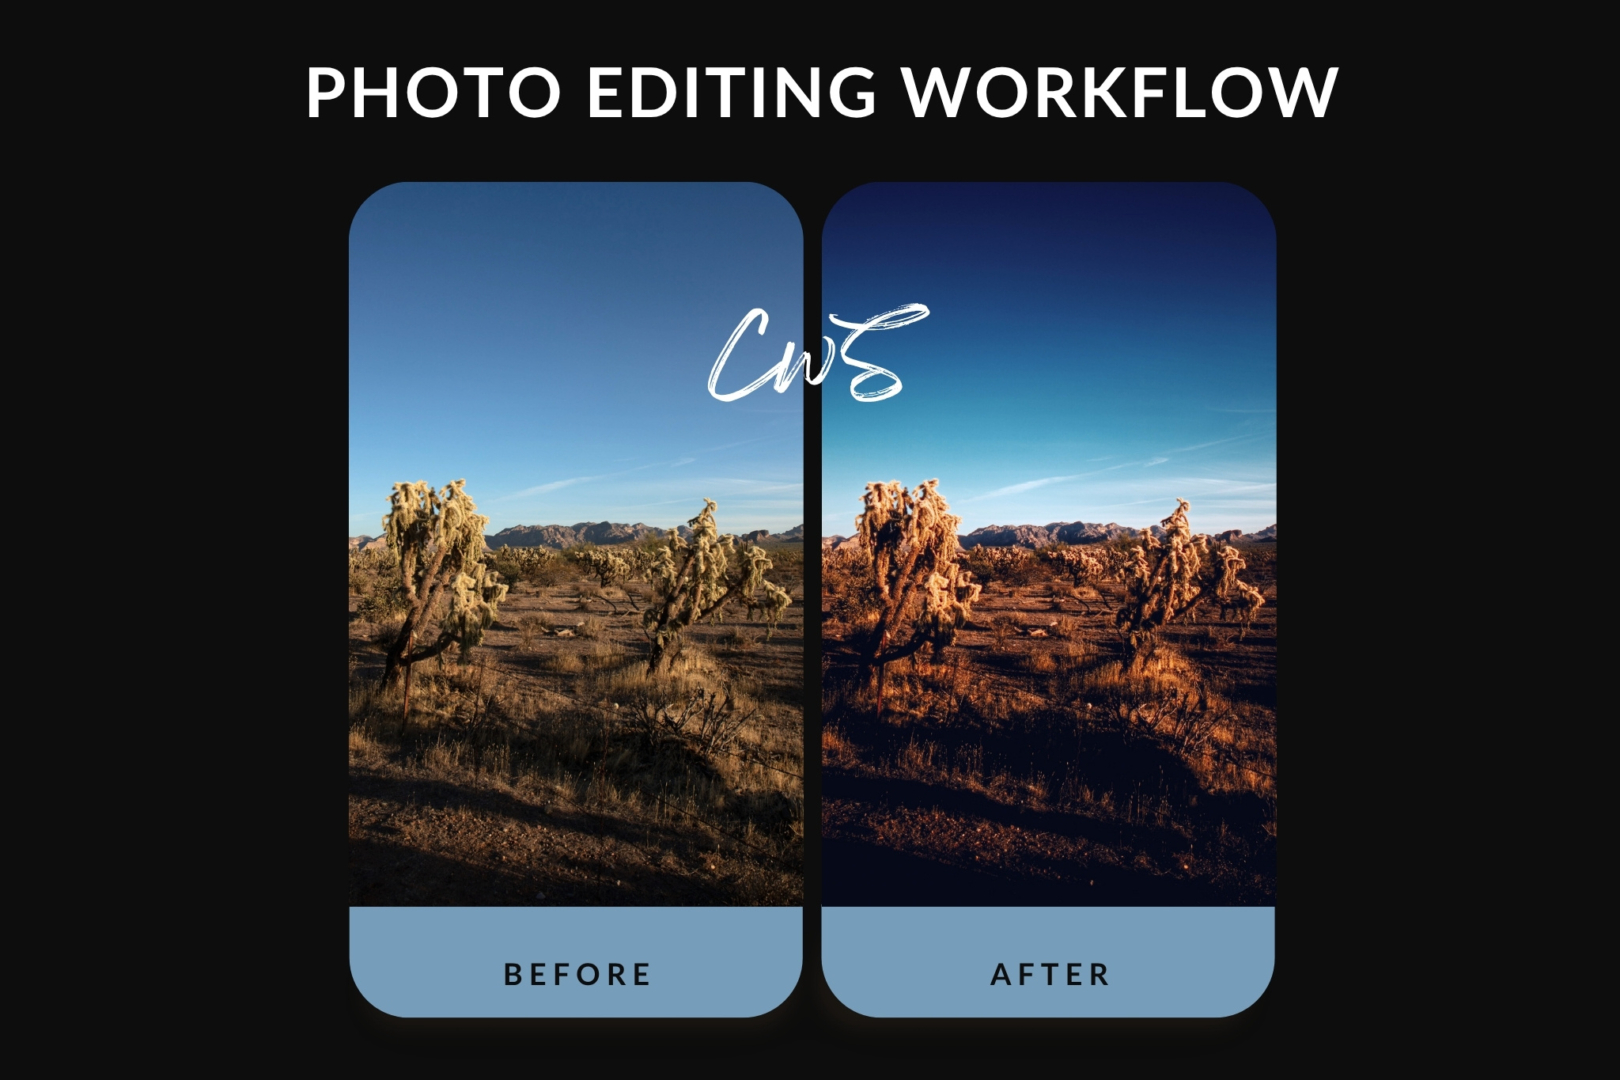
Learn also how to use post processing software in combination with your style and to your advantage, and it will work wonders. You can fine tune colors, tones, and correct minor anomalies, enabling you to add a final touch. By mastering these tips and tricks, you’ll be well on the way to controlling and optimizing your indoor photography settings.






Leave a Reply