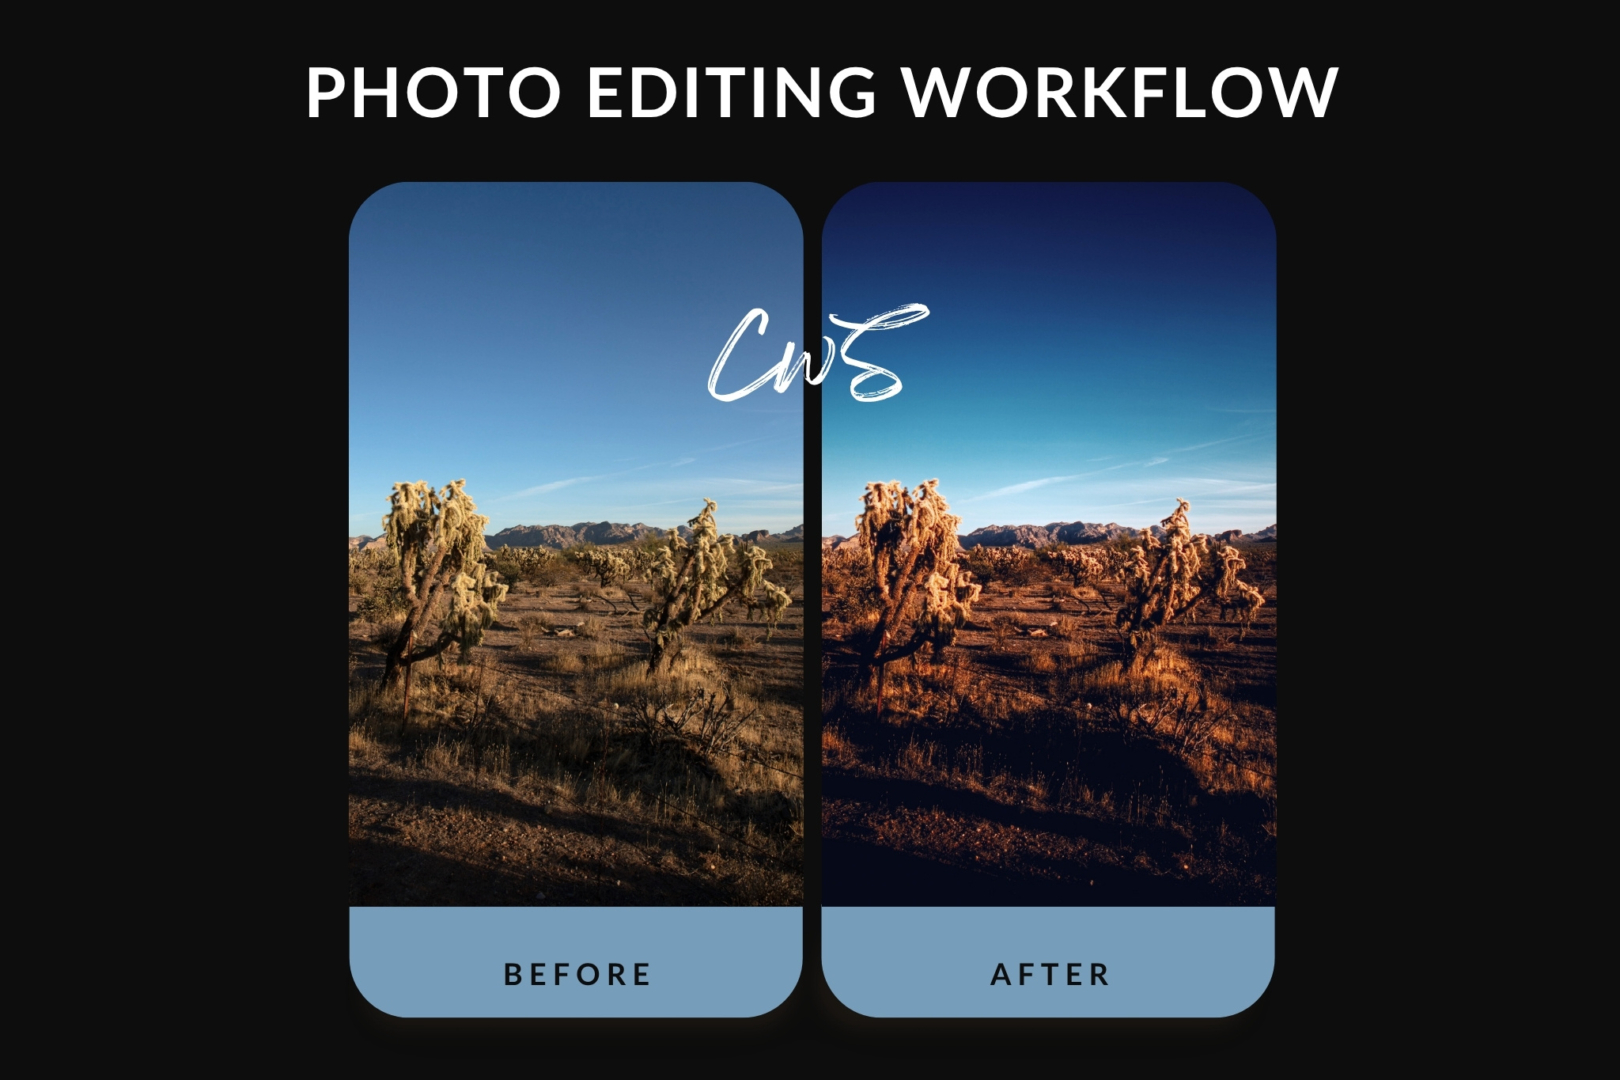
If you often find yourself staring at the screen, wondering how to take your photos from pretty good to truly eye-catching, you’re in the right place. I’m about to break down my photo editing workflow, a process I’ve refined over the years into a consistent system that brings out the mood and style I aim for in every shot. Developing a reliable editing workflow isn’t just helpful; it’s essential for creating a distinctive and professional look in your photography. Here’s how I do it, step by step.
It Starts In-Camera: Shoot RAW
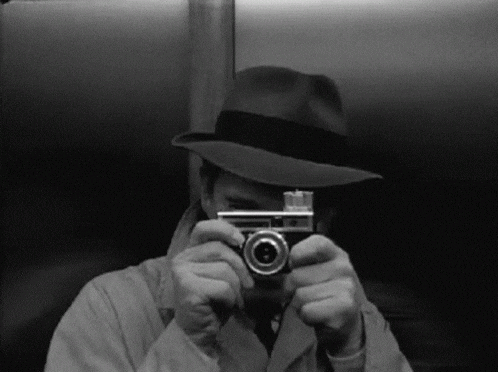
My entire photography workflow is built around one core belief: lighting is everything. Start by capturing the best possible image straight out of camera. Nailing your exposure, shadows, and highlights lays a solid foundation for editing. Enhancing a great image is far more powerful than trying to salvage a poor one.
Always shoot in RAW. It preserves every subtle tone and detail, giving you full control over the final look. If you’re working with high-volume shoots, efficient culling is crucial. I highly recommend using Aftershoot, an AI-powered assistant for culling and editing that can save you hours. Use my code clickwithsal10 for a discount and streamline your early workflow without sacrificing quality.
The Look Begins in Lightroom
After narrowing down my selected images, I begin in Lightroom, fine-tuning exposure and tones, and adjusting highlights and shadows. To maintain a cohesive style, I lay the foundation using my custom Lightroom presets. This not only saves time but also provides a consistent baseline that reflects the editorial and surreal vibe I’ve been refining over time.
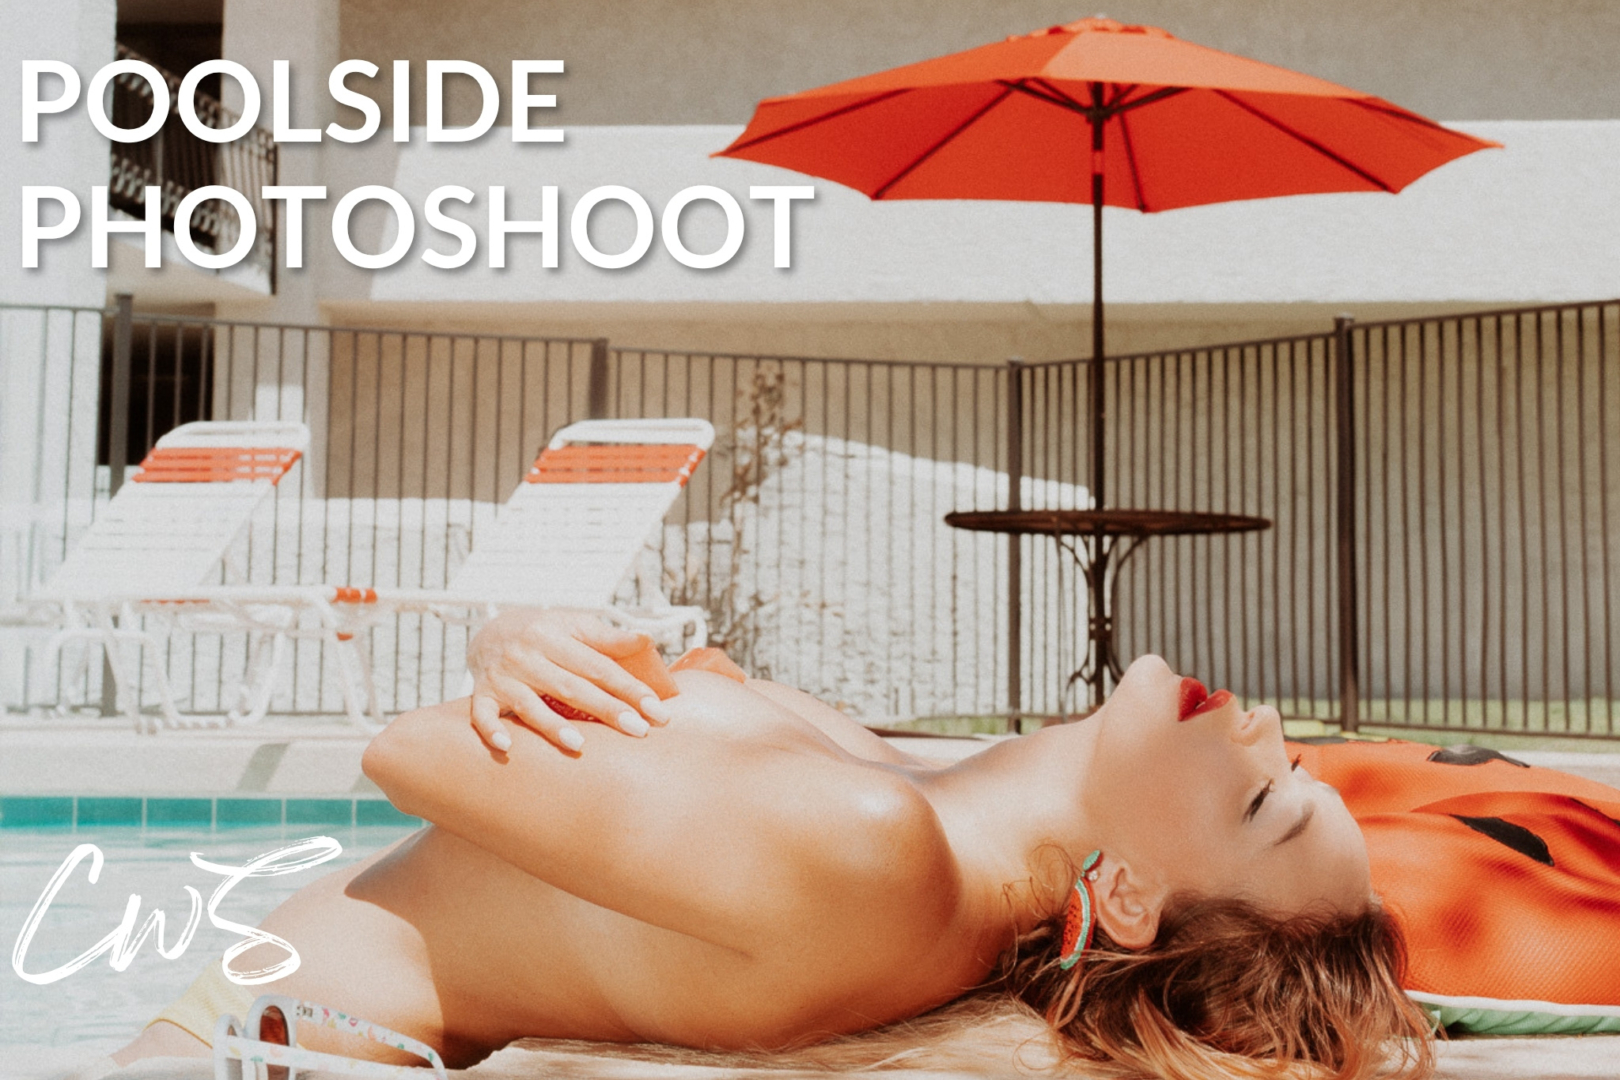
Add Cinematic Style
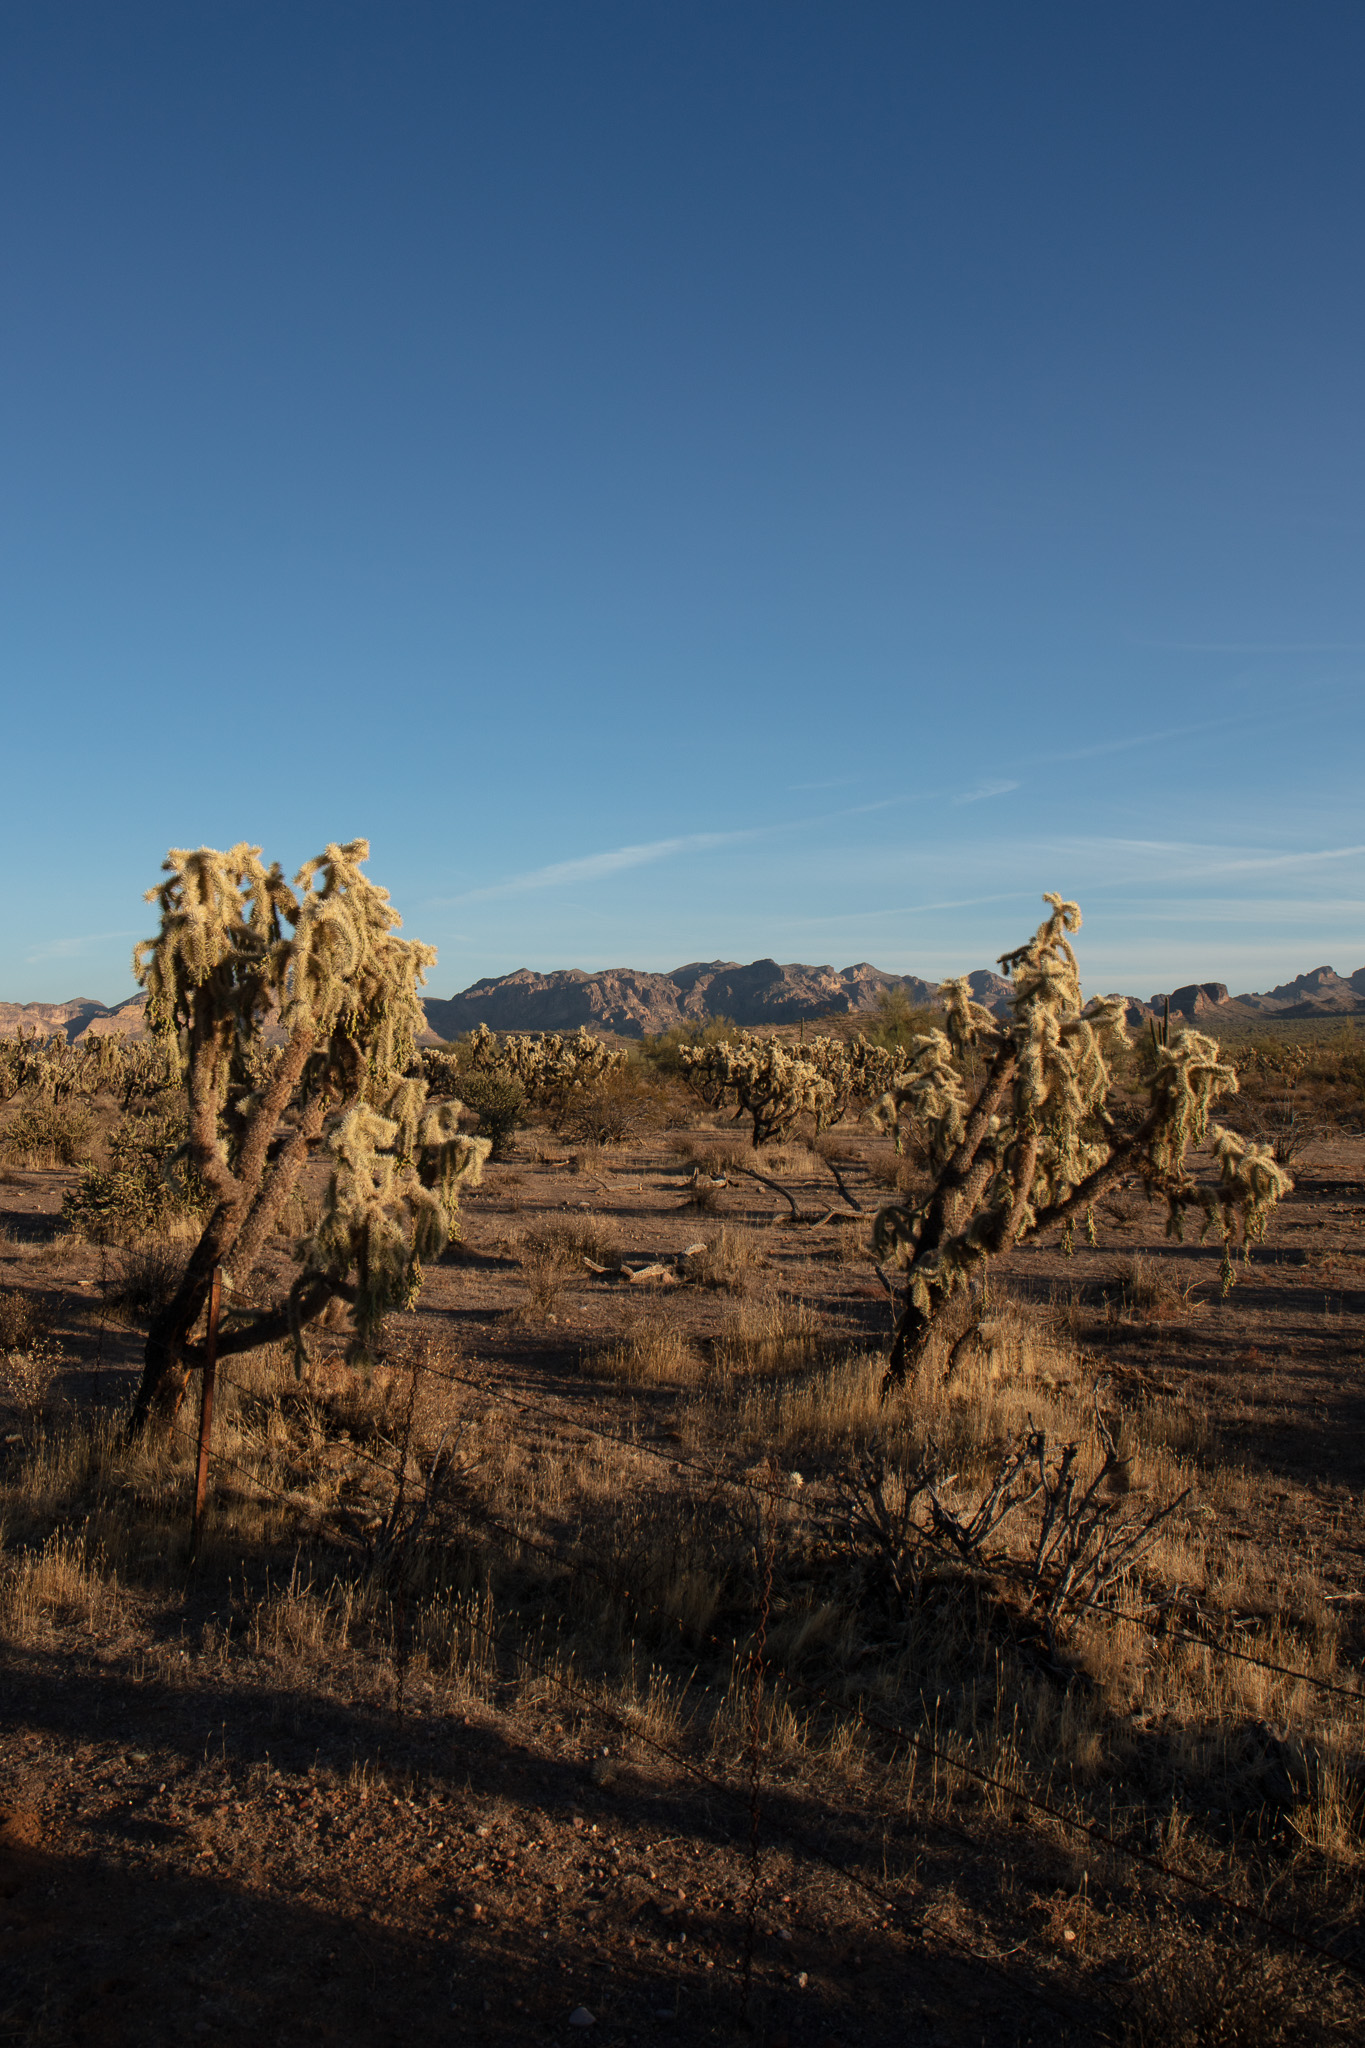
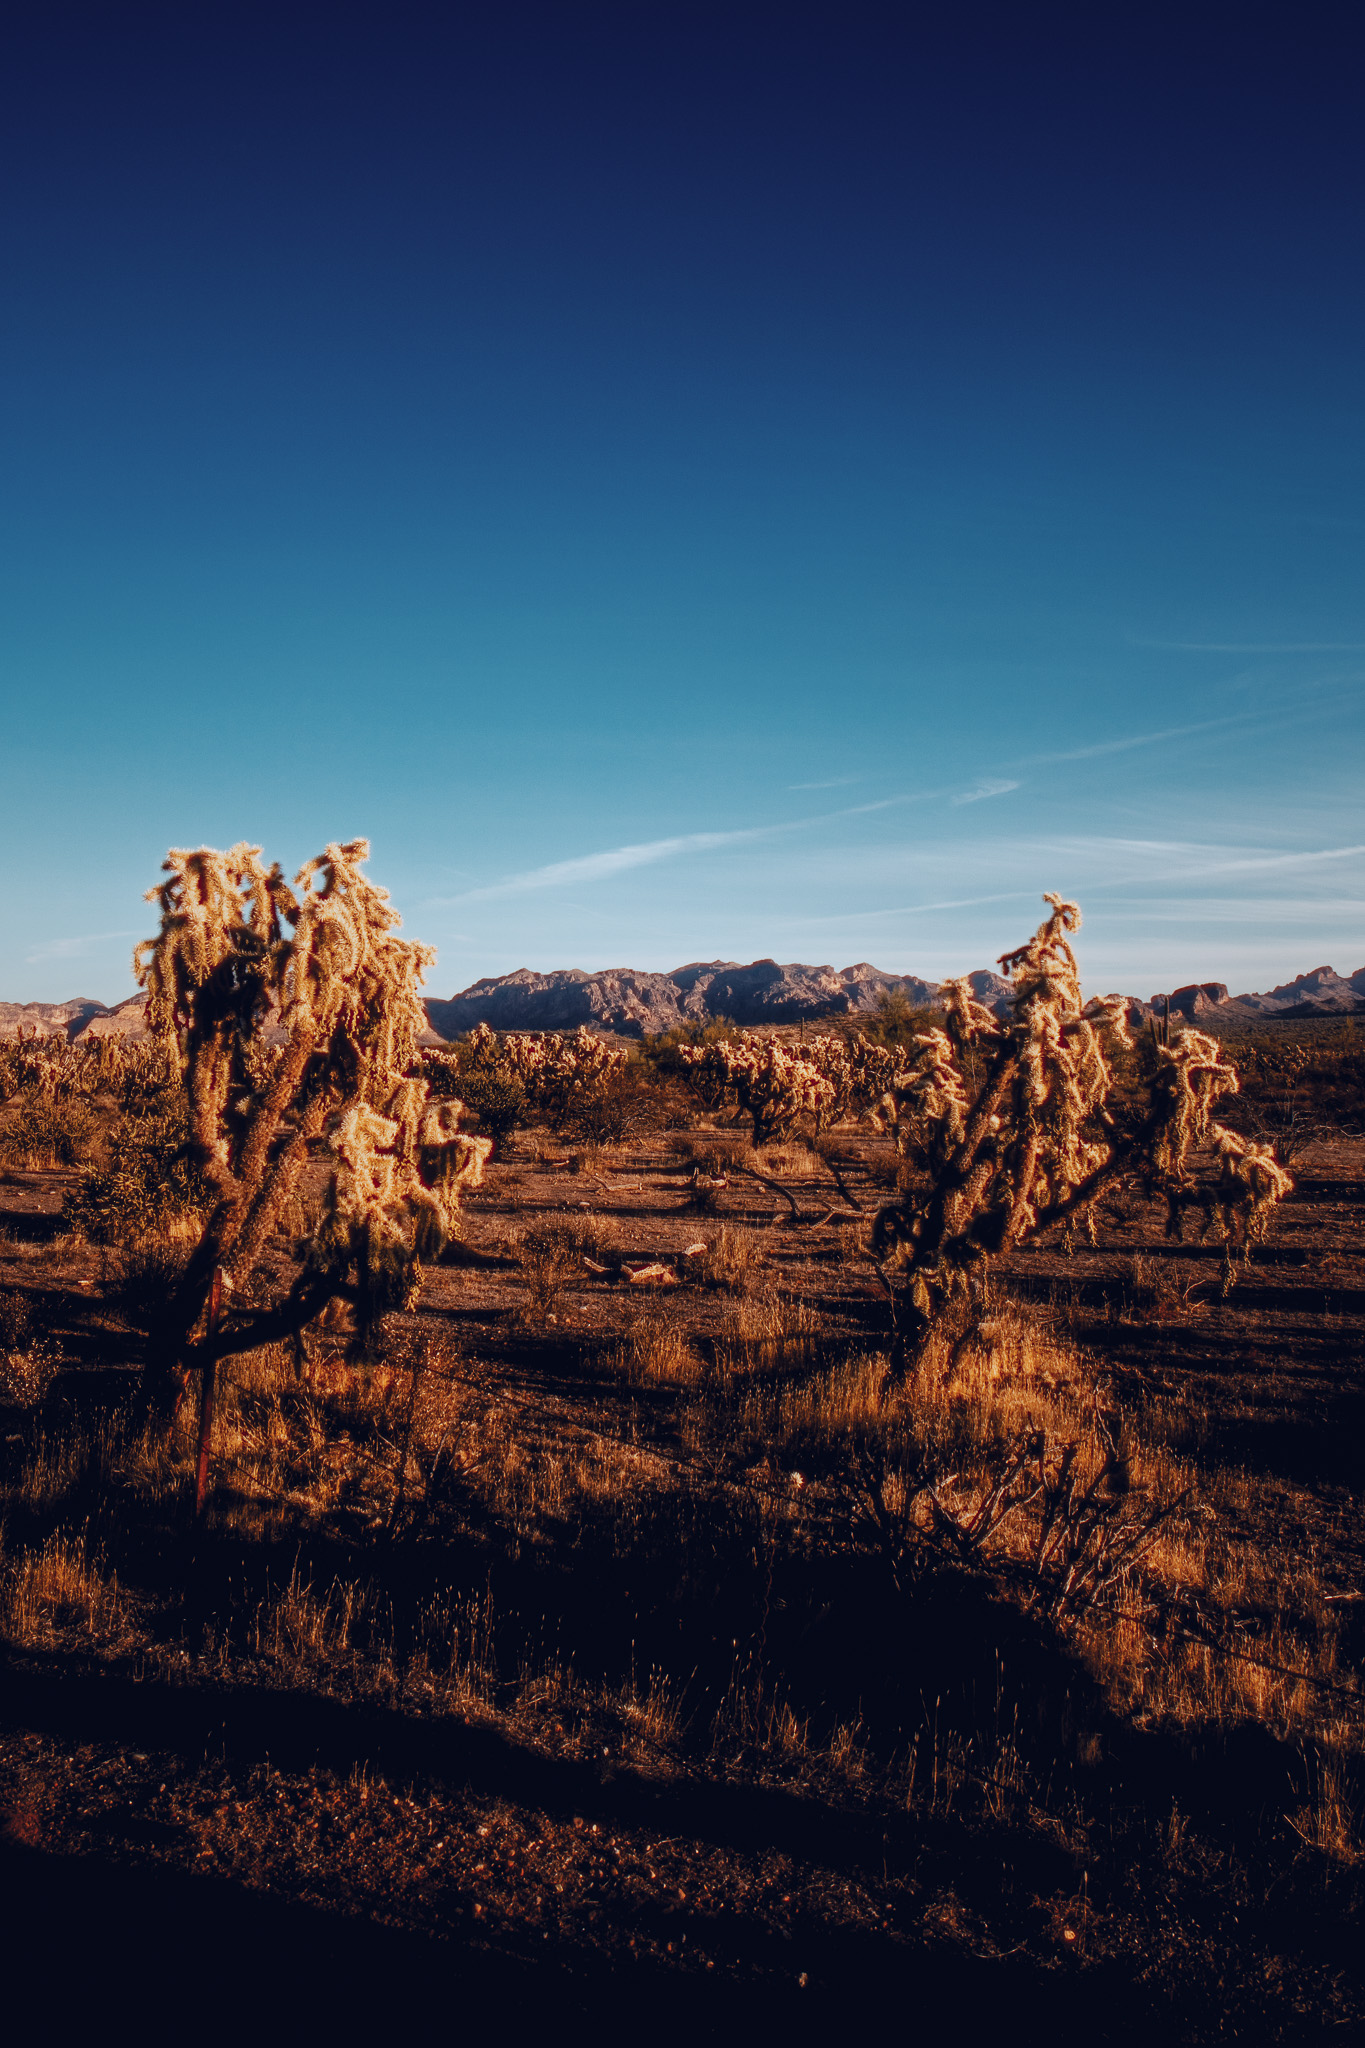
When an image calls for that cinematic soul, I open it in Dehancer, a powerful film emulation plugin that goes far beyond what Lightroom or Photoshop can achieve. It allows me to fine-tune contrast, control white and black points, and dial in subtle vignetting to draw the eye exactly where I want it. If your photo needs that vintage, dreamlike atmosphere, Dehancer delivers beautifully, and I highly recommend giving it a try.
Thinking of trying it out? Use my exclusive 10% off promo code CWSPROMO10 at checkout.
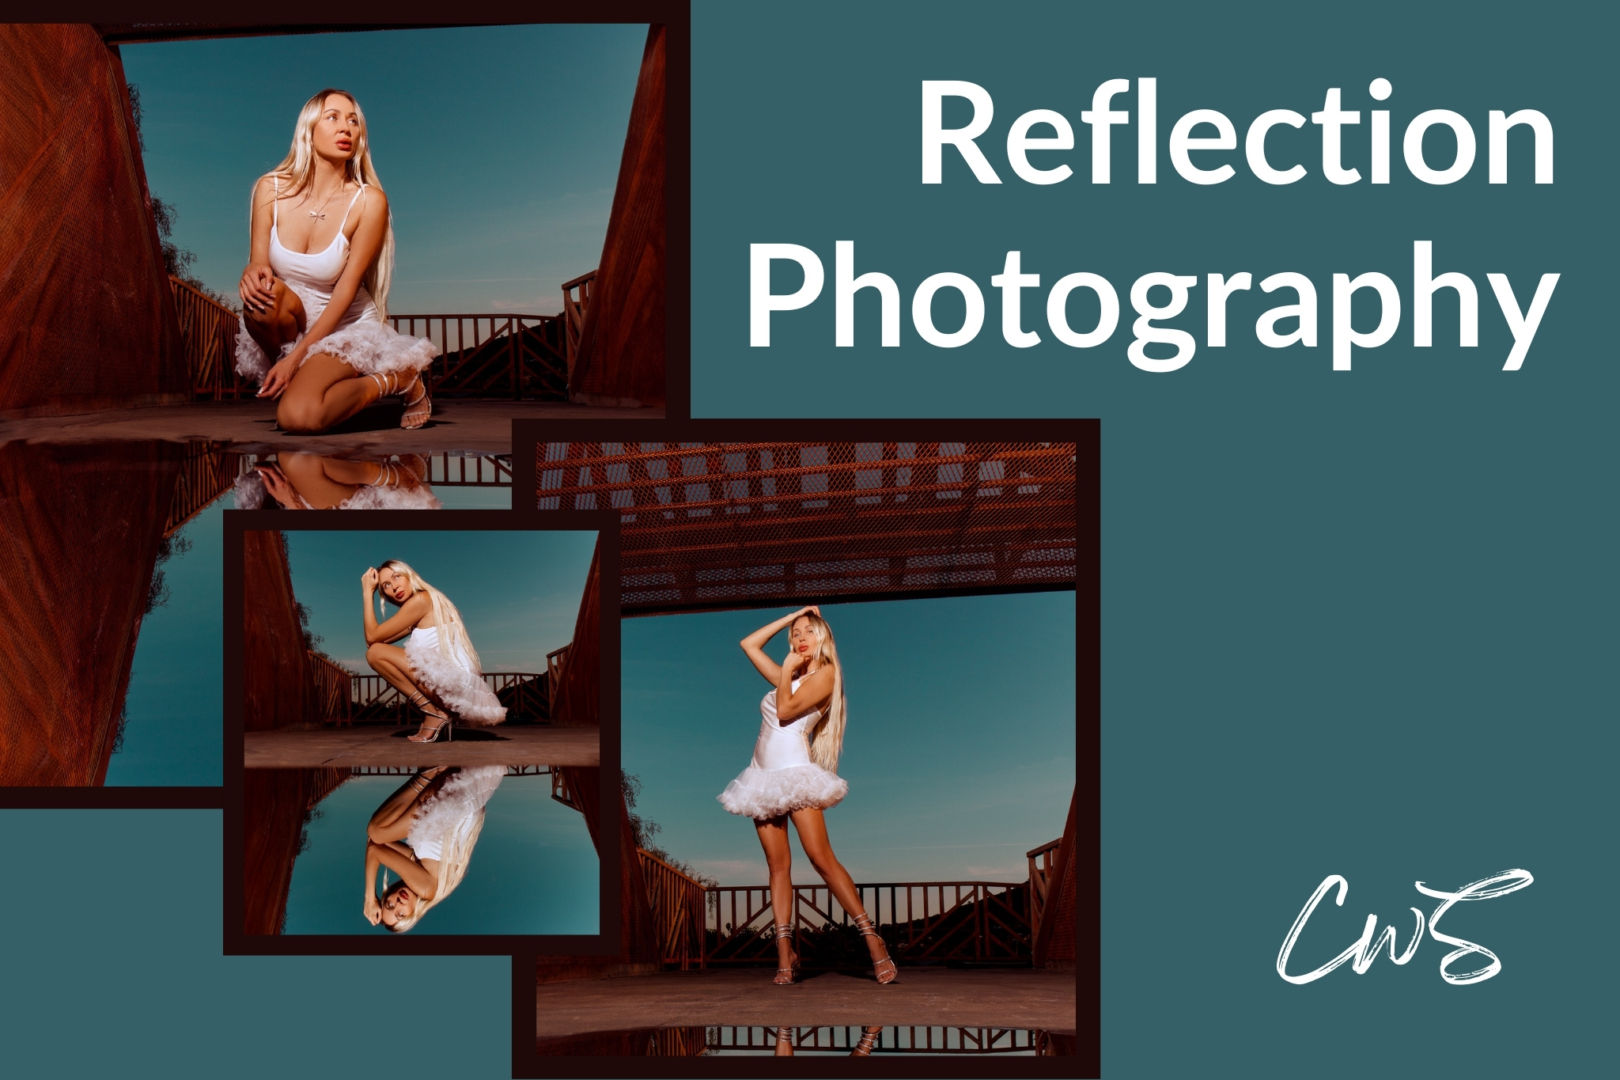
Photoshop: Precision + Polish
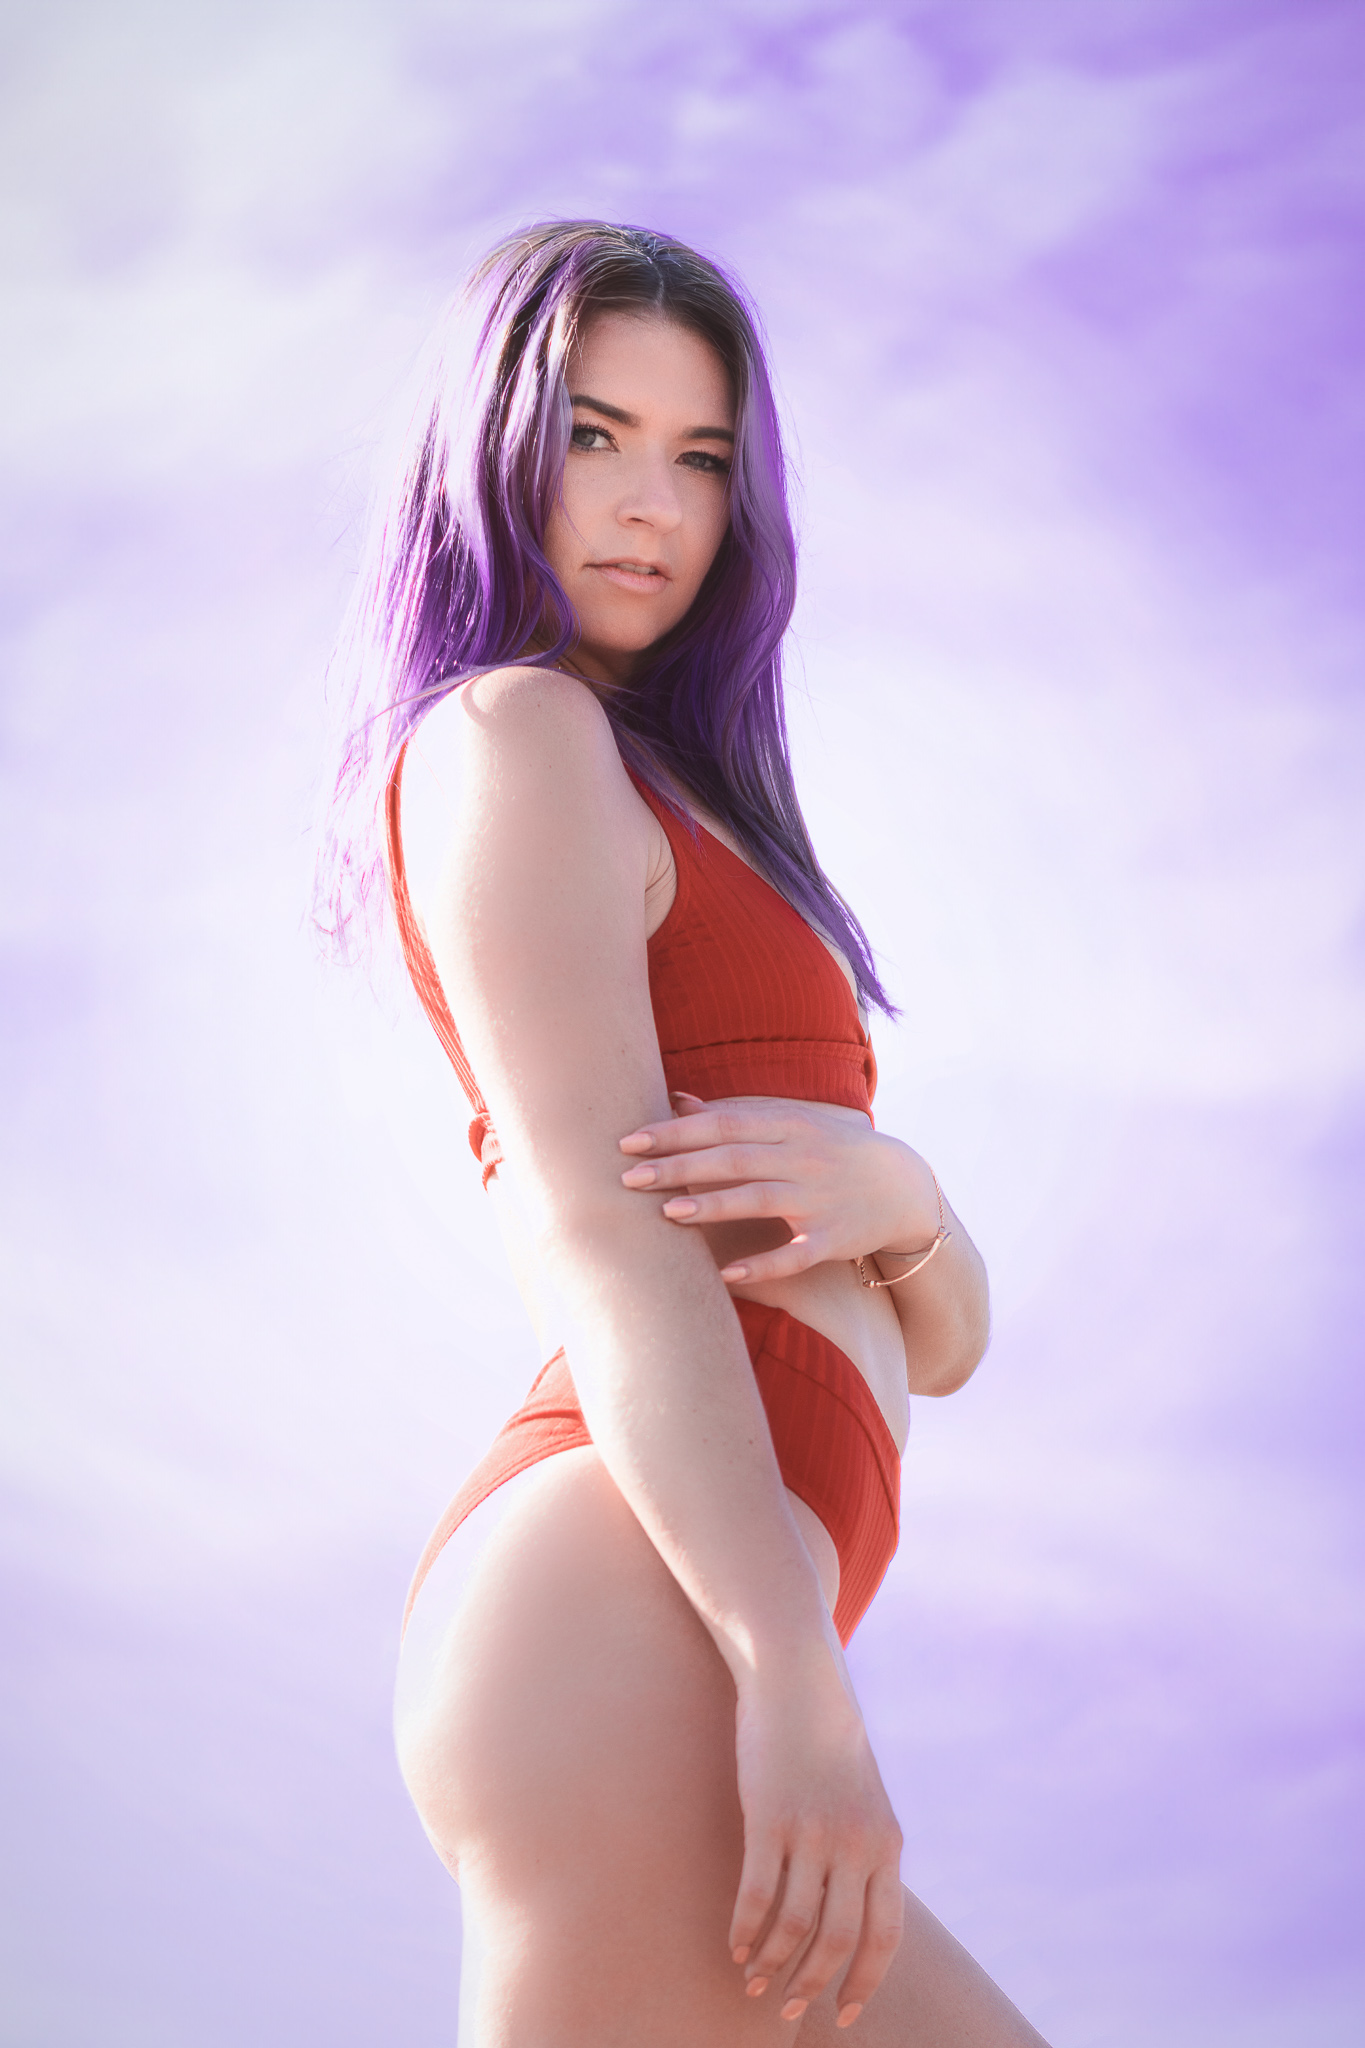
Once Dehancer does its thing, hold off on adding grain just yet. You’ll want to retouch clean skin, not grainy pixels. Save your file and open it in Photoshop, especially if it’s a portrait. Photoshop remains my preferred tool for skin retouching because it allows for a non-destructive workflow. Always convert your layers to Smart Objects, clone out distractions, and make micro-adjustments as needed.
After retouching in Photoshop, I often return to Dehancer to apply a subtle layer of grain, tailored to the image’s final mood. Then, back in Lightroom, I resize and export based on the image’s intended use.
- Web: long edge 2048px wide, sRGB, compressed.
- IG: short edge 1080px wide, sRGB compressed.
- Print: 300 DPI, Adobe RGB, uncompressed,
Final Thoughts
Every photographer develops their own rhythm, and over time, I’ve refined my photo post-processing routine to ensure style consistency across every shoot. Establishing a precise photo editing workflow not only boosts efficiency but also sharpens your creative vision.
As a extra final step once your images are edited, I highly recommend using Pixellu, a user-friendly platform that helps you create stunning galleries and albums, perfect for showcasing your work to clients in the most polished, professional way.
Whatever your photography niche or style may be, I hope this behind-the-scenes breakdown helps refine your own editing game.
Keep creating with intention and style,
Sal


Leave a Reply