
Cinematic photography has gained popularity among photographers because it is a style characterized by a rich mood and atmosphere. The cinematic look possesses an undeniable storytelling element. In this article, I’m going to walk you through the process of making your digital photos look like cinematic shots, covering shooting techniques and the editing process. Additionally, I’ll review Dehancer, a film emulation plugin that can help you achieve that film-like aesthetic.
What Is Cinematic Photography?


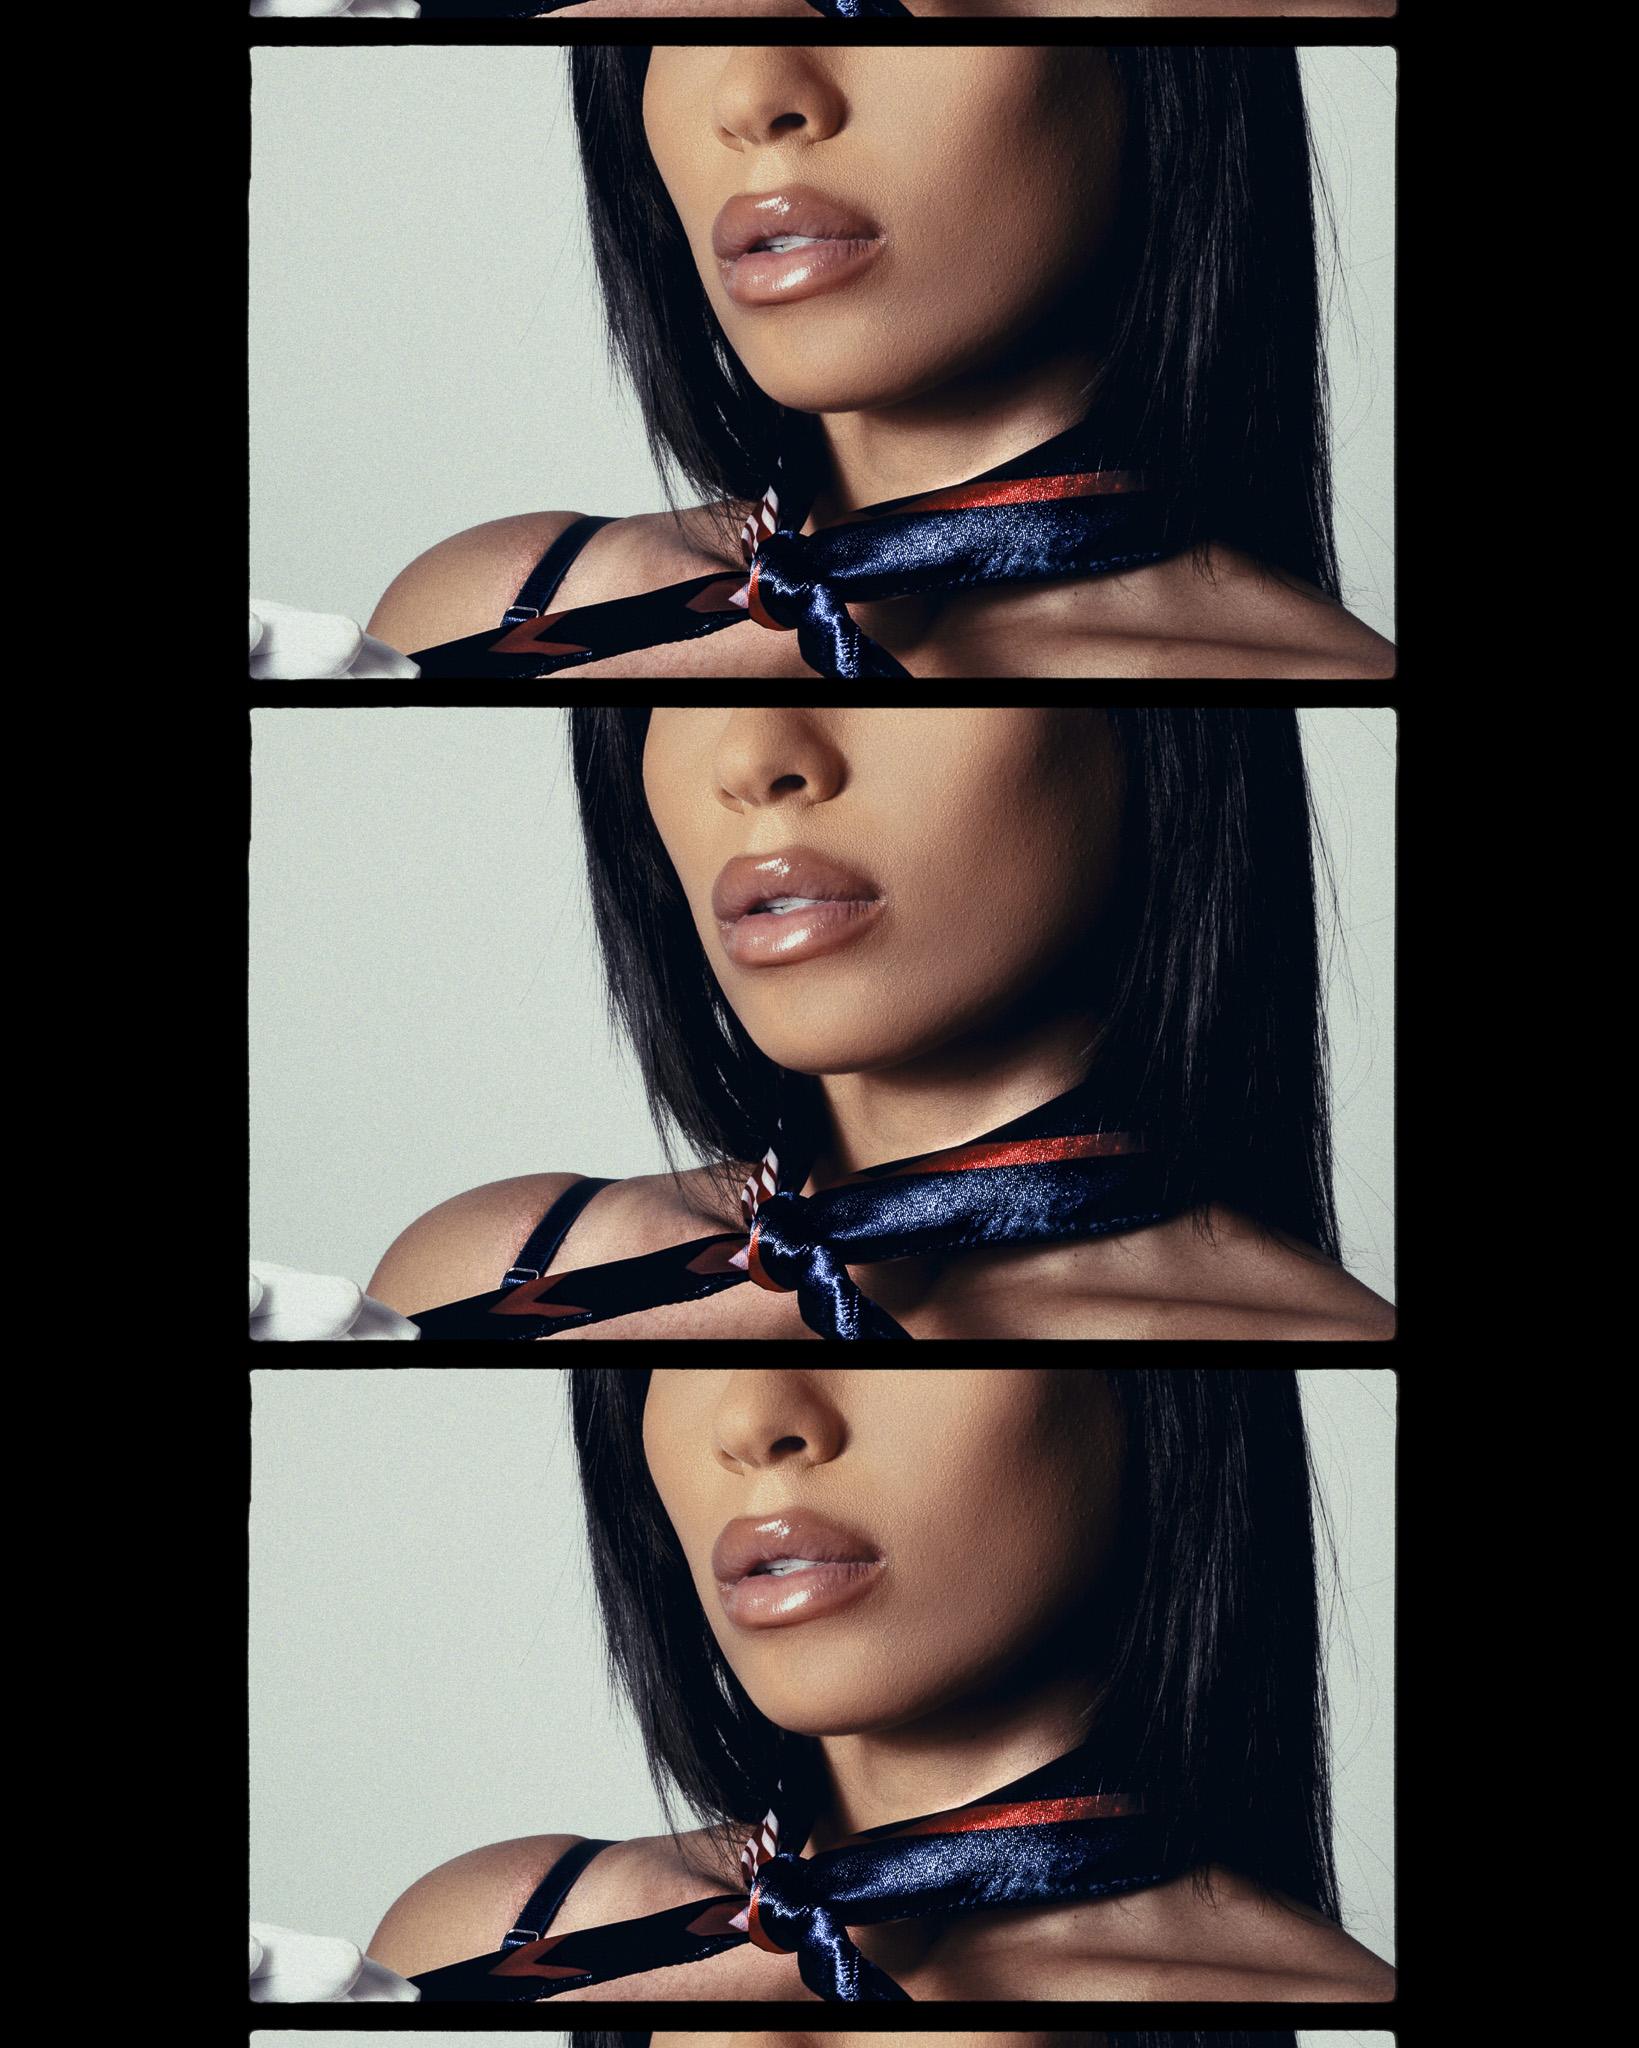
The goal of cinematic photography is to evoke the visual feel of movies. It’s a photography style that demands attention to composition, as the narrative behind the photos is a crucial aspect. The key is to consider the mood you want to convey, which may include bold shadows and contrasts or muted earthy tones, depending on the scene and style you are portraying.
Shooting For A Cinematic Style
Before editing, let’s start with the camera and shooting techniques.
- Lens Choice and Composition: Wide-angle lenses are favored in cinematic photography as they allow more storytelling elements in the frame. For capturing intimate shots, a tight composition is ideal; in this case, an 85mm lens would be the perfect focal length.
- Lighting: Understand how the light interacts with your subject. Whether you’re working with natural or artificial light, cinematic photography thrives in dramatic lighting.
- Depth of Field: Using lenses with wide apertures (like f/1.8 or f/2.8) helps isolate the subject and creates that distinctive cinematic bokeh effect.
- Color and Mood: In movies, color palettes are carefully curated to evoke specific emotions. The same goes to photography.
Before you shoot: A cinematic photograph starts before color grading. Lens compression, camera support, light direction, and focal length all shape the frame before editing begins. We break down the shooting gear setup we use or would seriously consider for portraits, travel, scenery, and cinematic-style work.
Editing For A Cinematic Look With Dehancer
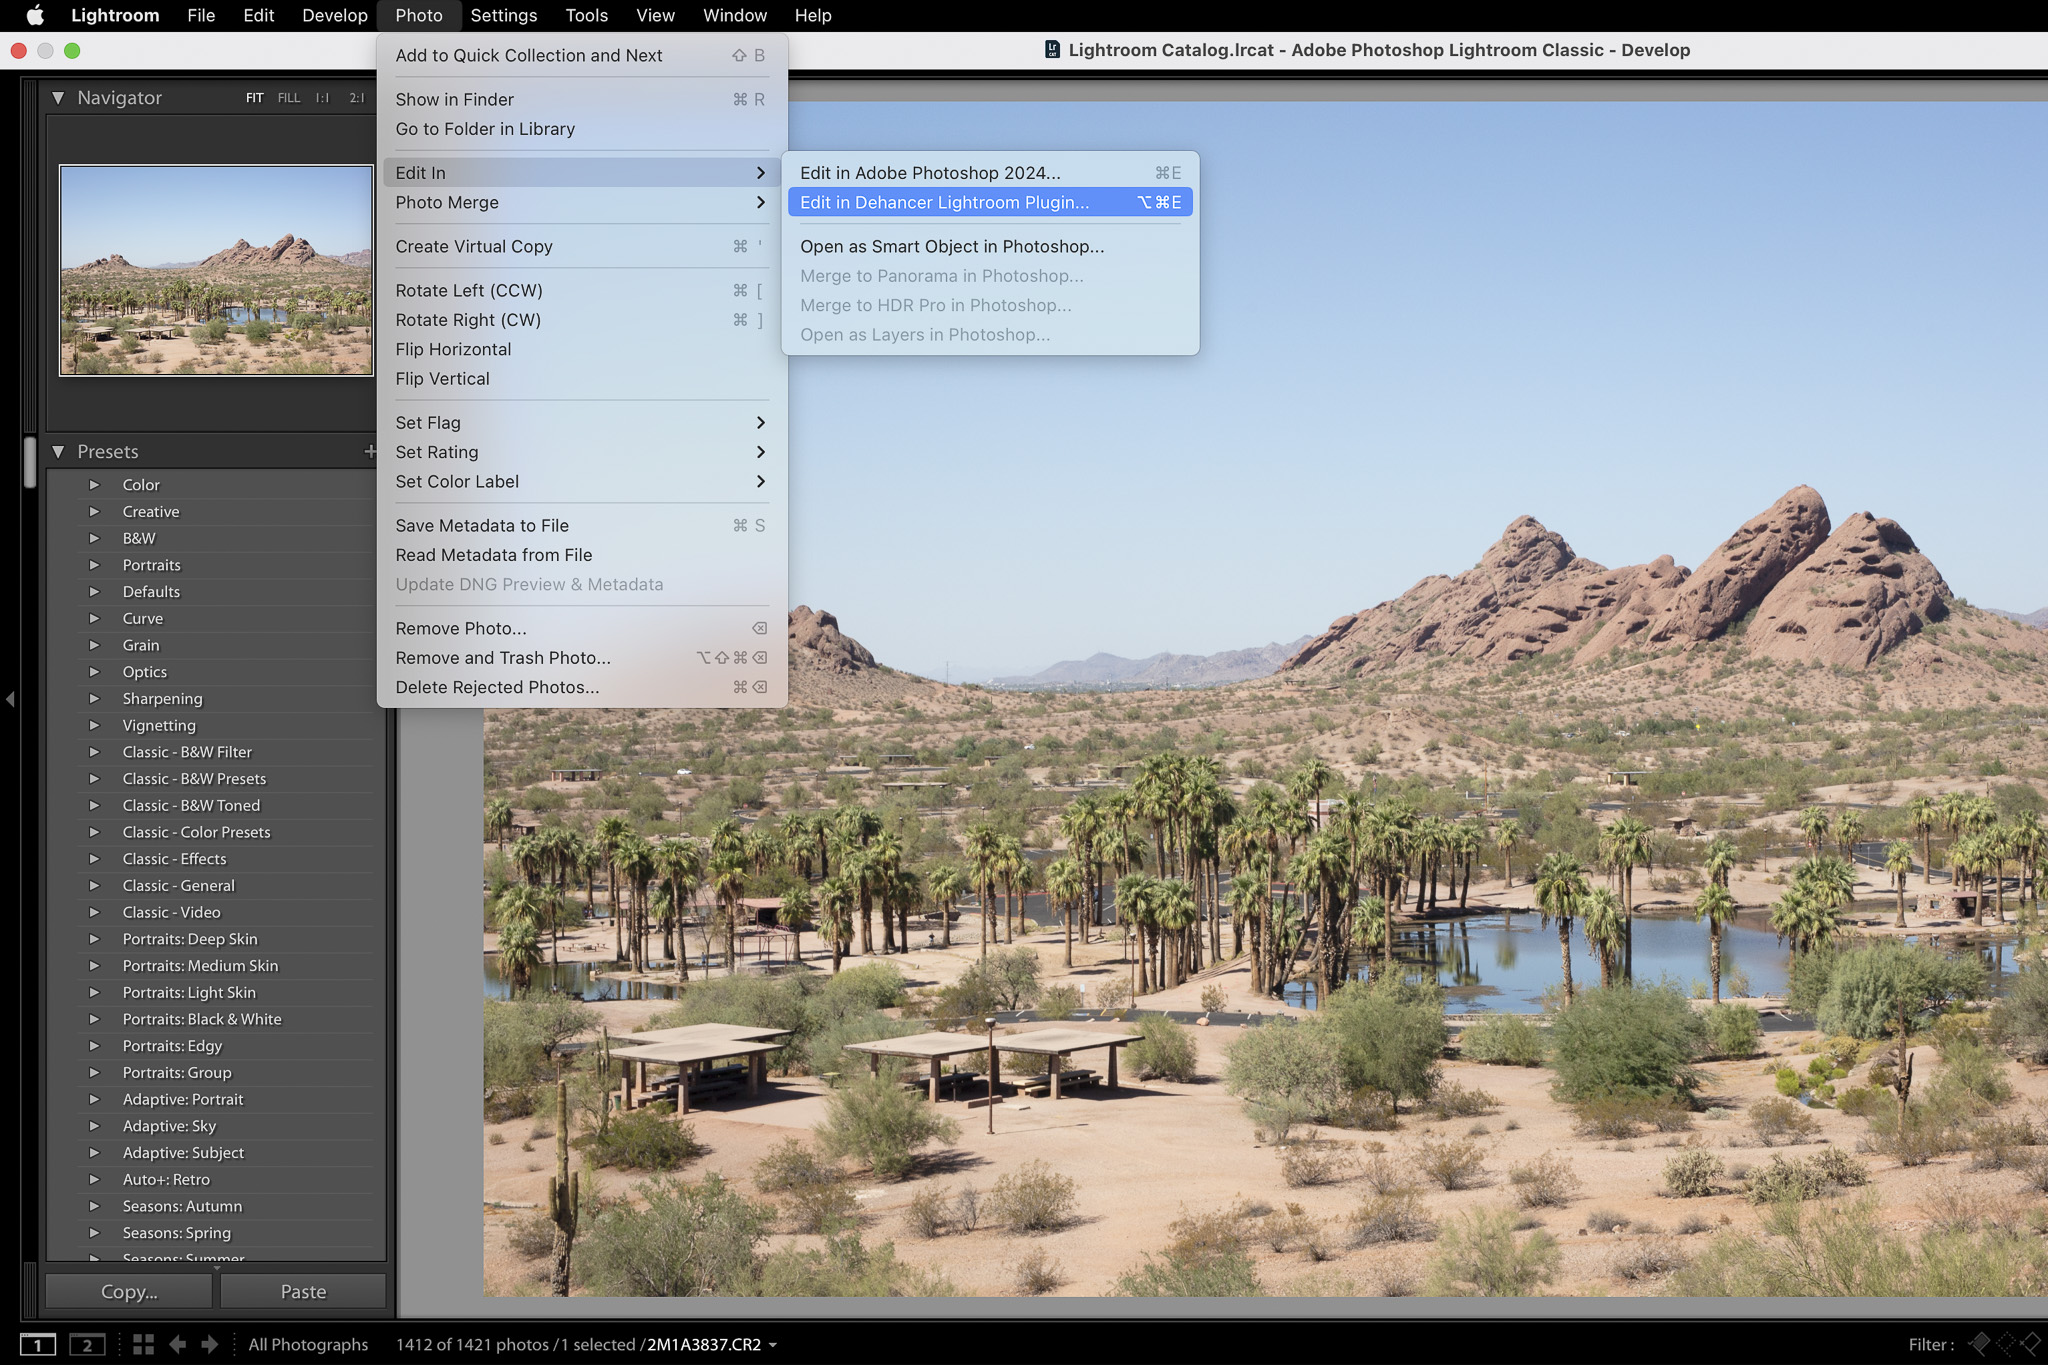
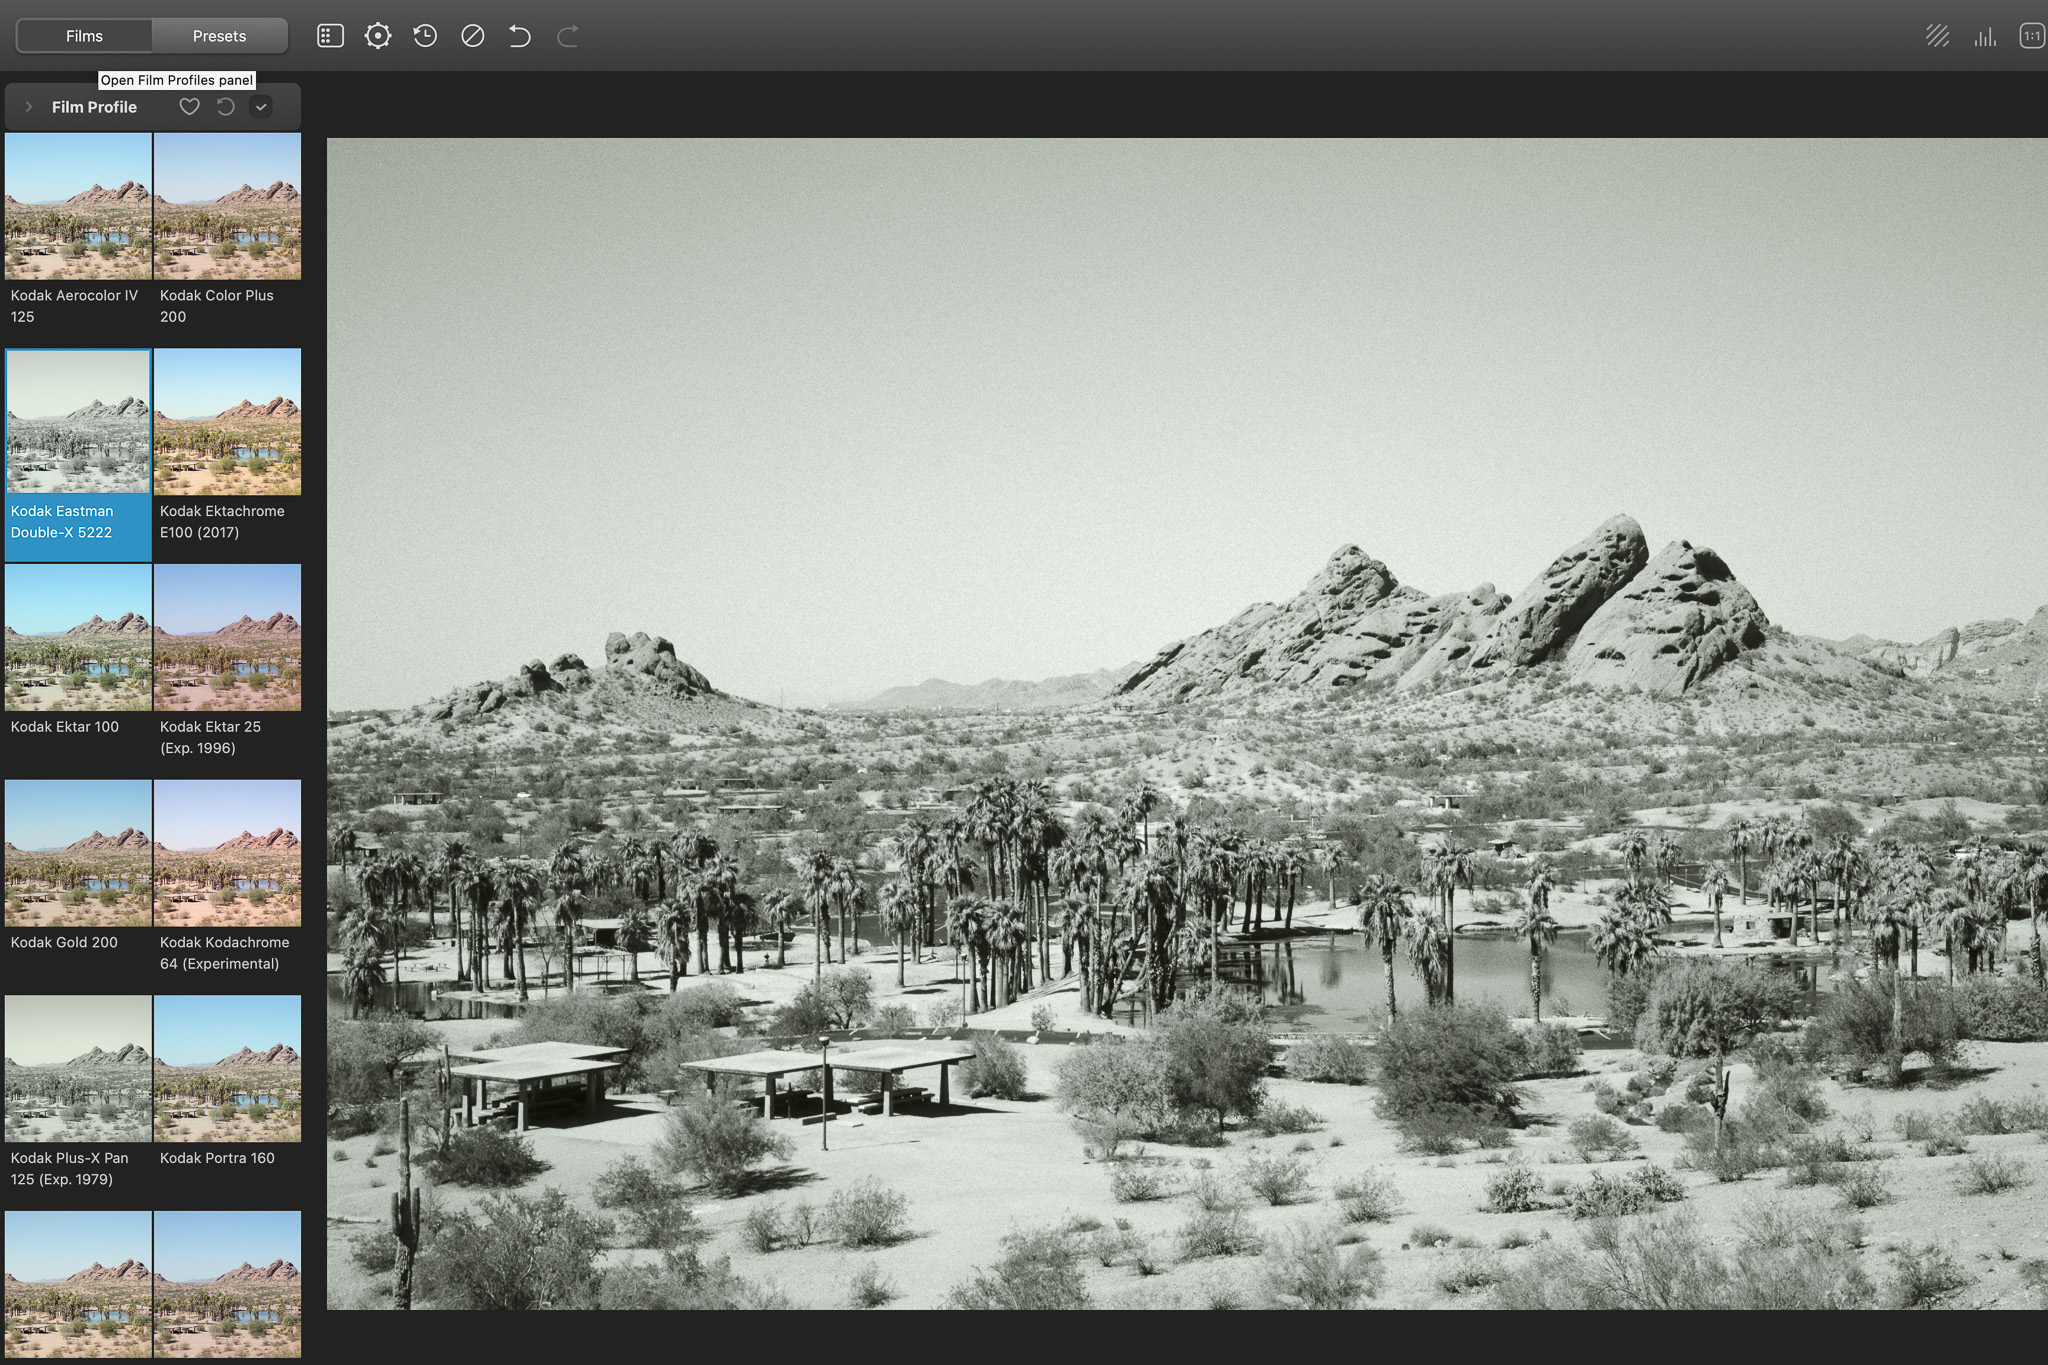
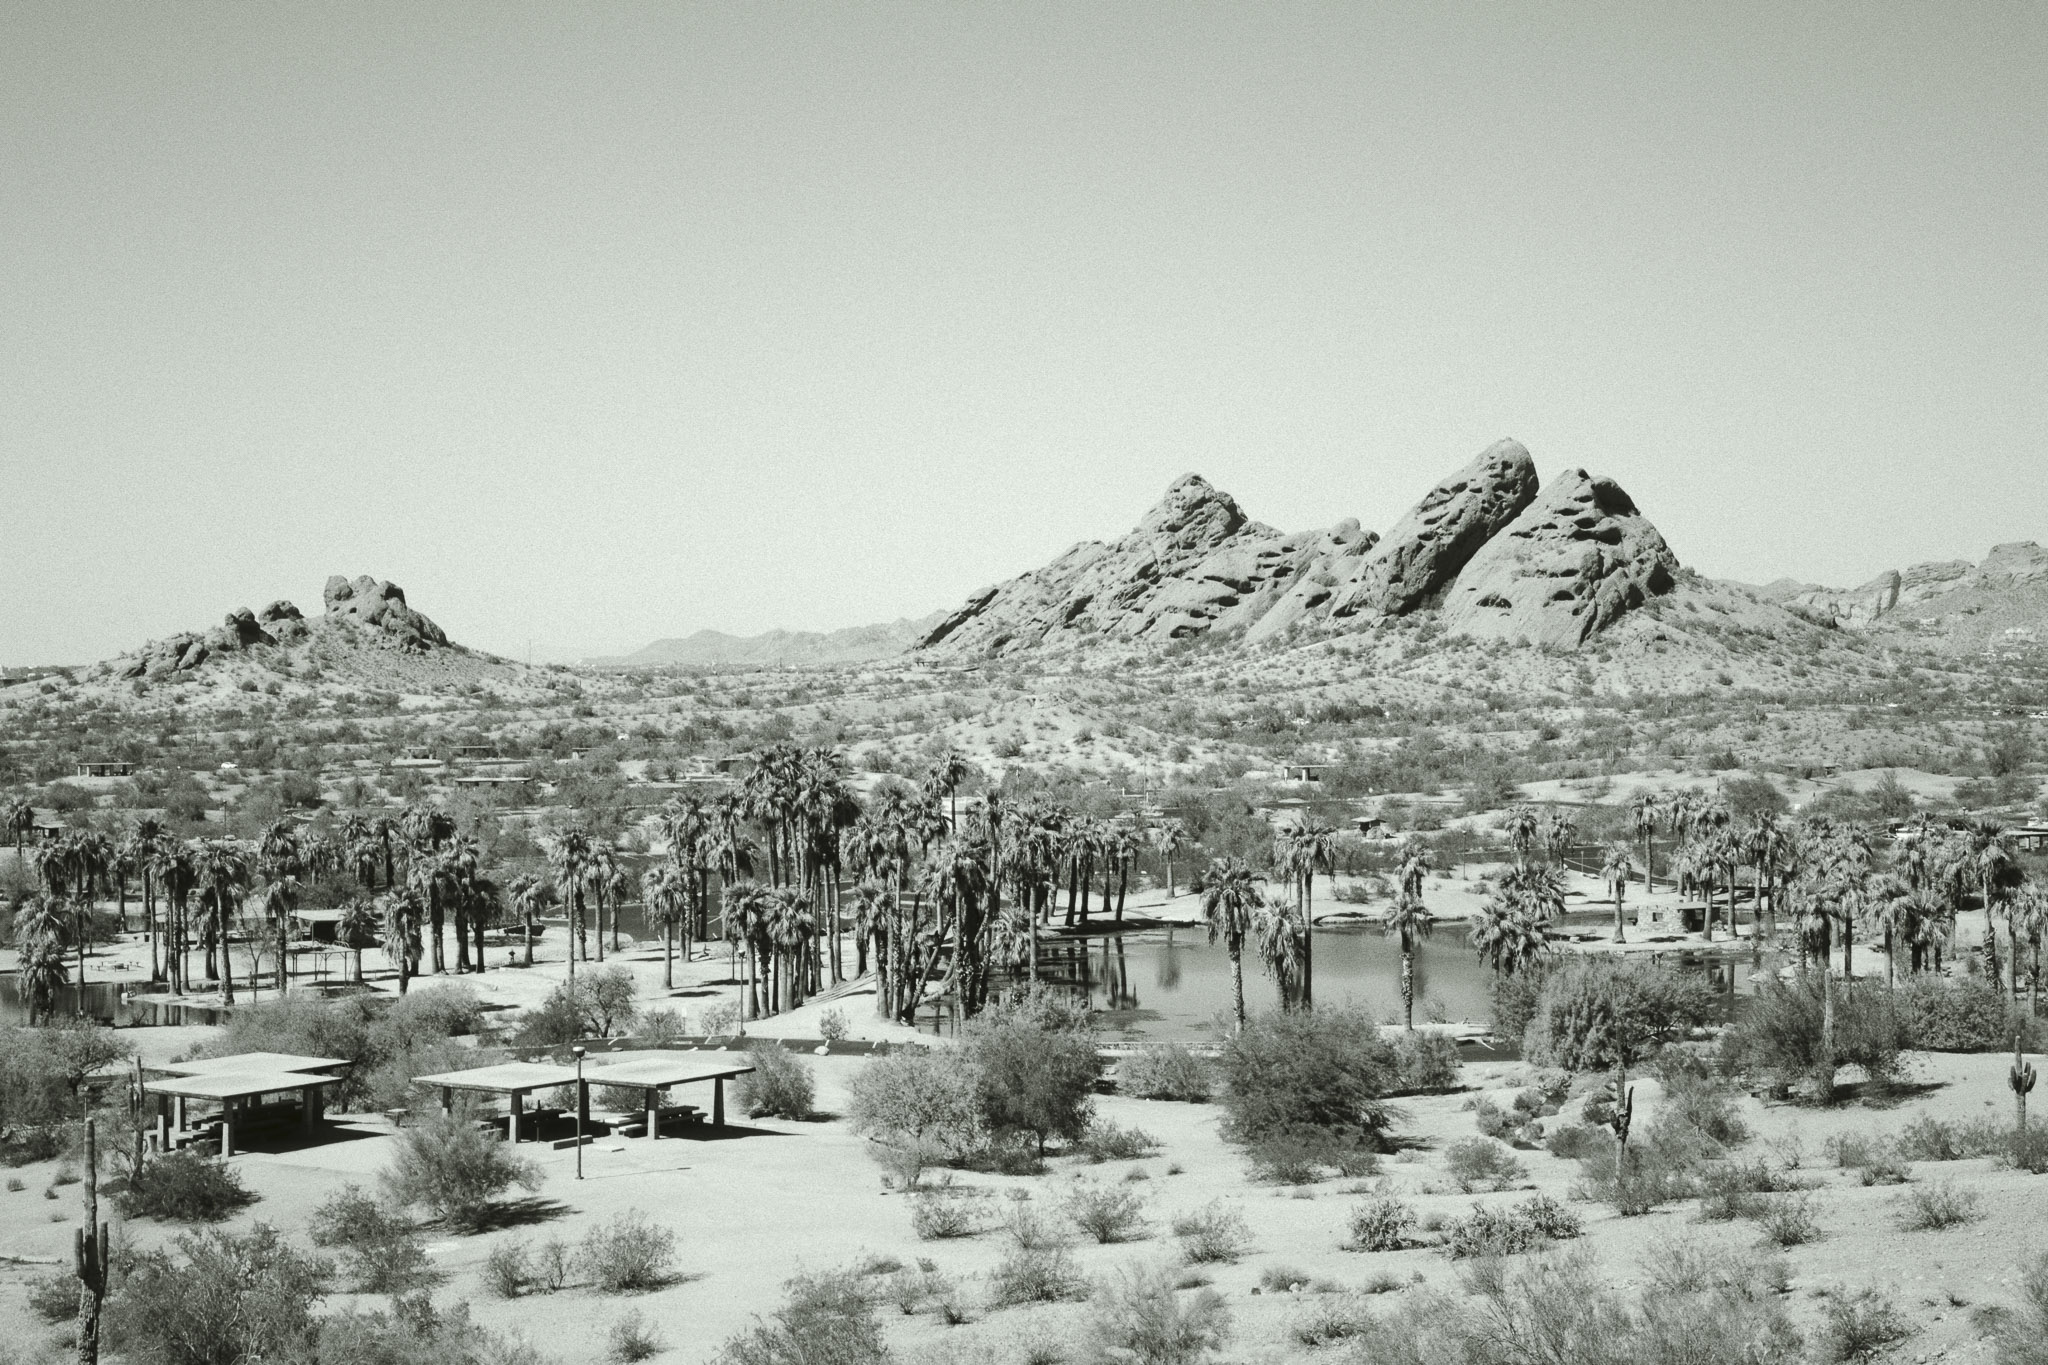
After getting the shot right, understanding how to manipulate color, contrast, and grain in post-processing is crucial to achieving the cinematic look. This is where a tool like Dehancer can be very helpful. I’ve experienced their photo plug-in firsthand, and this is my honest review of the product and how I’ve incorporated it into my editing workflow.
Dehancer is a plugin available for photo editing platforms like Adobe Lightroom, Photoshop, and DaVinci Resolve that emulates the look and feel of iconic film stocks such as Kodak, Fujifilm, Ilford, etc. The plugin allows you to use a wide range of tools to mimic the film textures that define the genre.
Here are the key Dehancer features that can help enhance the cinematic look of your photos:
- Film Profiles: Dehancer provides an extensive library of high-quality film profiles.
- Film Grain Simulation: What I appreciate about Dehancer’s grain simulation tool is that it replicates the texture of real film grain without feeling artificial.
- Film Developer and Contrast Adjustment: I found this very helpful for fine-tuning image contrasts, echoing the contrast behavior of traditional film development.
- Print Emulation: This feature allows you to simulate the look of your photos printed on specific types of paper, adding an extra touch of realism.
For those interested in achieving a cinematic look, Dehancer has kindly offered an exclusive discount for my readers. Enter CWSPROMO10 at checkout for 10% off on all their products, except the iOS app subscription.
Shape Some of the Look Before Editing
Diffusion and flare filters can change how highlights and light sources render in-camera, giving a digital photograph a less clinical starting point. Prism Lens FX offers creative optical filters for this capture layer. Dehancer still has a separate role in the workflow: it shapes film response, color, grain, halation, bloom, and the final print-inspired finish. One influences the light during capture. The other completes the visual language in post.
Explore Prism Lens FX and use code CLICKWITHSAL for 15% off.
Should You Try Dehancer?
The photos featured in this article have been edited using Dehancer to give them a classic feel. The plugin is easy to install and use. I’ve used it in Lightroom, and it definitely offers an extensive array of options to edit your digital photos in a film-like style. If a cinematic photography style is essential to your work, I would recommend trying Dehancer, considering the features and extra edge it brings to the table.
To learn more about Dehancer’s powerful film emulation tools, check out their website here. Also, consider their iOS app, which offers great features for photographers and videographers.
Cinematic Photography FAQs
A cinematic photo usually feels like a still frame from a movie. The look comes from a combination of intentional composition, dramatic lighting, controlled color, mood, and a sense of story. It is not just about adding grain or a preset. The frame should feel like something happened before the shot, or something is about to happen after it.
To make a photo look cinematic, start with the scene before the edit. Use directional light, strong composition, foreground or background elements, and a clear mood. In editing, shape the contrast, color palette, shadows, highlights, and grain so the image feels more like a film still than a standard digital photo.
Yes, Lightroom can create a cinematic look through color grading, contrast control, masking, tone curve adjustments, and grain. However, dedicated film emulation tools like Dehancer can give you more specific film-style controls, including film profiles, grain, halation, bloom, and print-style finishing.
Dehancer is useful for cinematic photography if you want a stronger film-emulation workflow instead of just basic color grading. Its film profiles, grain, contrast tools, and print emulation can help digital photos feel less clean and more film-like. It works best when the original image already has strong light, mood, and composition.
Dive Deeper Into Cinematic Photography

In conclusion, cinematic shots are all about capturing the emotional depth of film. By mastering composition and lighting, and using editing tools like Dehancer, you can transform digital RAW files into images with a more film-like aesthetic. I hope this article not only provides you with technical tips and ideas but also inspires you to experiment with your work and style.
If you’re ready to explore cinematic photography, as part of my photography community, use code CWSPROMO10 for 10% off your Dehancer purchase.
Wishing you film-like stories, one shot at a time,
Sal
Affiliate Disclosure: Some links or promo codes in this article may earn us a commission if you buy through them, at no extra cost to you. That does not change our opinion. We recommend tools based on whether they actually fit the workflow.












Leave a Reply