
Cinematic Photography Style Resources
Cinematic photography style is built through color grading, light, optical character, and post-production. This resource hub brings together our real-world guides, tests, and editing workflows for photographers who want more atmosphere, stronger visual character, and a film-inspired finish. That includes creating part of the look in-camera with diffusion filters such as Prism Lens FX, then refining color, grain, bloom, halation, and tonal response with tools such as Dehancer.
Why Cinematic Photography Starts Before Editing
A cinematic look becomes more convincing when the photograph already gives the edit something to work with. The strongest workflow usually combines:
- Intentional composition: Build the frame around mood, tension, environment, and story.
- Directional light: Use highlights, shadows, reflections, and practical light deliberately.
- Optical character: Diffusion and flare filters can change how light renders before it reaches the sensor.
- Controlled editing: Shape color, contrast, grain, bloom, and halation without overpowering the original photograph.
Cinematic Photography Resources
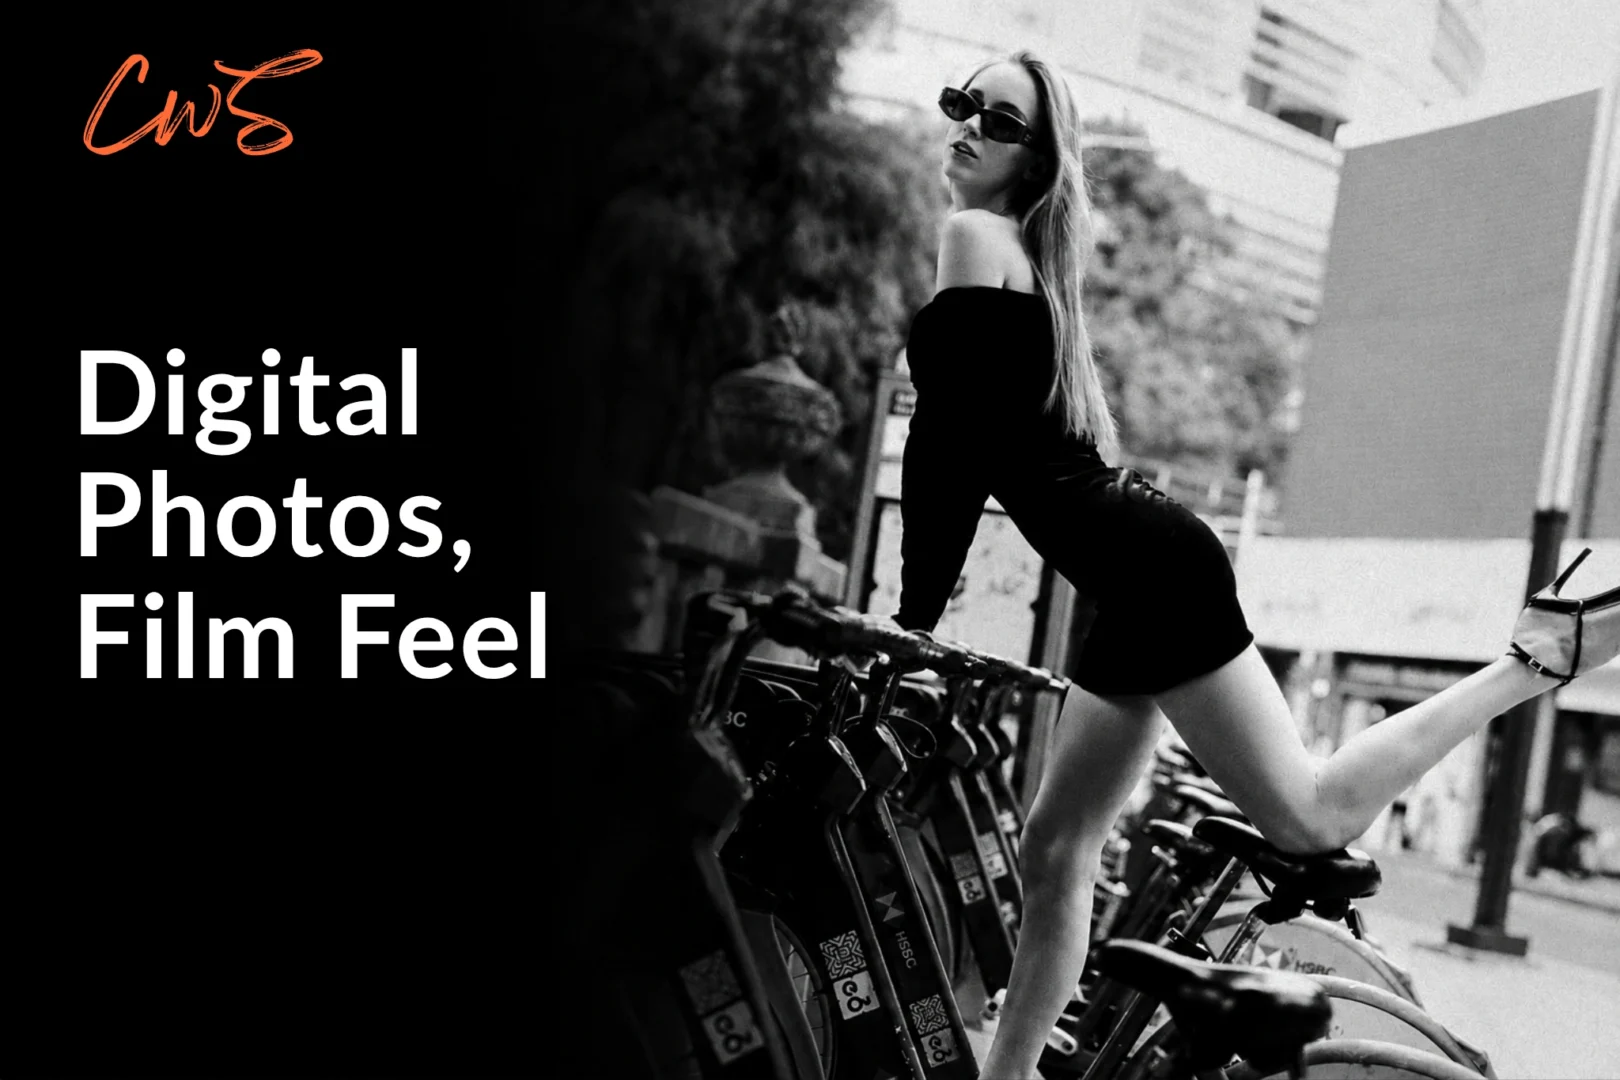
How To Make Digital Photos Look Like Film
This guide looks at the complete process, including light, tonal response, optical diffusion, grain, bloom, halation, and controlled imperfection.
Best for: Digital photographers who want to edit photos to look like film without relying on a one-click preset.
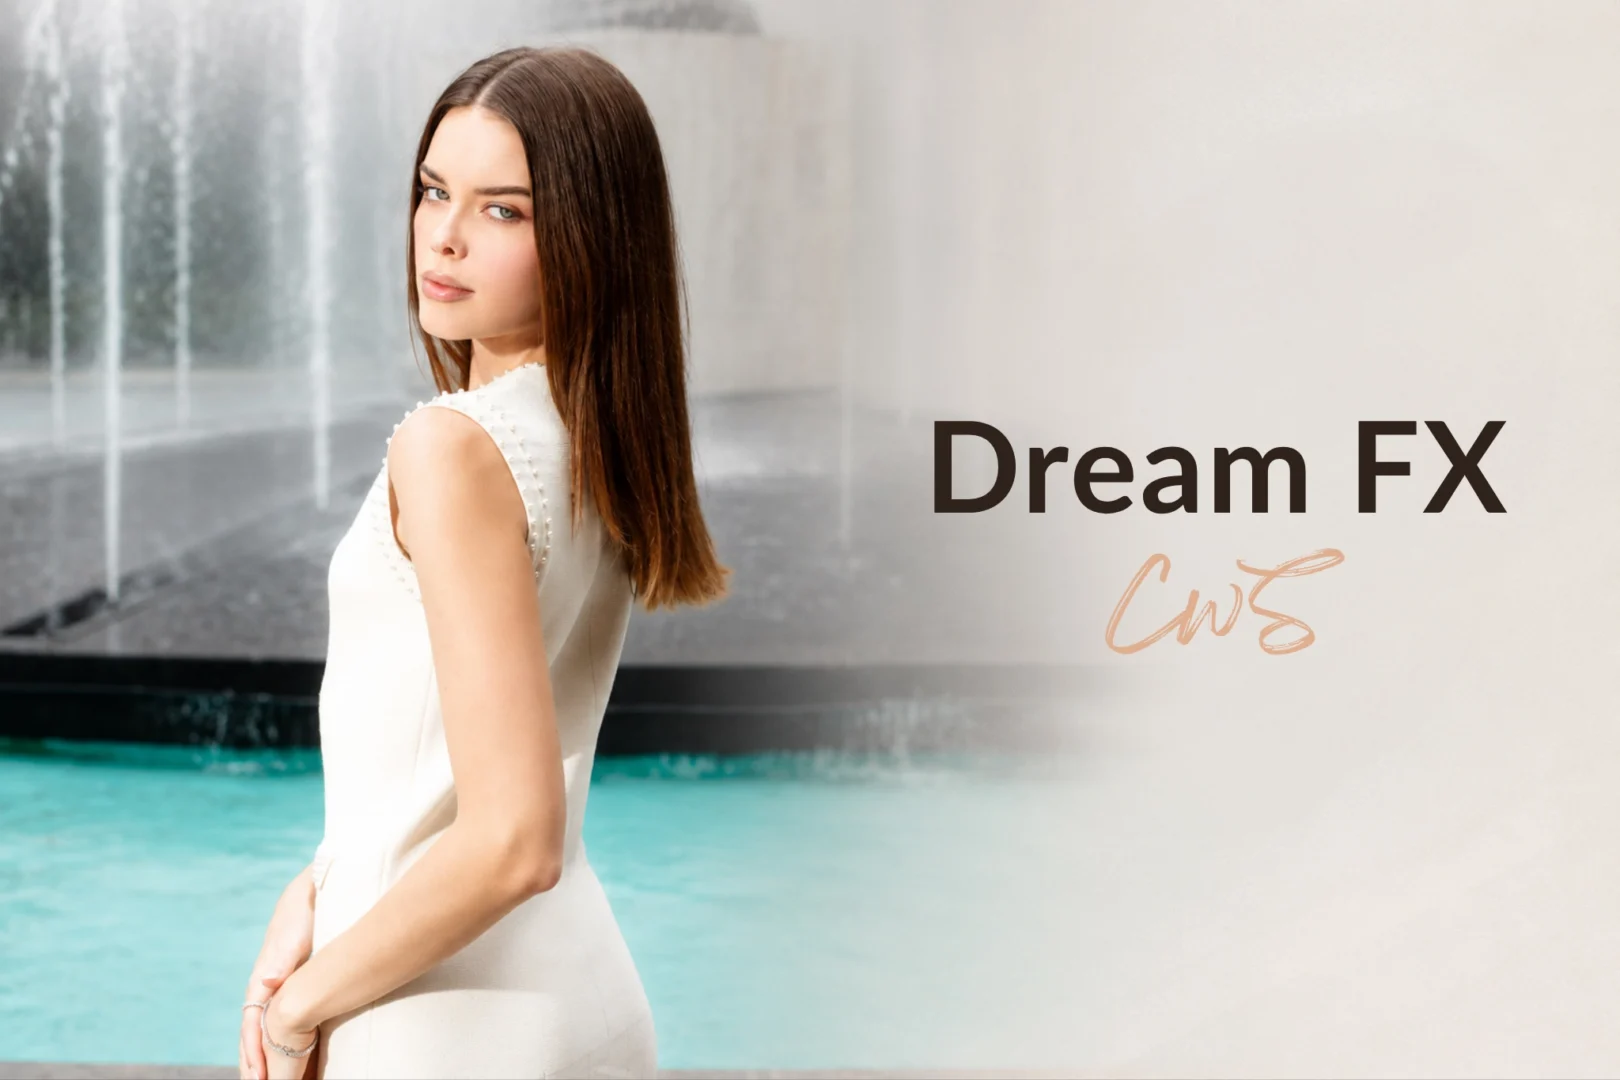
The Prism Lens FX filters change how highlights and fine contrast are rendered during capture. We tested the Dream FX at 1/4 strength on a real portrait shoot to see how much atmosphere it creates while preserving details.
Best for: Portrait, fashion, and editorial photographers who want softer highlights and more atmospheric rendering in-camera.
Use code CLICKWITHSAL for 15% off Prism Lens FX products.
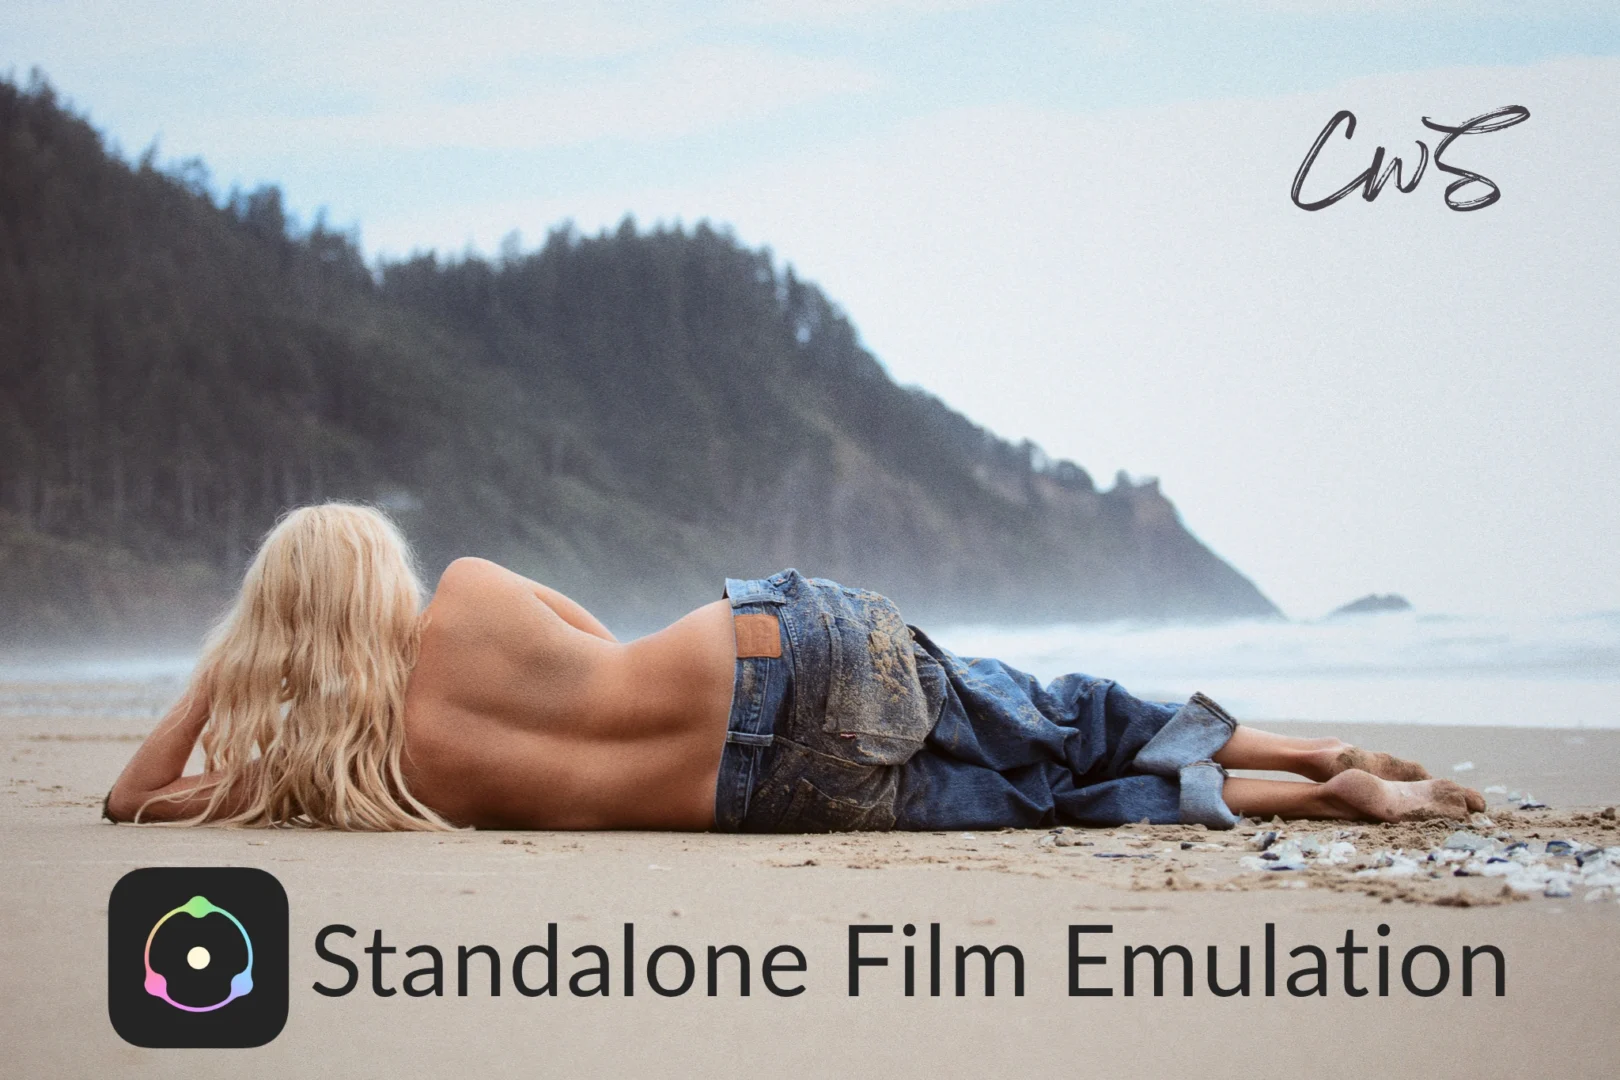
Build The Film Character In Post
Dehancer creates a dedicated environment for film profiles, grain, halation, bloom, tonal response, and print-style finishing without requiring Lightroom or Photoshop as a host application. It also works as a plugin.
Best for: Photographers who want a dedicated film-emulation workflow or prefer to integrate Dehancer into their existing editing software.
Dehancer offers different options depending on whether you work with photography, video, or both. This guide breaks down the plans and which version makes the most sense for different workflows.
Best for: Photographers and videographers who already know Dehancer fits their style and are deciding which plan or version to buy.
If Dehancer fits the way you edit, use code CWSPROMO10 for 10% off Dehancer products.
How To Build The Right Cinematic Photography Workflow
There is no reason to use every tool in this guide.
- If you want more character during capture: Start with lighting, composition, and optical effects. A diffusion filter such as Prism Lens FX Dream FX can bloom highlights and reduce some of the clinical edge before the image reaches post-production.
- If you want stronger film character during editing: Start with a good RAW file and use Dehancer when you want deeper control over film profiles, grain, tonal response, bloom, halation, and print-inspired finishing.
- If you want the strongest combination: Shape some of the character in-camera, then refine it in post. Diffusion and Dehancer do different jobs. One changes how light is captured, while the other controls the final film response. Using both with restraint can create a more convincing result.
Cinematic Photography Style FAQs
Cinematic photography style uses lighting, color, composition and atmosphere to make a photograph feel closer to a film still than a conventional digital image. The style can be shaped during capture and refined through editing.
Start with intentional composition and directional light, then use color, contrast, depth, and atmosphere to support the mood. Diffusion filters can add optical character in-camera, while editing tools can refine color, grain, bloom, and other film-inspired characteristics.
No. A diffusion filter is optional, but it can soften micro-contrast and create highlight bloom during capture. It works particularly well when backlight, bright highlights, or reflections are already part of the photograph.
Dehancer is useful when you want specialized film-emulation controls. Its film profiles, grain, bloom, halation, and tonal tools work best when the original photograph already has strong composition, lighting, and mood.
Affiliate Disclosure: Some links or promo codes on this page may earn us a commission if you buy through them, at no extra cost to you. That does not change our opinion. We recommend tools based on whether they actually fit the workflow.
