
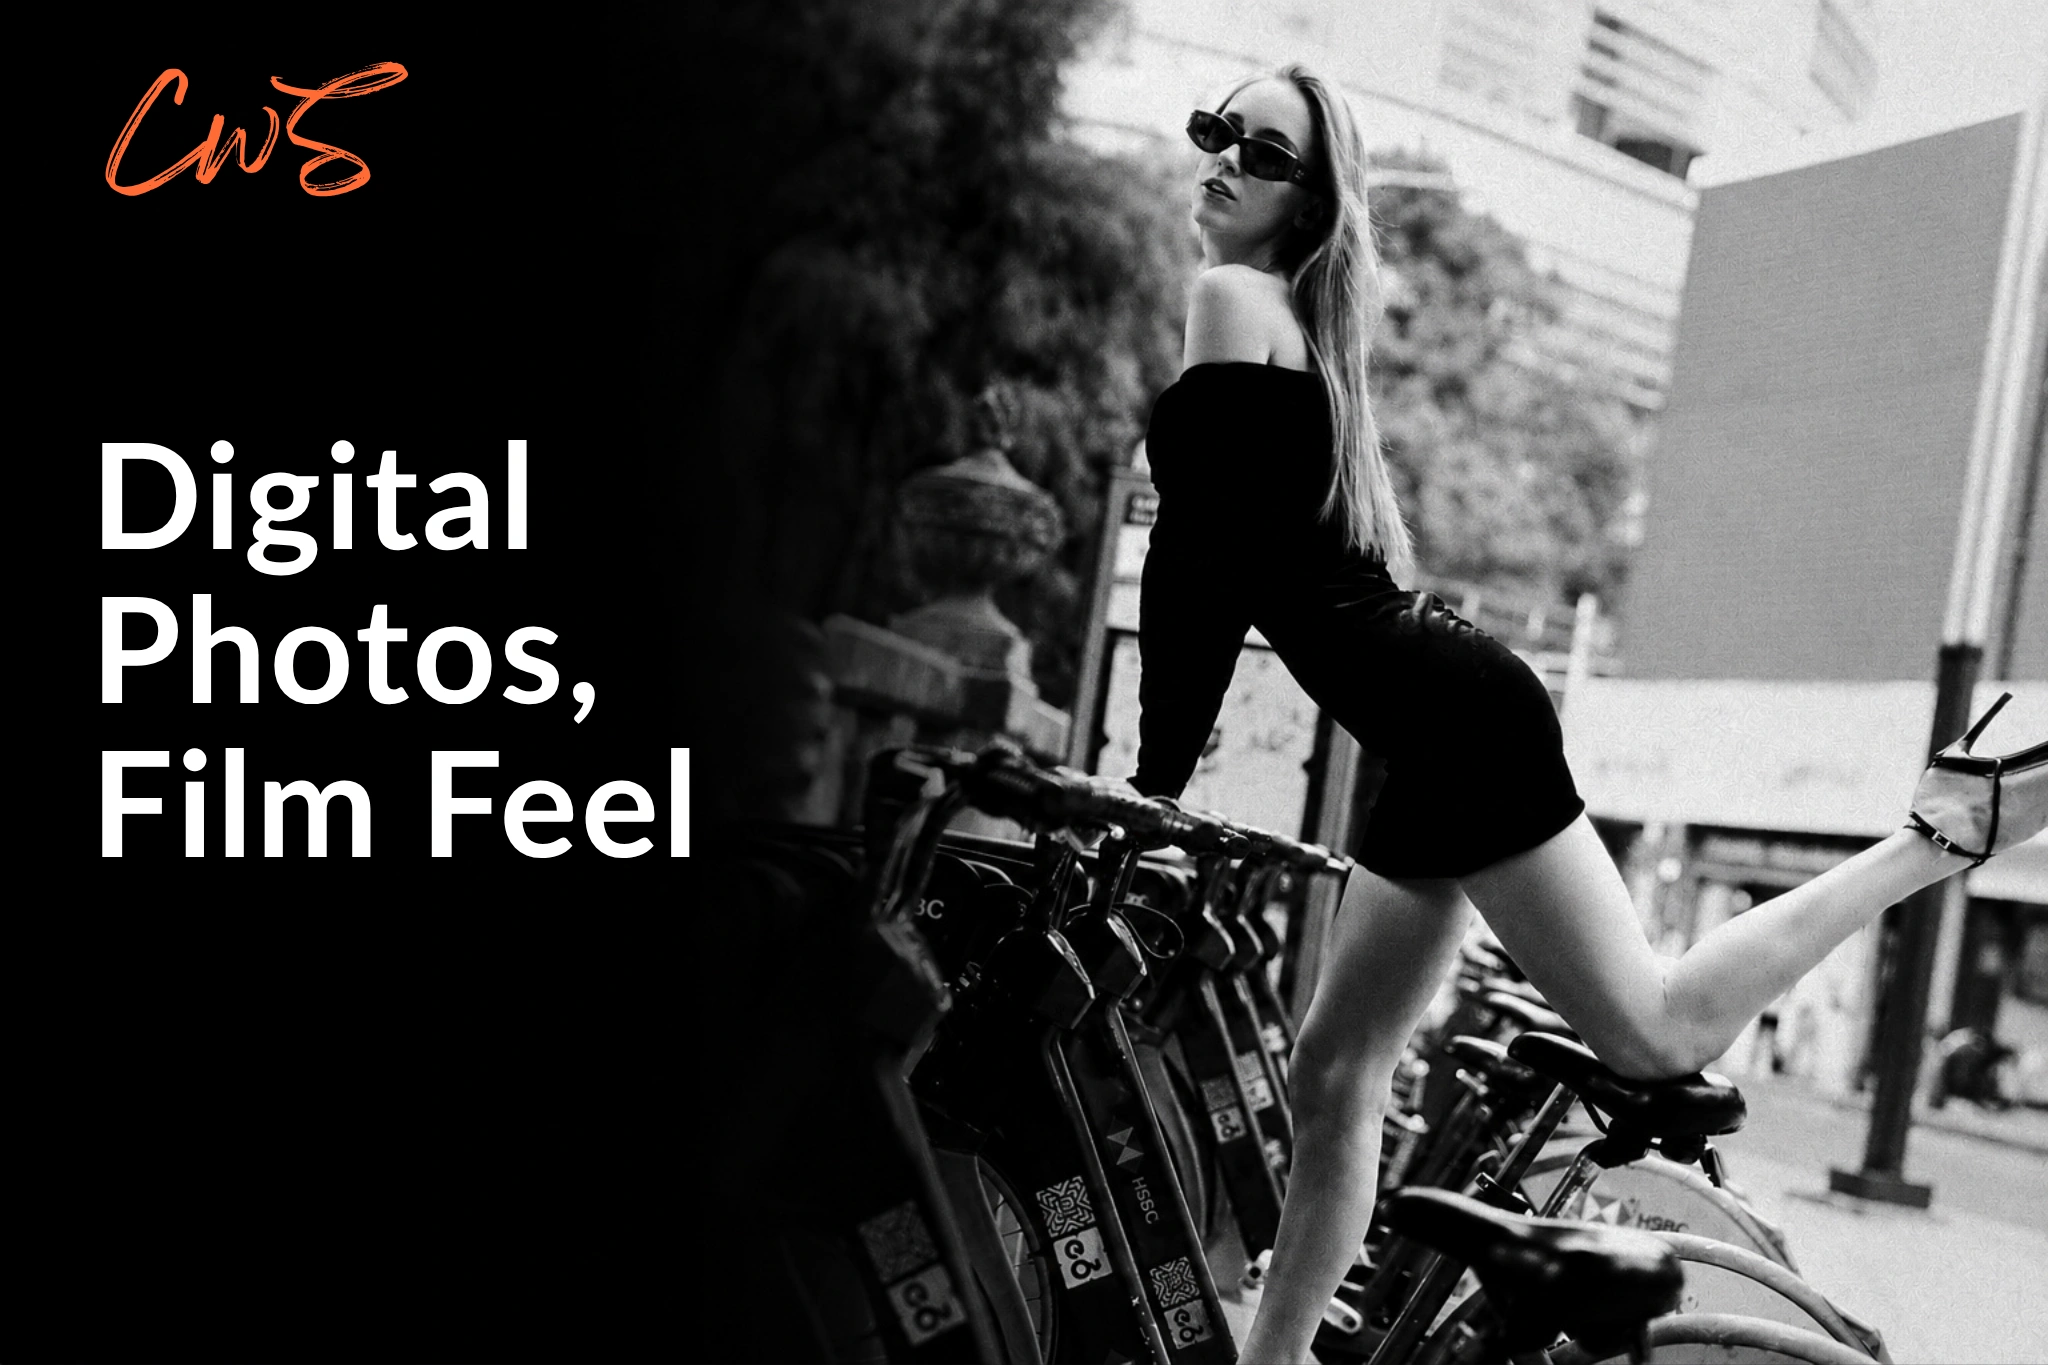
Grain alone won’t make digital photos look like film. A believable film look starts with the capture itself, then comes together through the right editing touch, with intentional light, tonal response, and controlled imperfection working together. The goal is to start with a photograph that already gives the edit something to work with. That approach creates a more convincing, complete result than simply applying a preset and hoping it feels like film.
Bonus for readers: Want to shape some of that character before you edit? We tested the Prism Lens FX Dream FX Filter on a real portrait shoot. Use code CLICKWITHSAL for 15% off Prism Lens FX.
What Makes Digital Photos Look Like Film?

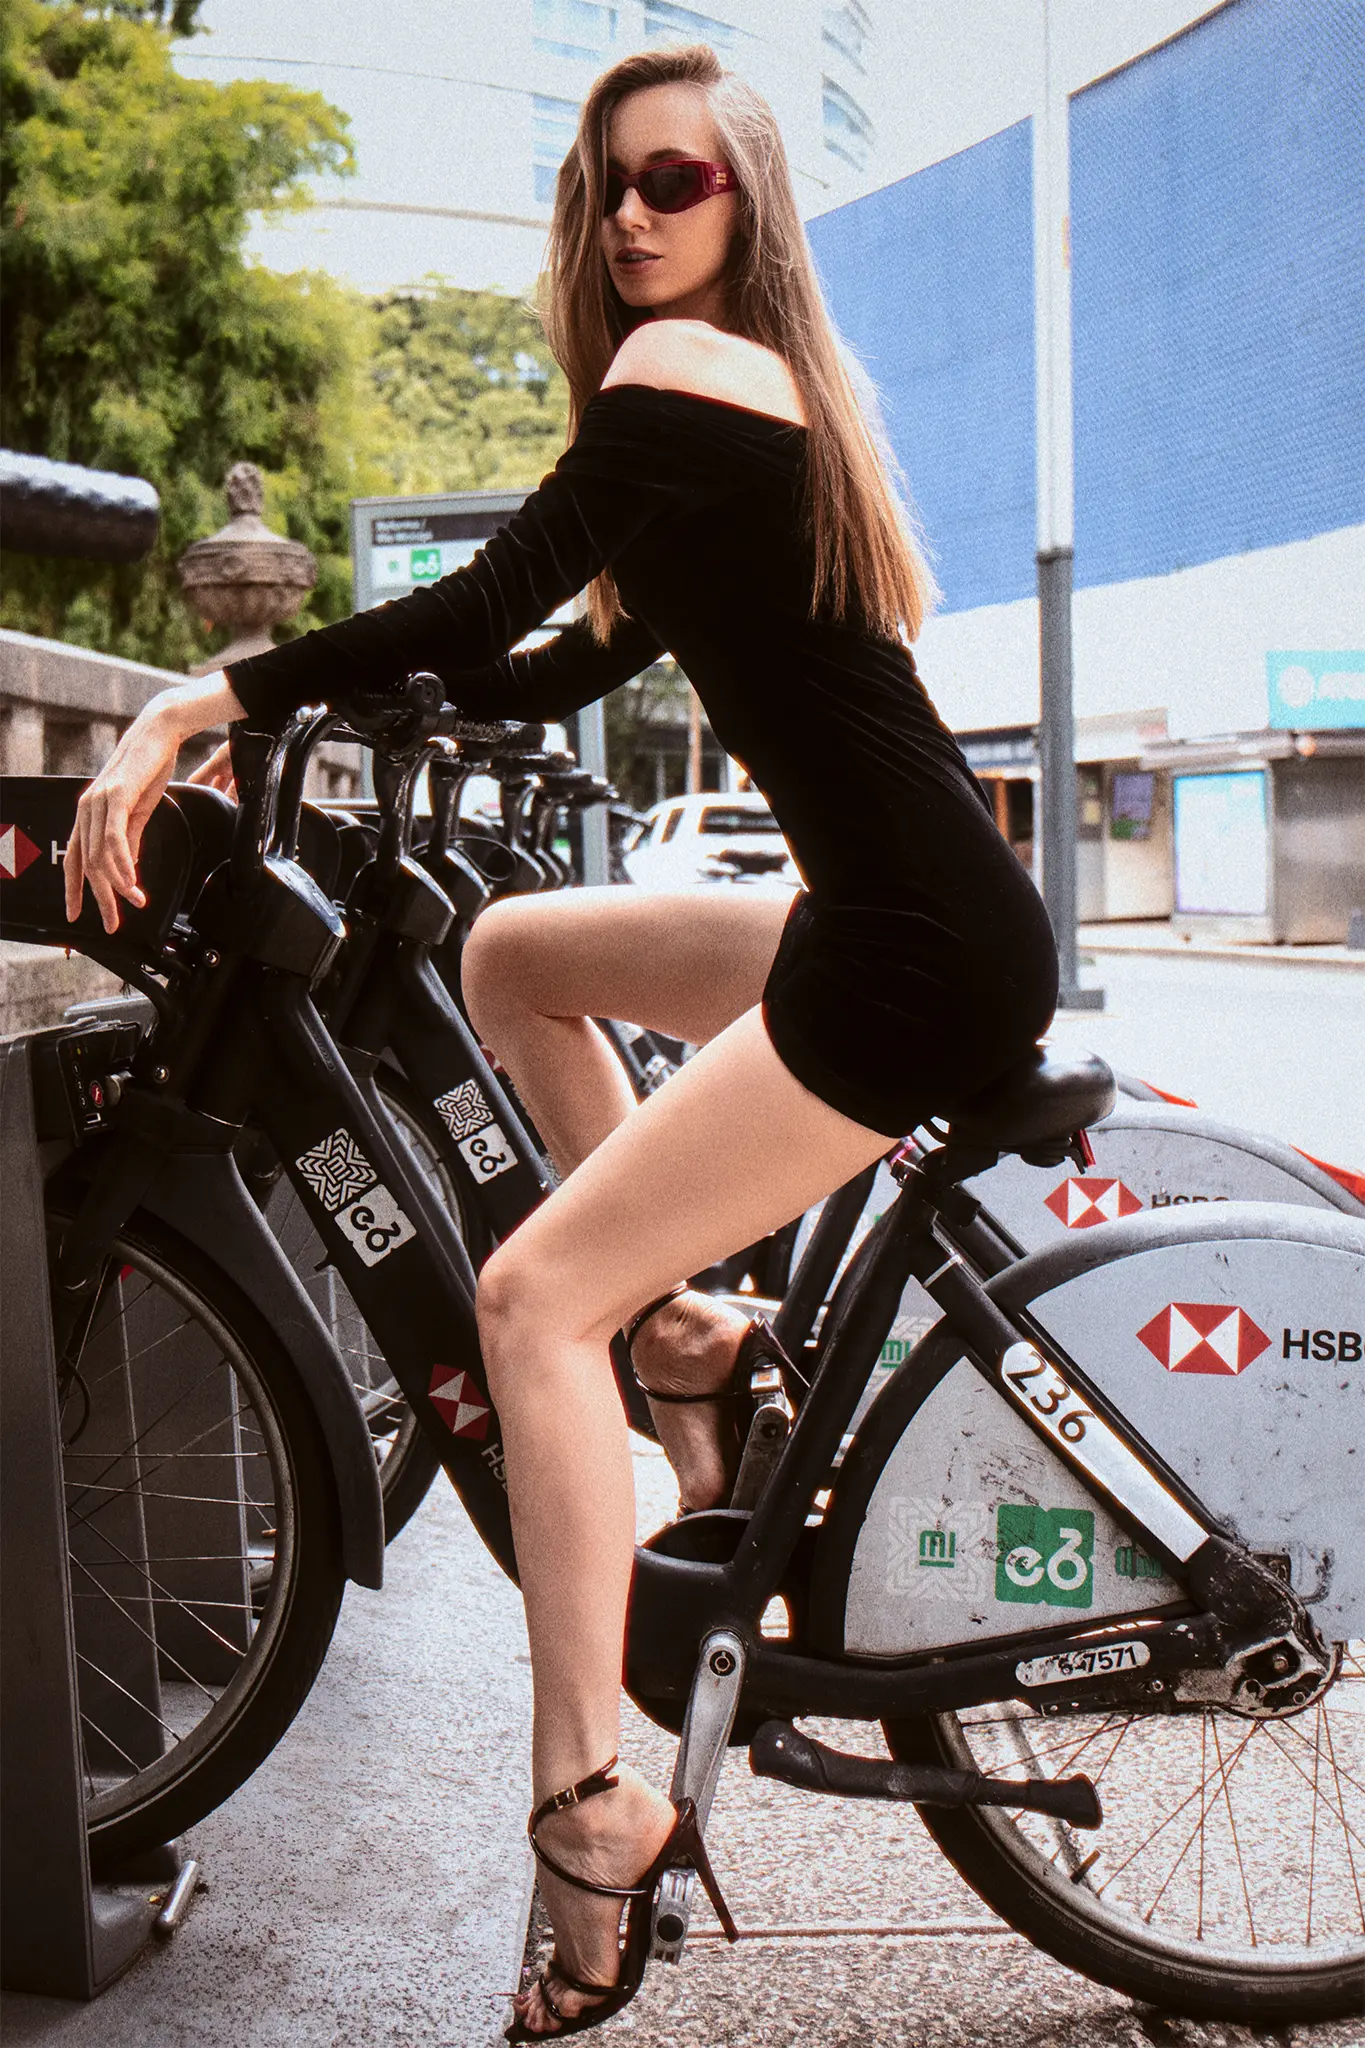
A convincing film look usually comes from six characteristics working together:
- Light: Direction, flare, bloom, practical lights, highlight transitions.
- Tonality: Smooth transitions rather than brittle clipping.
- Color: A coherent palette based on a specific film direction.
- Optics: Microcontrast, flare behavior, diffusion and edge rendering.
- Organic texture: Grain that belongs to the image.
- Imperfection: Small irregularities that support the photograph.
The goal is to make all of those elements work as one visual medium, rather than reducing the film look to a single Instagram-style color grade.
Start with Optical Diffusion
Optical diffusion works differently from adding global blur in post because it affects the light as it enters the lens during capture. We tested the Dream FX Filter because it creates a more visible atmospheric shift by changing how highlights, contrast, and light are rendered in-camera. Before jumping into editing, here is a quick checklist to help you get more of the film aesthetic right at capture:
- Shoot RAW
- Choose light with shape and direction
- Let useful flare and reflections remain when they add atmosphere
- Do not increase ISO simply to manufacture texture
- Photograph with the final visual direction already in mind
Start in-camera, then decide how much bite the final photograph actually needs.
How to Edit Digital Photos to Look Like Film
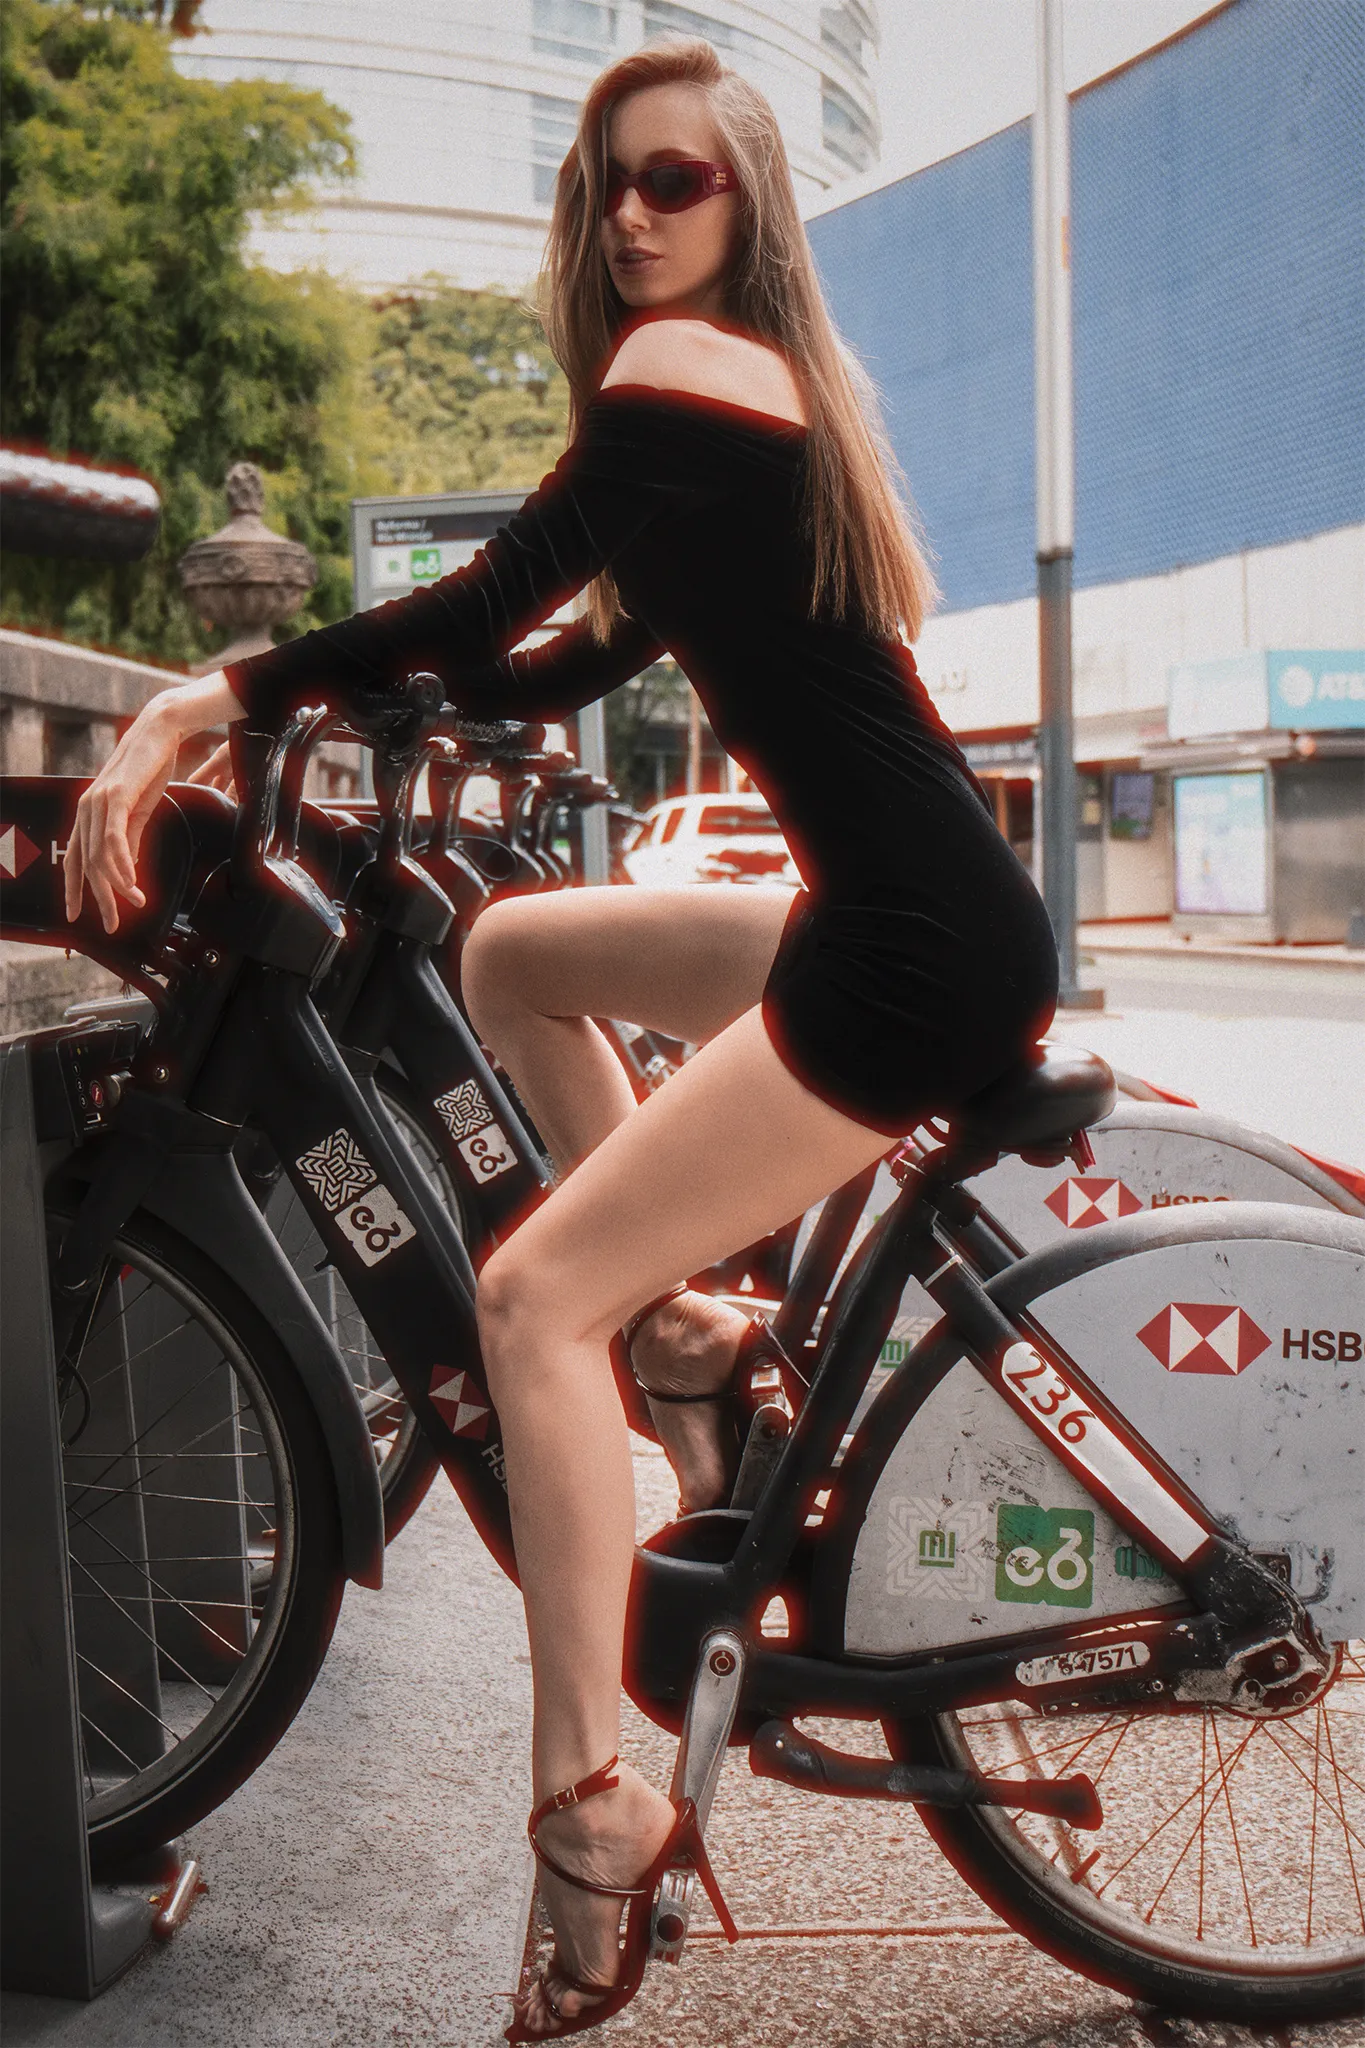
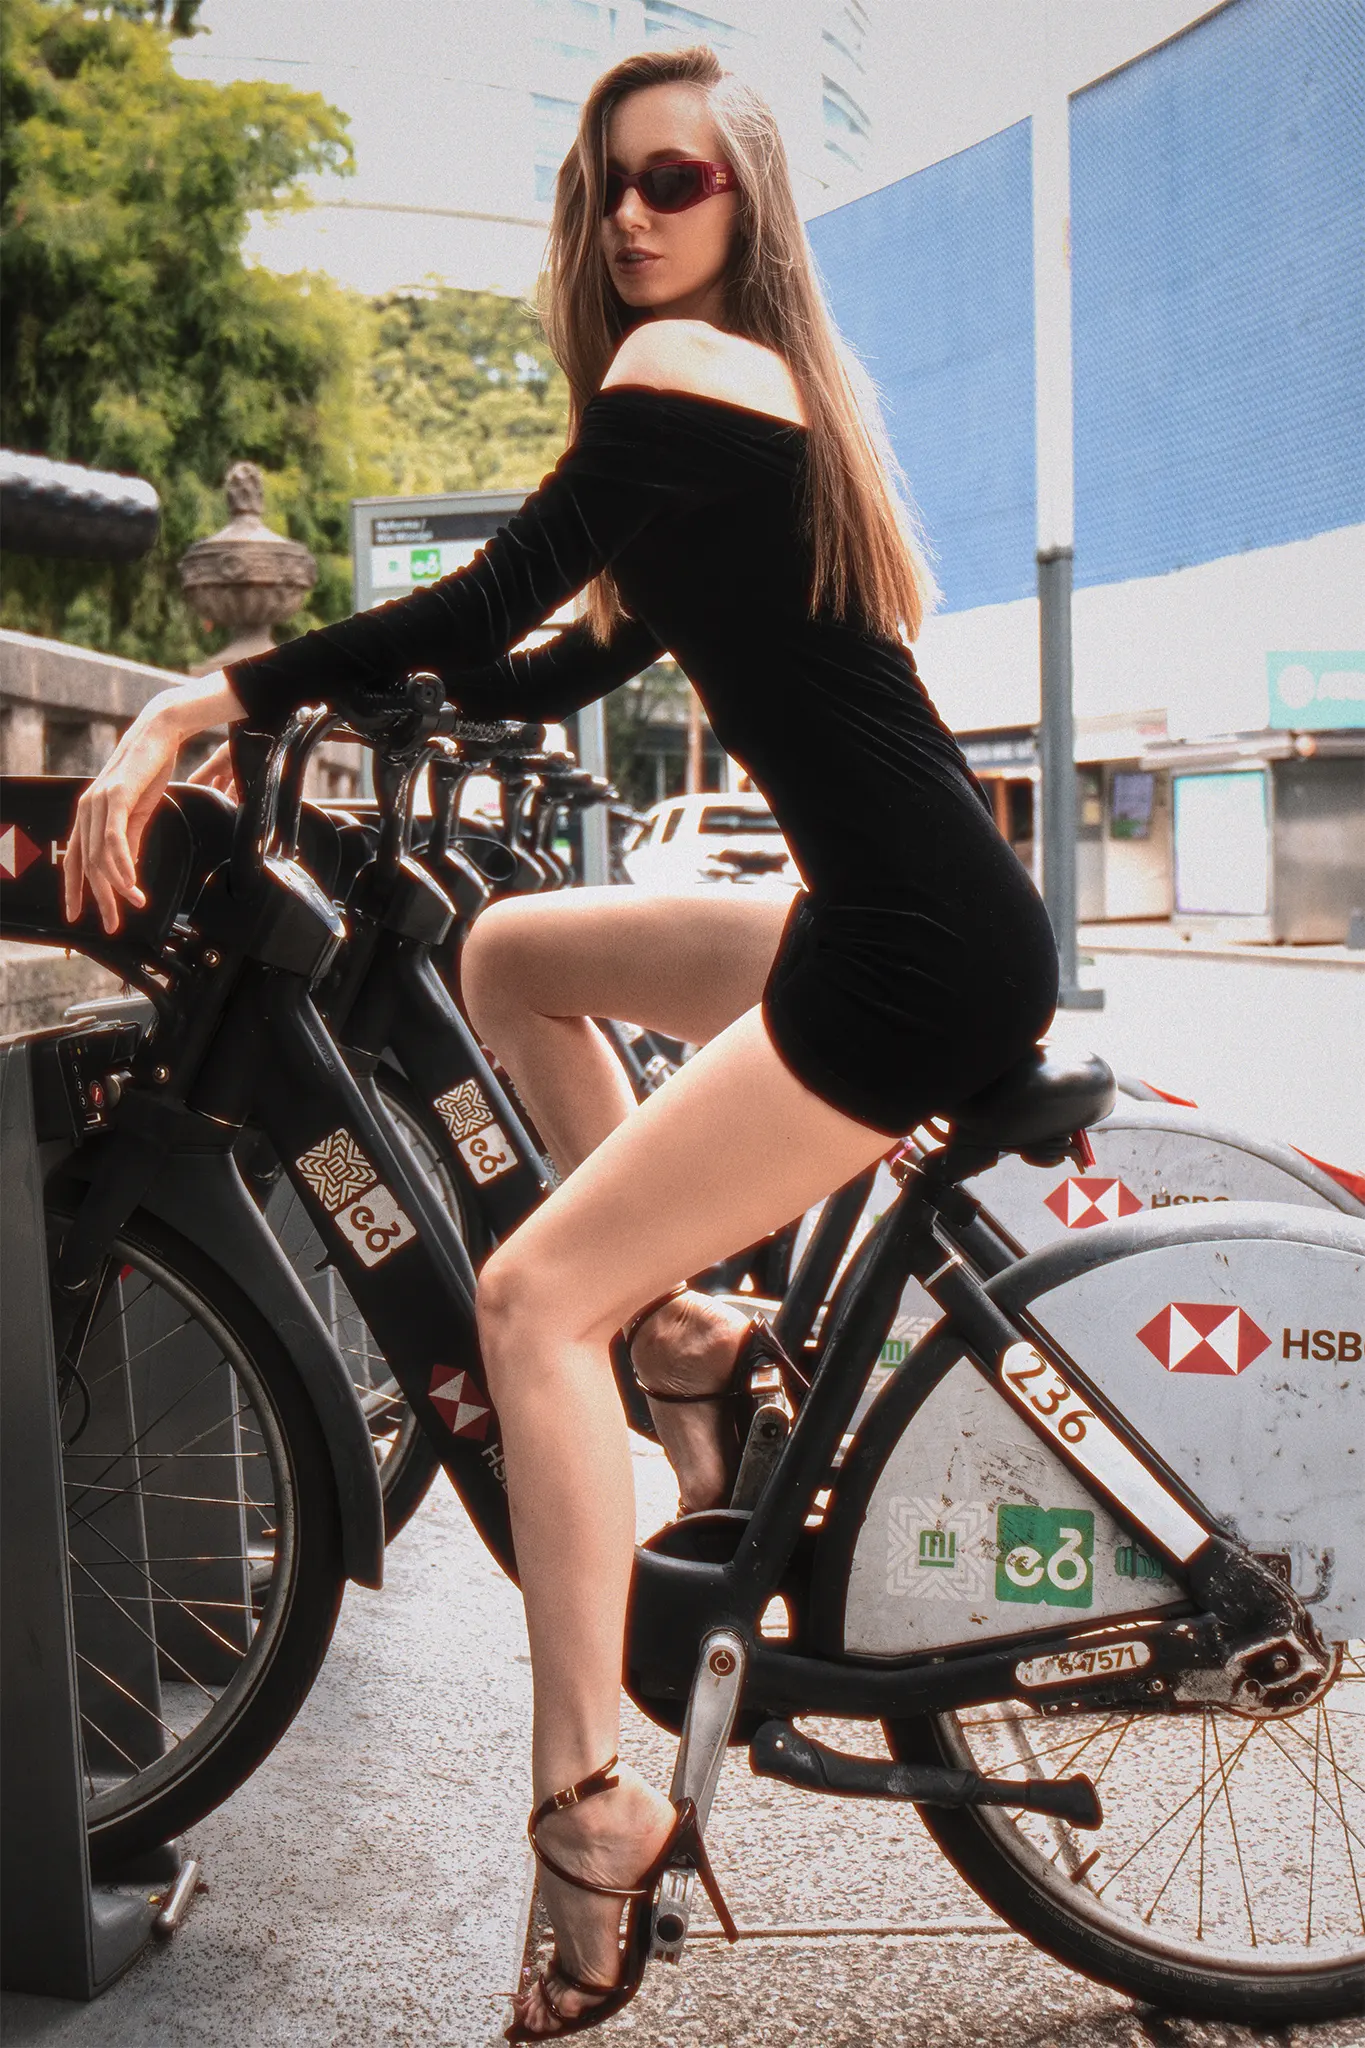
Post-production should build on what is already present rather than trying to overwrite the photograph. After shaping the tone, color, bloom, and halation, add grain last. Major tonal adjustments, resizing, or sharpening afterward can change how that texture feels. Grain should feel integrated into the image, not like an overlay simply sitting on top of it.
For the film look, our editing go-to is Dehancer. You can recreate some of the same characteristics in Lightroom or Photoshop, but the experience and final output are not quite the same. Dehancer is built specifically around film emulation, with dedicated controls for film profiles, tonal response, halation, bloom, and grain. You can use it either as a plugin or as standalone software, depending on your workflow. Grain, halation, and bloom are some of the tools we use most, but they are also the ones we treat most carefully. Push them too far and the image starts looking overprocessed rather than convincingly filmic.
Consider Dehancer if:
- Film character is part of your recognizable visual language
- You want film profiles and optical-style effects inside one system
- You want deeper control over the analog finish
You probably won’t need it if:
- You only want the film look occasionally
- Grain, bloom and halation rarely fit your work
- You are hoping software will rescue weak lighting or composition
Bonus for readers: Use CWSPROMO10 for 10% off Dehancer.
Lightroom vs Dehancer for a Film Look


You can absolutely create a film-inspired photograph manually in Lightroom. However, Dehancer is more film-focused and has a clear edge when it comes to halation, bloom, and film compression. Lightroom is still excellent for controlling exposure, white balance, and building a clean base edit. If you use Dehancer as a Lightroom plugin, the strongest workflow is to build the foundation in Lightroom, then add the film character in Dehancer.
In our opinion, using Prism Lens FX filters before editing in Dehancer gives you the strongest combination. That does not mean you need both, as you can still achieve a believable film aesthetic using either one on its own. With this approach, part of the film look is created in-camera, while the film response is refined during editing. Because neither stage has to do all the work, the final result tends to feel more natural, balanced, and convincing.
How to Make Digital Photos Look Like Film FAQs
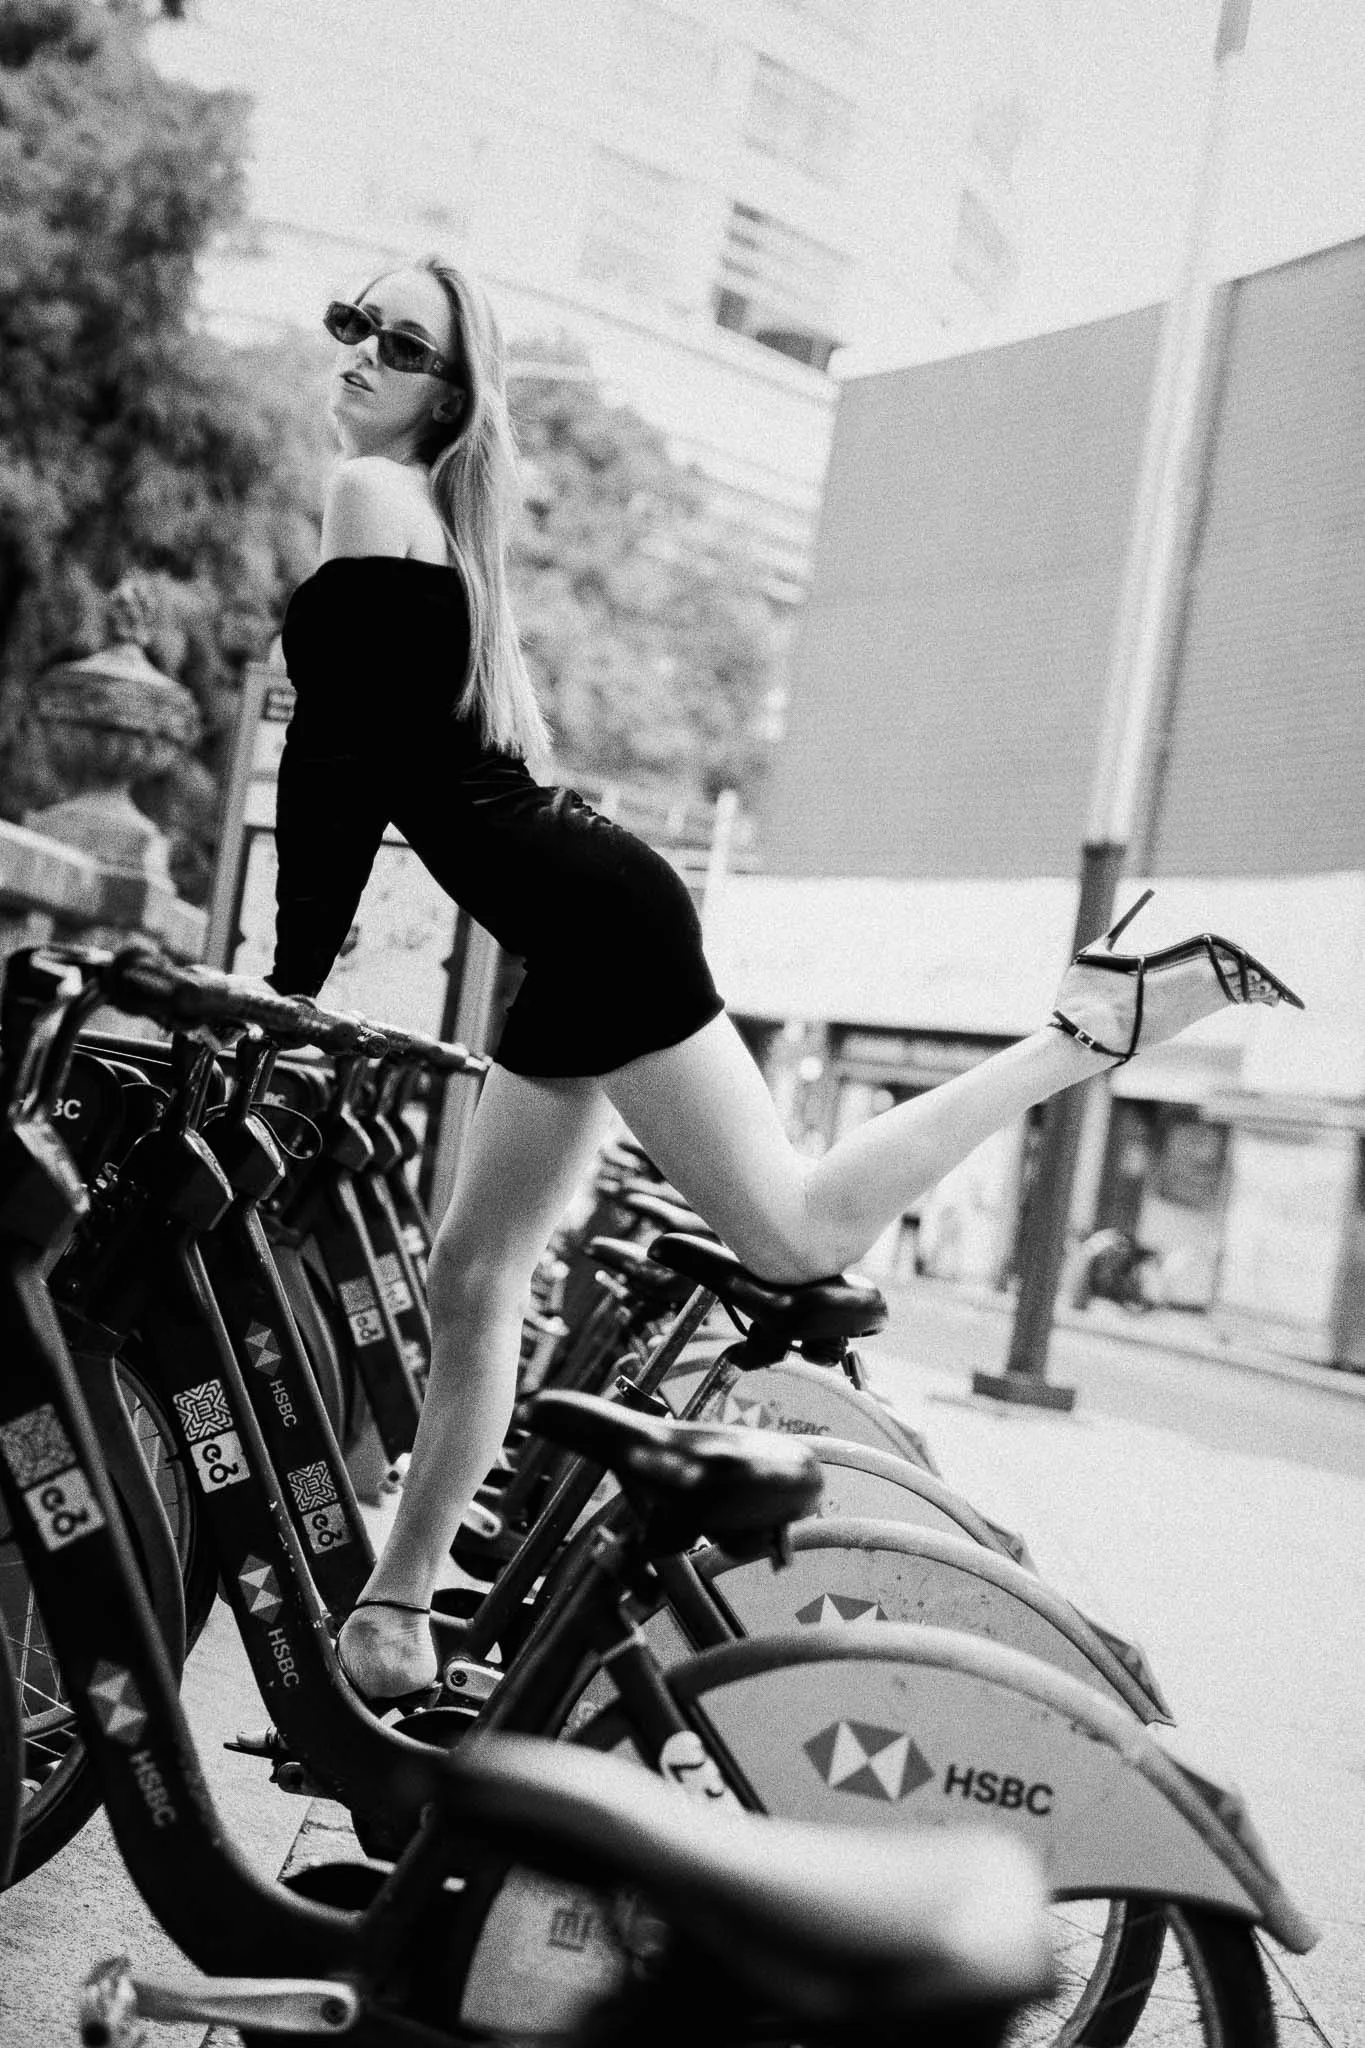
To make digital photos look like film, start with intentional light, controlled highlights, and a strong RAW file before editing. Then shape the tonal response and color, and add film characteristics such as grain, bloom, halation, and optical diffusion with restraint.
Yes. Lightroom can create a convincing film-inspired look through exposure, tone curves, color adjustments, grain, and careful highlight control. Dehancer offers more specialized film-emulation tools such as film profiles, halation, bloom, and film compression.
Yes. You can make photos look like film without presets by manually controlling exposure, tonal response, color, grain, highlight roll-off, and texture. Starting with the right lighting and optical character during capture can make the final result more convincing.
Dehancer is more specialized for film emulation, while Lightroom is stronger as a general RAW editor.
Key Takeaways
- Light, tonality, color, optics, texture and imperfection need to work together
- Optical diffusion can shape highlights and contrast before the image reaches the sensor
- Add grain late, after the main tonal, color and retouching work is finished
- Halation and bloom work best when they stay localized and react naturally to bright areas
- Lightroom builds a strong base edit, while Dehancer gives more specialized control over the final film character
Affiliate Disclosure: Some links or promo codes in this article may earn us a commission if you buy through them, at no extra cost to you. That does not change our opinion. We recommend tools based on whether they actually fit the workflow.













Leave a Reply