
Adding fog to a photo can introduce depth, soften distracting backgrounds, and give an image a more cinematic atmosphere. But there’s more to it than simply applying an effect. Fog needs to interact naturally with the scene to create a convincing photo rather than a flat, gray image. The latest Luminar update introduces more advanced controls for atmospheric depth, cloud placement, and lighting. Alternatively, Photoshop lets you build the effect manually using layers, masks, and fog overlays. But adding fog isn’t the difficult part. Making it believable is. Let’s break it down.
Bonus for readers: Luminar is particularly interesting for adding fog because its Atmosphere technology is designed to work with the photograph’s existing depth rather than simply placing a texture over it. Want to try the effect yourself? Explore Luminar and save 10% with code CLICKWITHSAL on eligible purchases.
How to Add Fog to a Photo in Luminar
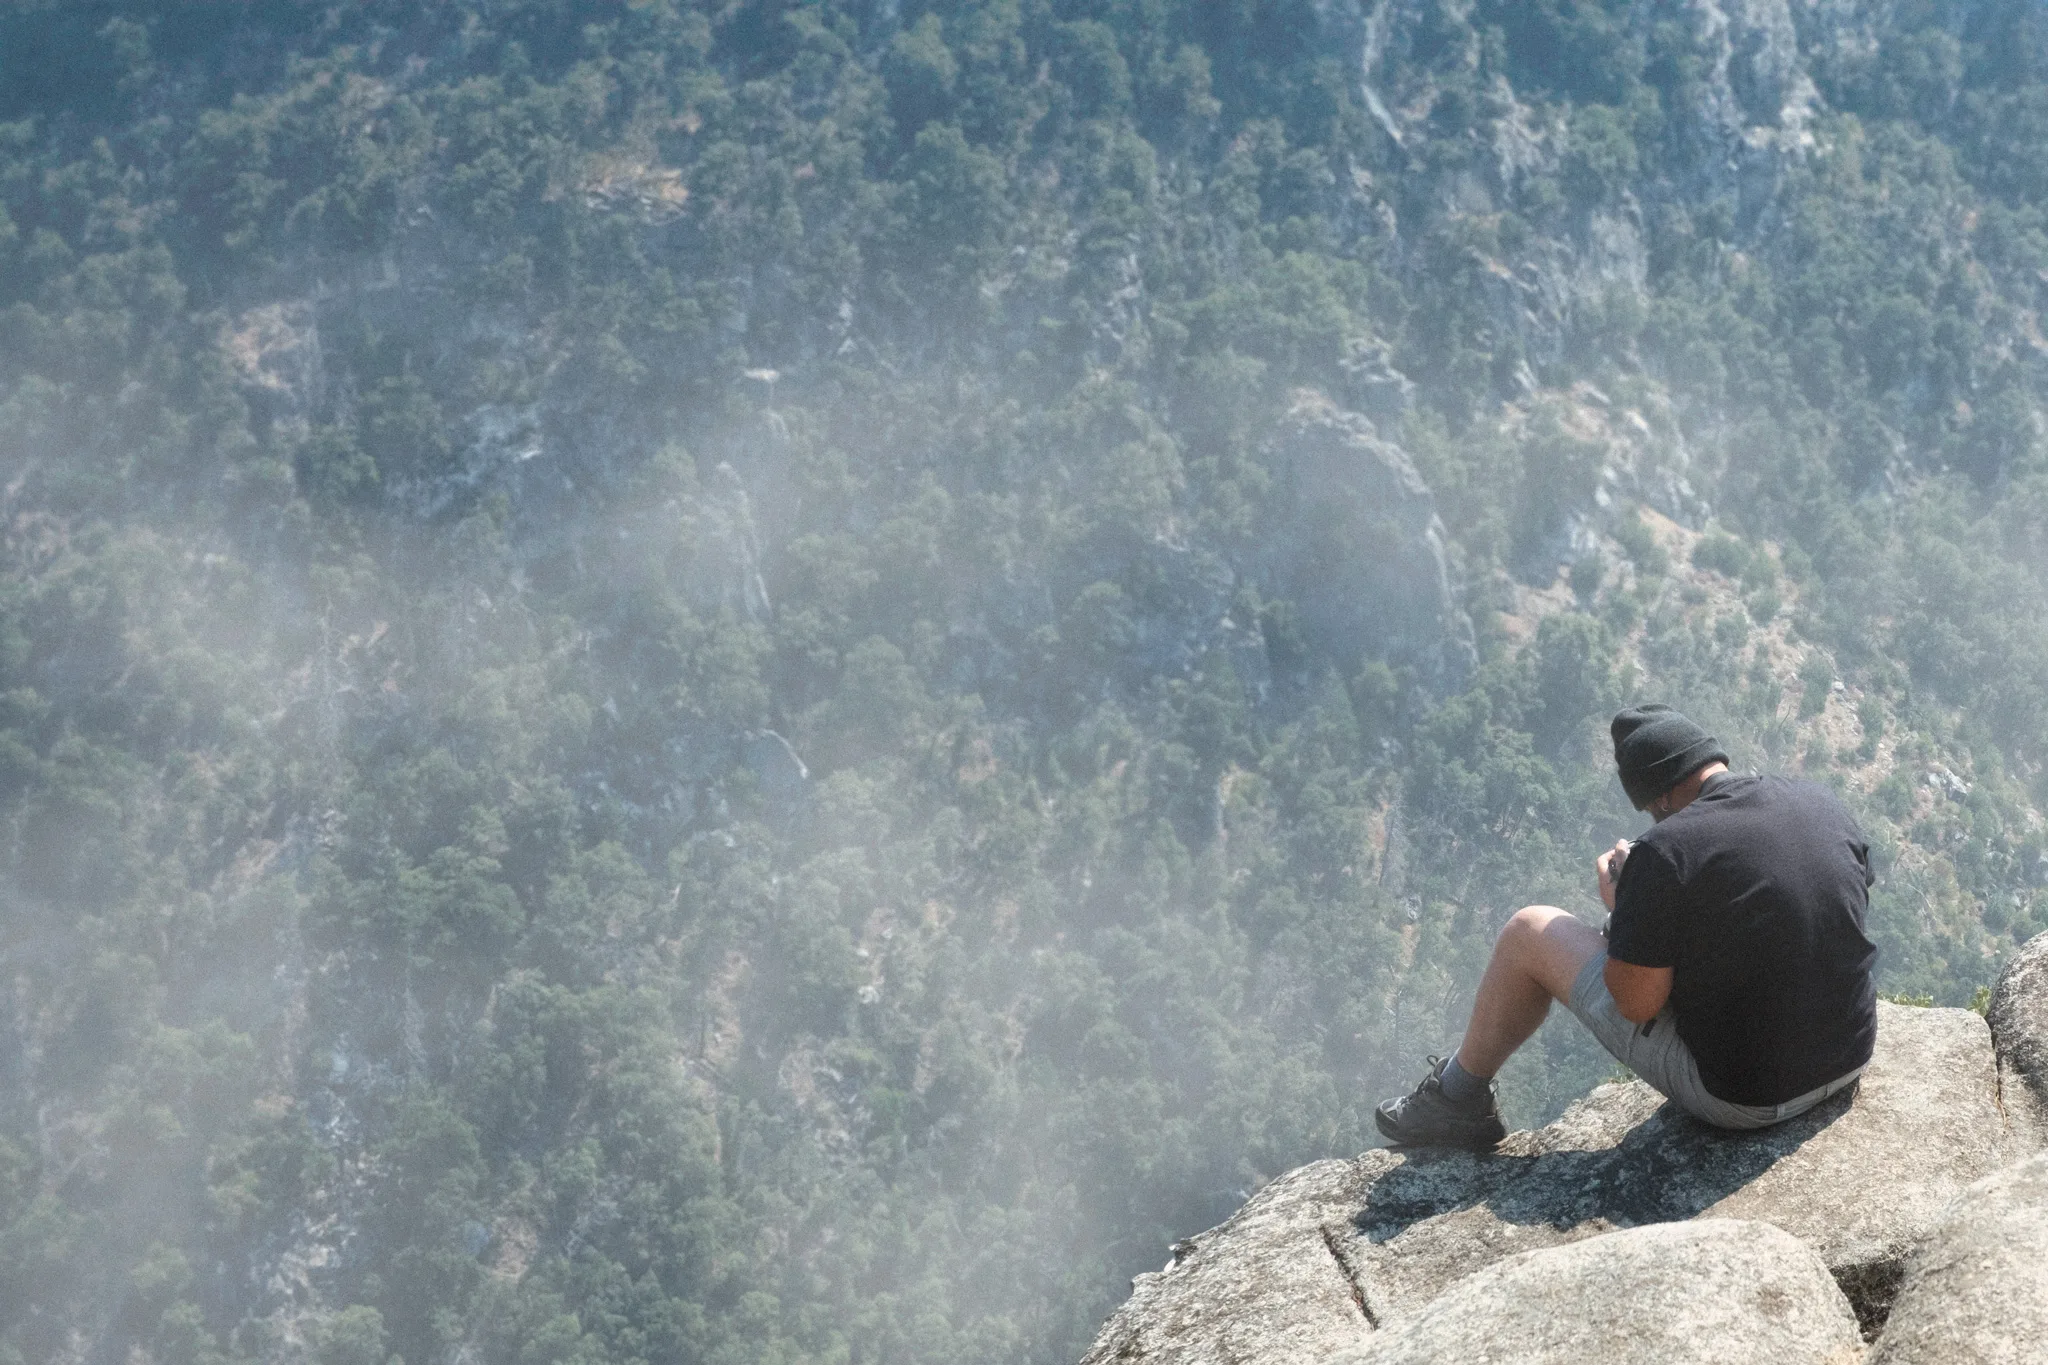
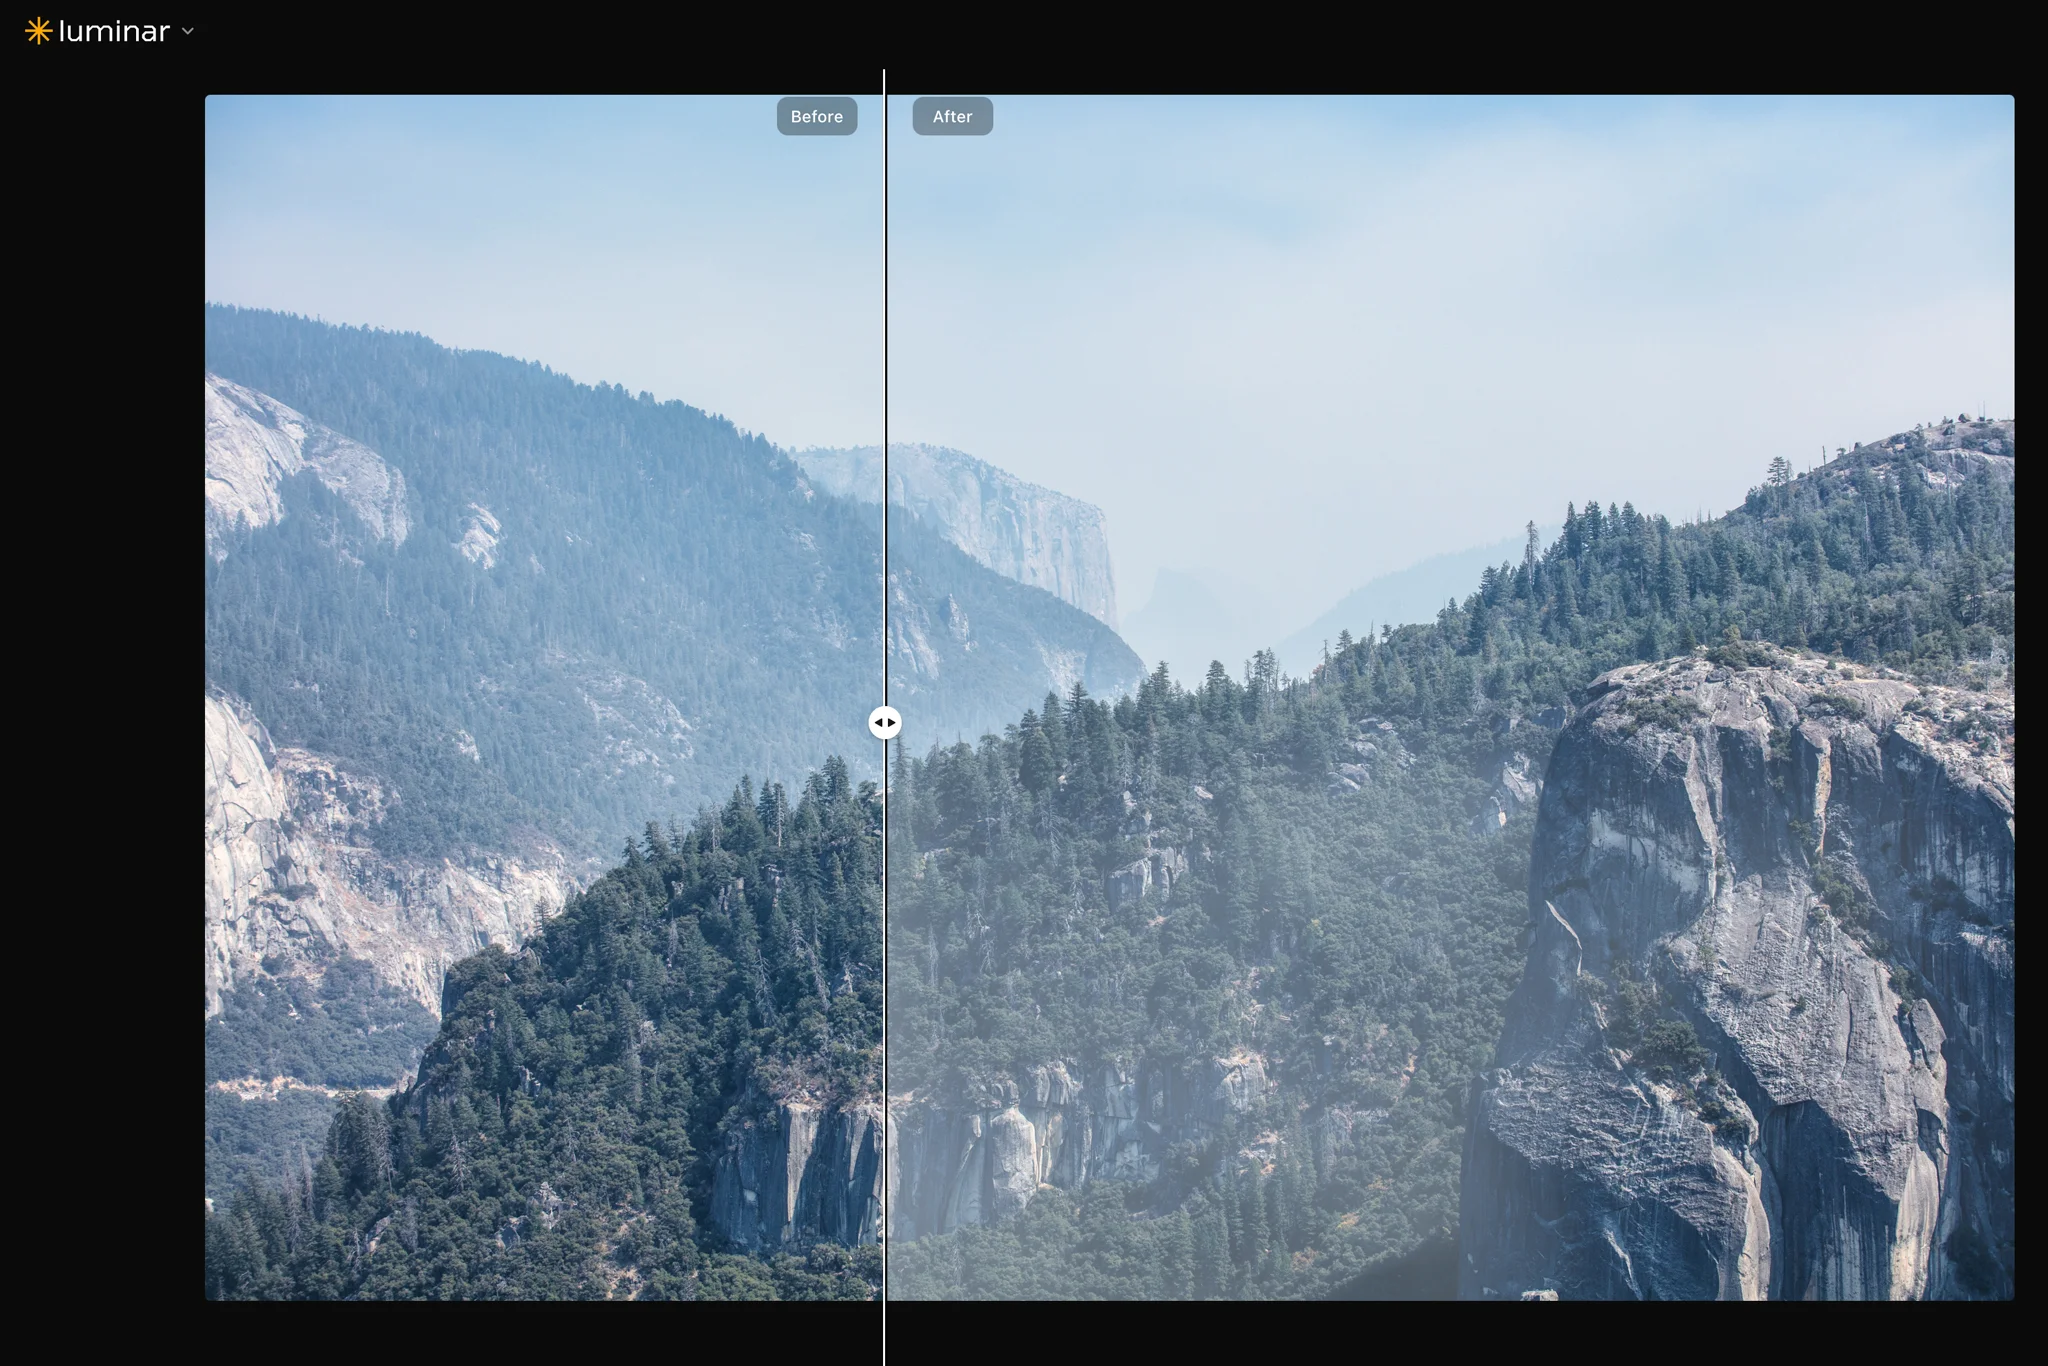
The photos in this article were edited with Luminar to test its upgraded Atmosphere tool. One thing worth considering is that we deliberately selected images that were good candidates for a fog effect. So far, we’re impressed by how the tool creates volumetric fog that interacts with the scene’s depth, ground plane, and existing lighting. The result is noticeably more realistic than simply adding a flat fog overlay. Here’s the workflow we recommend:
1. Choose a photo with natural depth
First of all, consider whether the photograph has somewhere for fog to exist. Some of the best candidates include:
- Mountain landscapes with overlapping ridgelines
- Coastal photographs with distant cliffs or headlands
- Roads disappearing into the landscape
- Forests with visible gaps between trees
- Environmental portraits with clear foreground and background separation
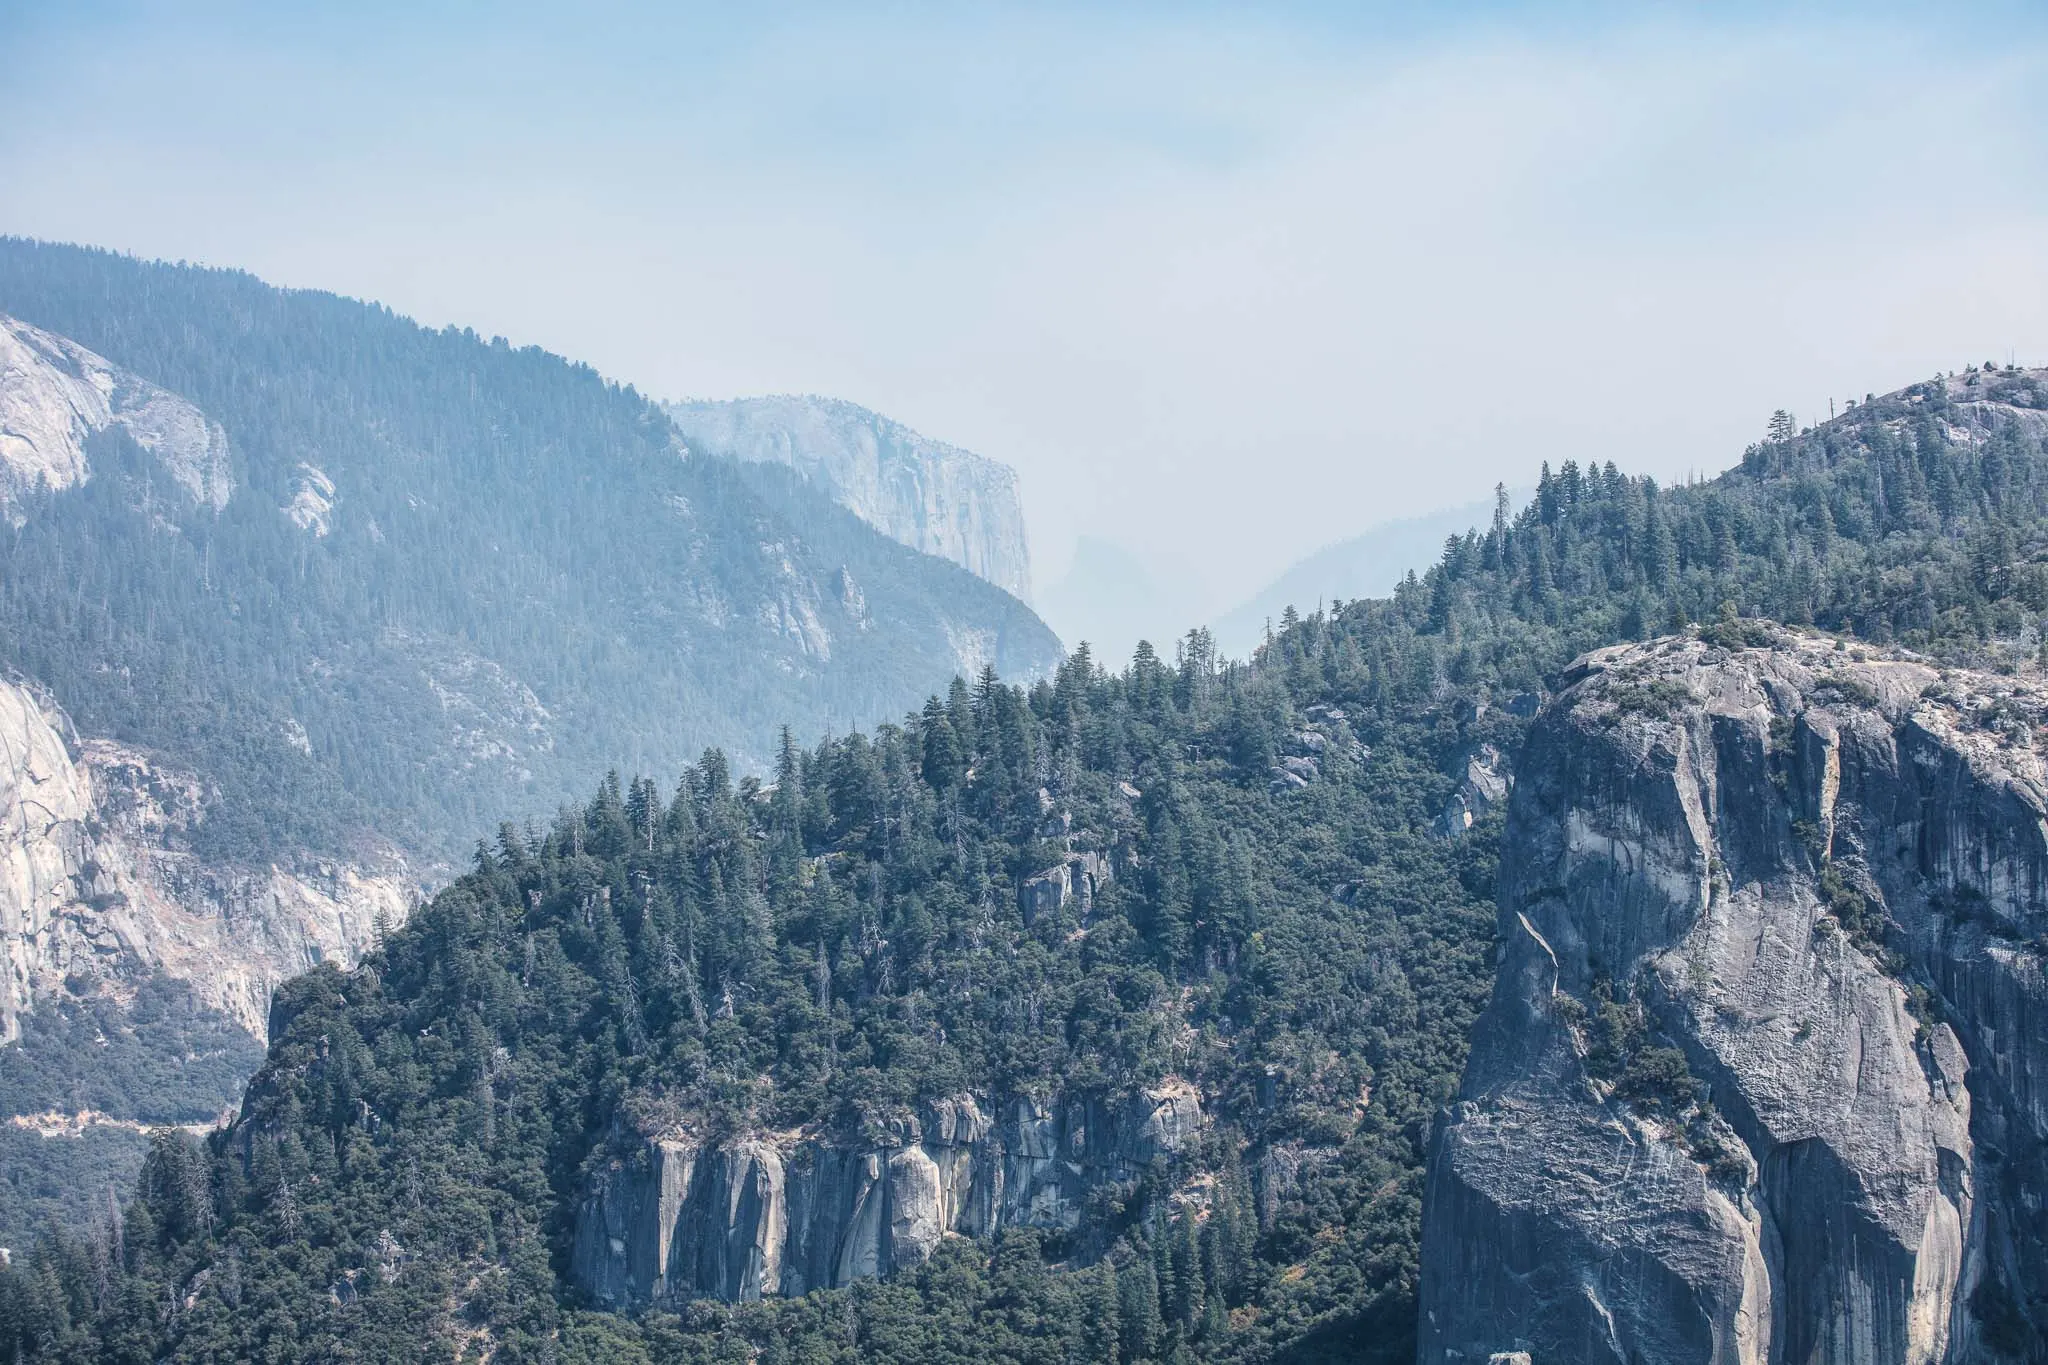
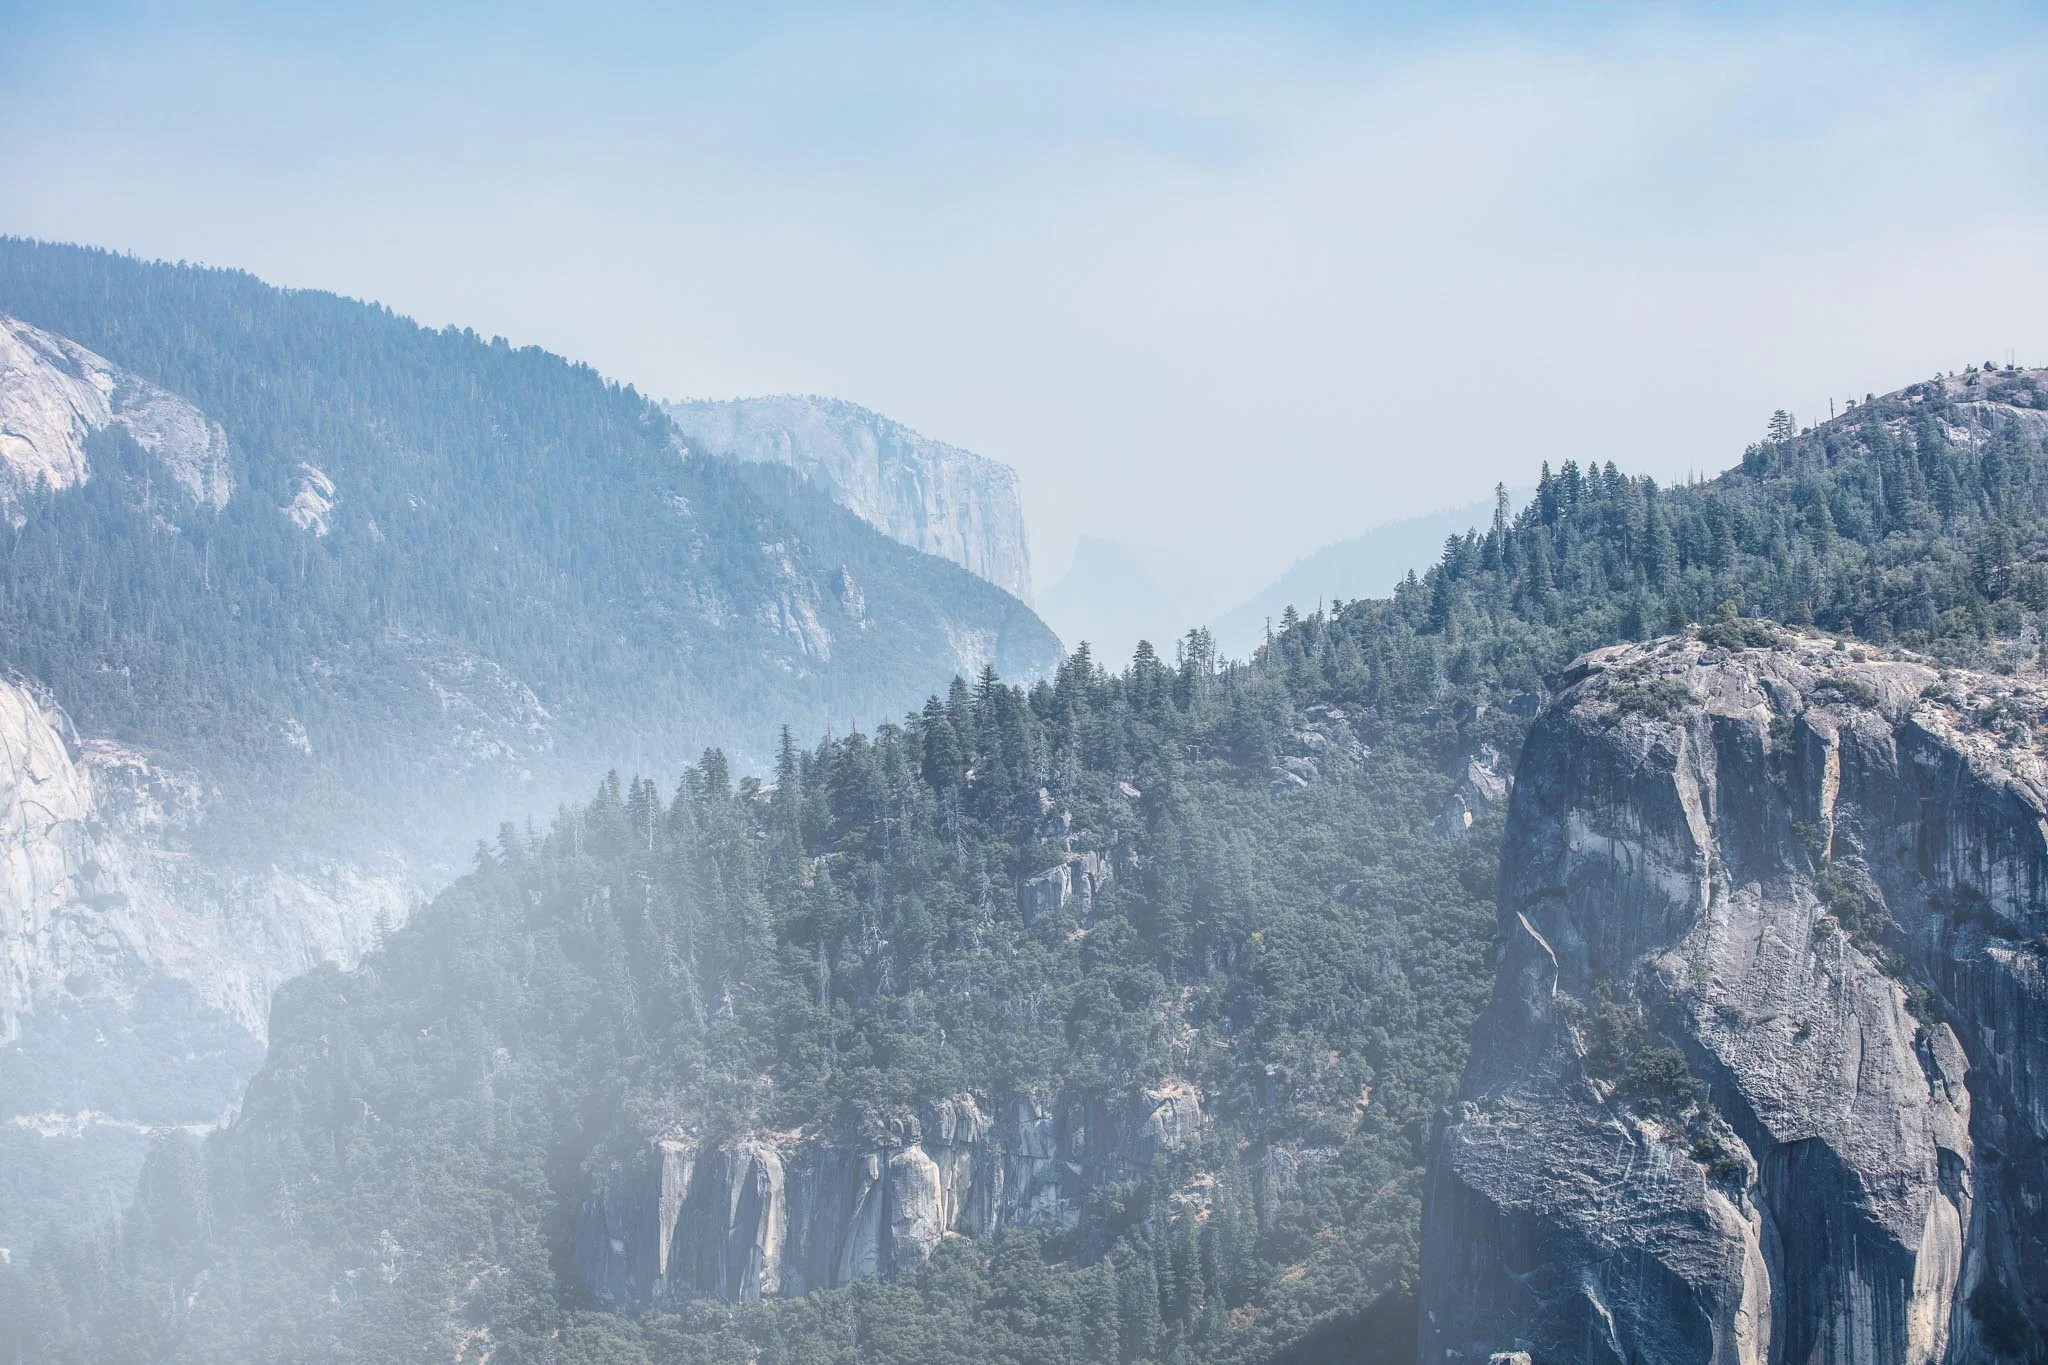
2. Open the Luminar Atmosphere AI tool
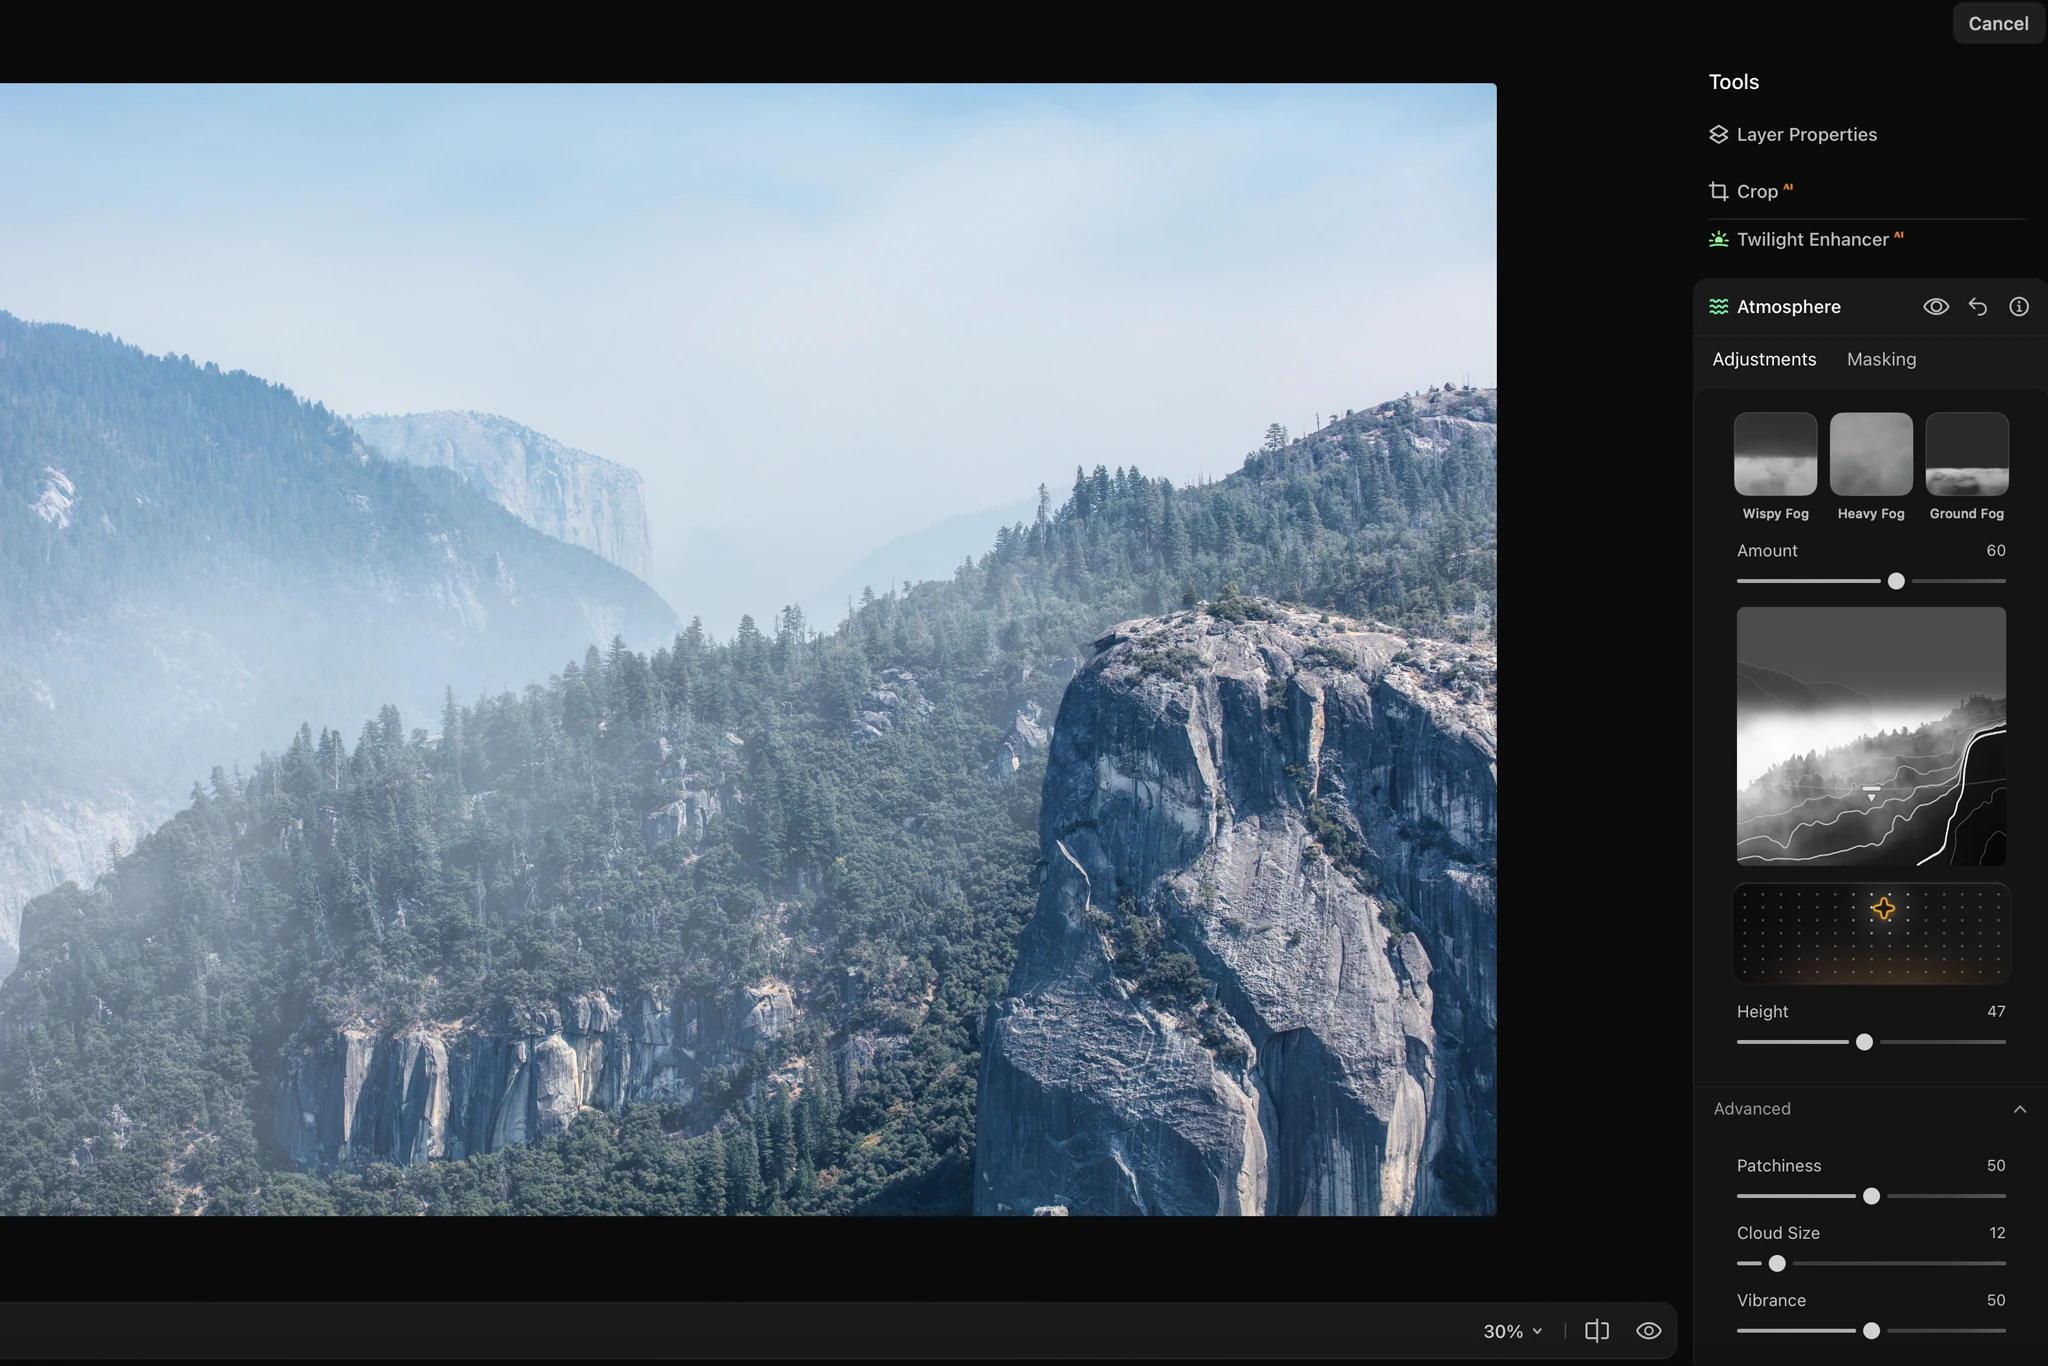
Import your photograph into Luminar and select Atmosphere from the available editing tools. Choose a fog effect that suits your image, then fine-tune its shape, amount, and height. The key is restraint. Aim for a realistic effect that enhances the photograph’s depth and mood without overpowering the original scene.
3. Review and export
Fog interacts with existing light, so make sure its brightness and color make sense alongside the original scene. Then ask yourself:
- Does the fog create depth or simply reduce visibility?
- Is the lighting consistent throughout the frame?
- Can you still identify the main subject at a glance?
If the answers to all three questions are yes, the image maintains a clear visual hierarchy, and we’d consider it export-approved.
How to Make a Fog Photo Effect Look Realistic
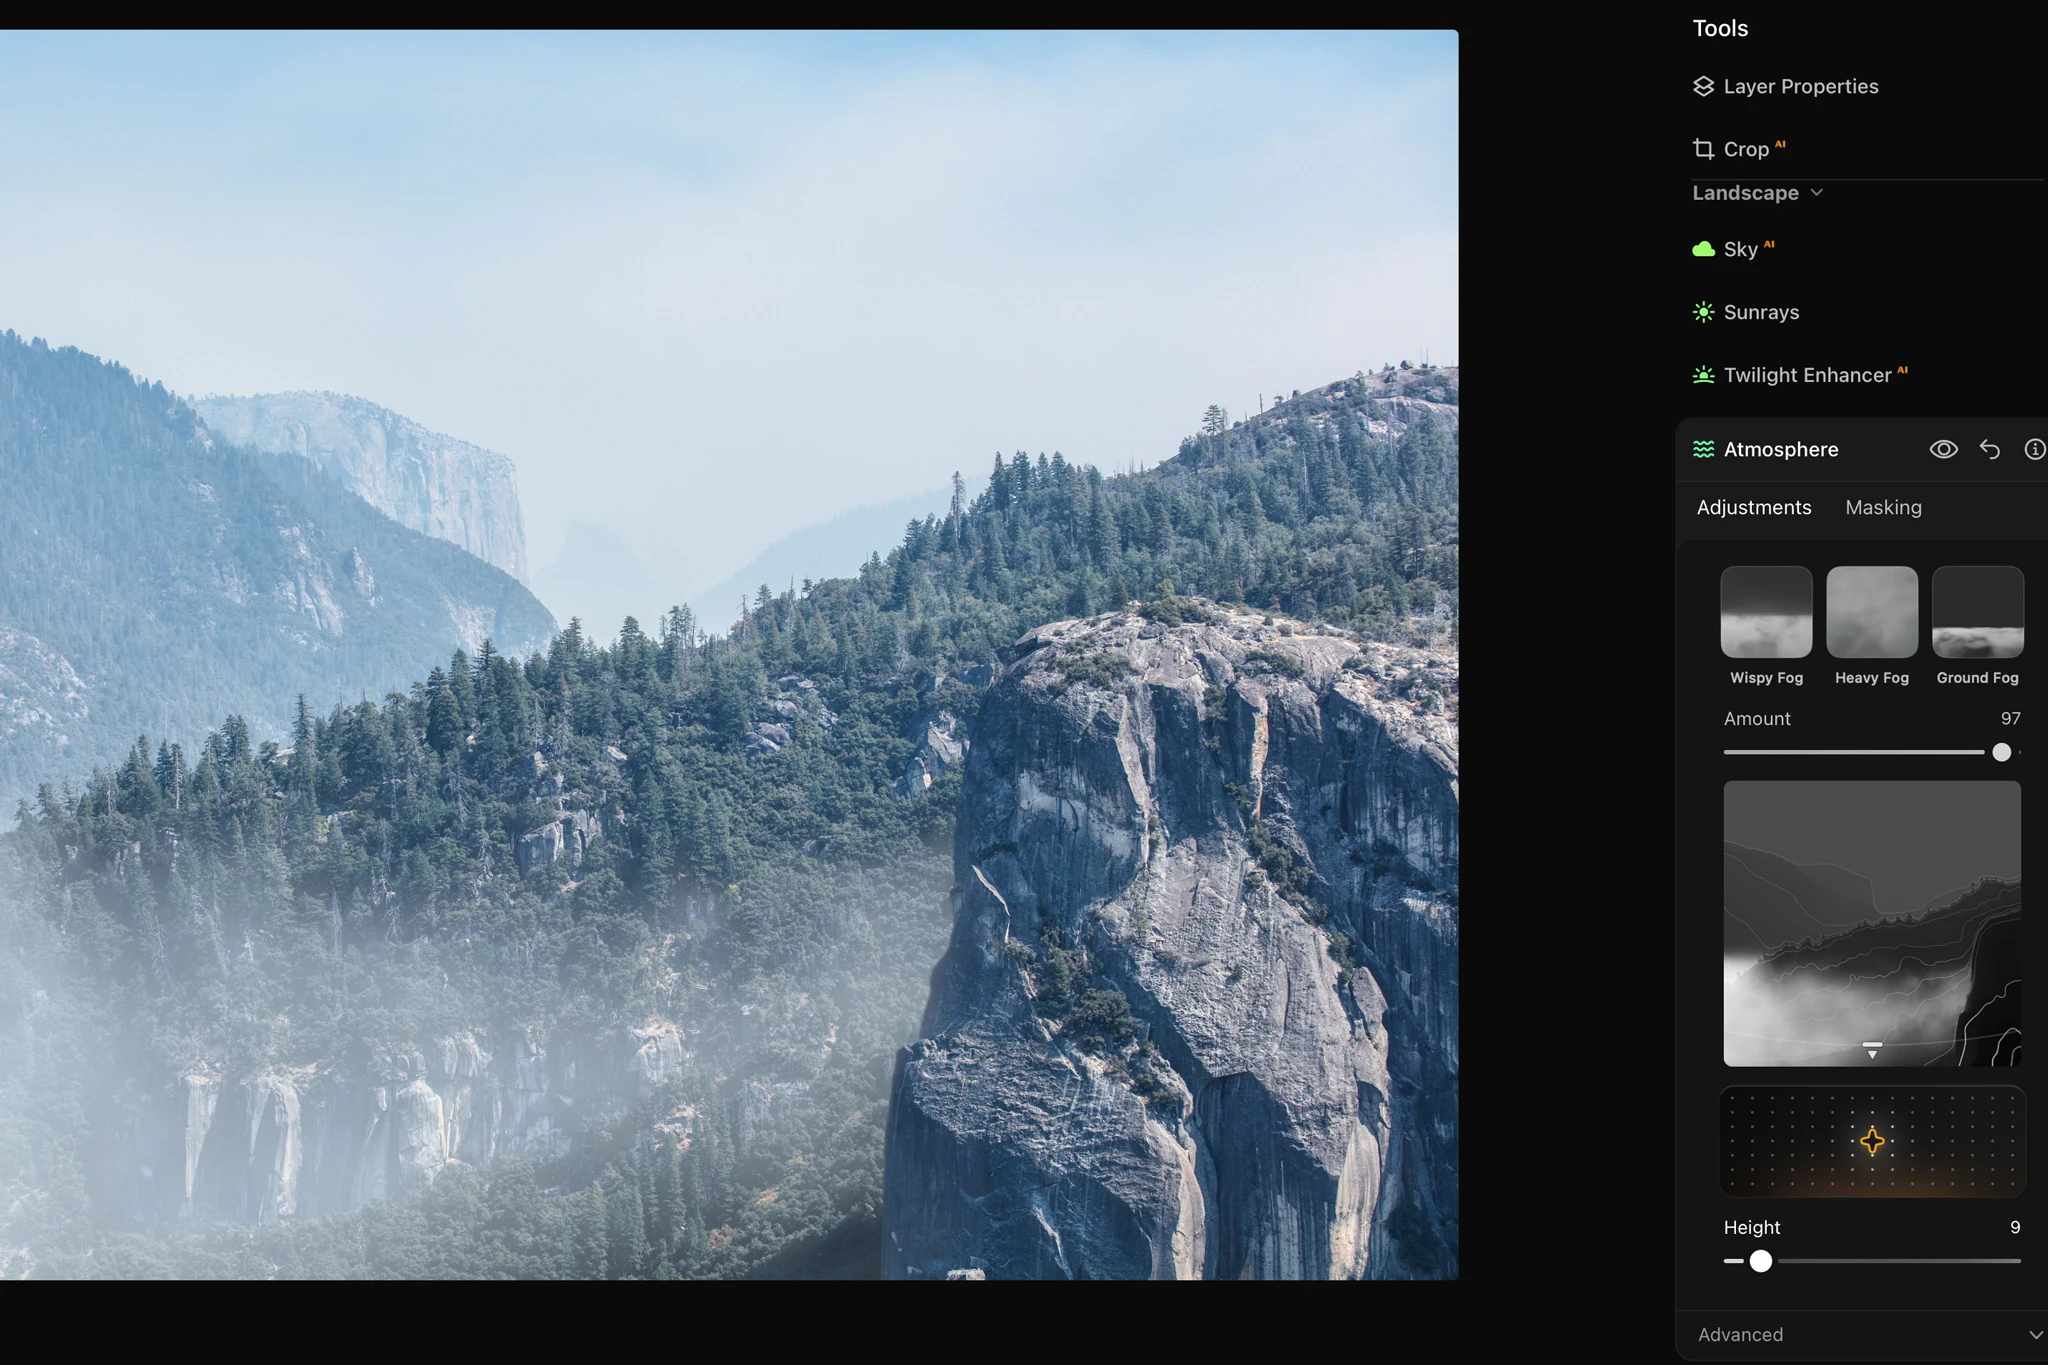
The fog effect naturally reduces visibility and contrast, so if you push it too far, the photo loses its impact. Preserve selective contrast around your subject, foreground, or leading lines to maintain depth and visual structure. When choosing a photo for this editing process, don’t force the effect. Instead, work with images where it reinforces the original character rather than sacrificing what made the shot compelling in the first place.
Our preference is to fine-tune Luminar’s Atmosphere controls until the fog is noticeable but subtle. For more experimental work, we’re open to pushing the effect further, as long as it supports the narrative and complements the image.
Luminar vs Lightroom vs Photoshop for Adding Fog
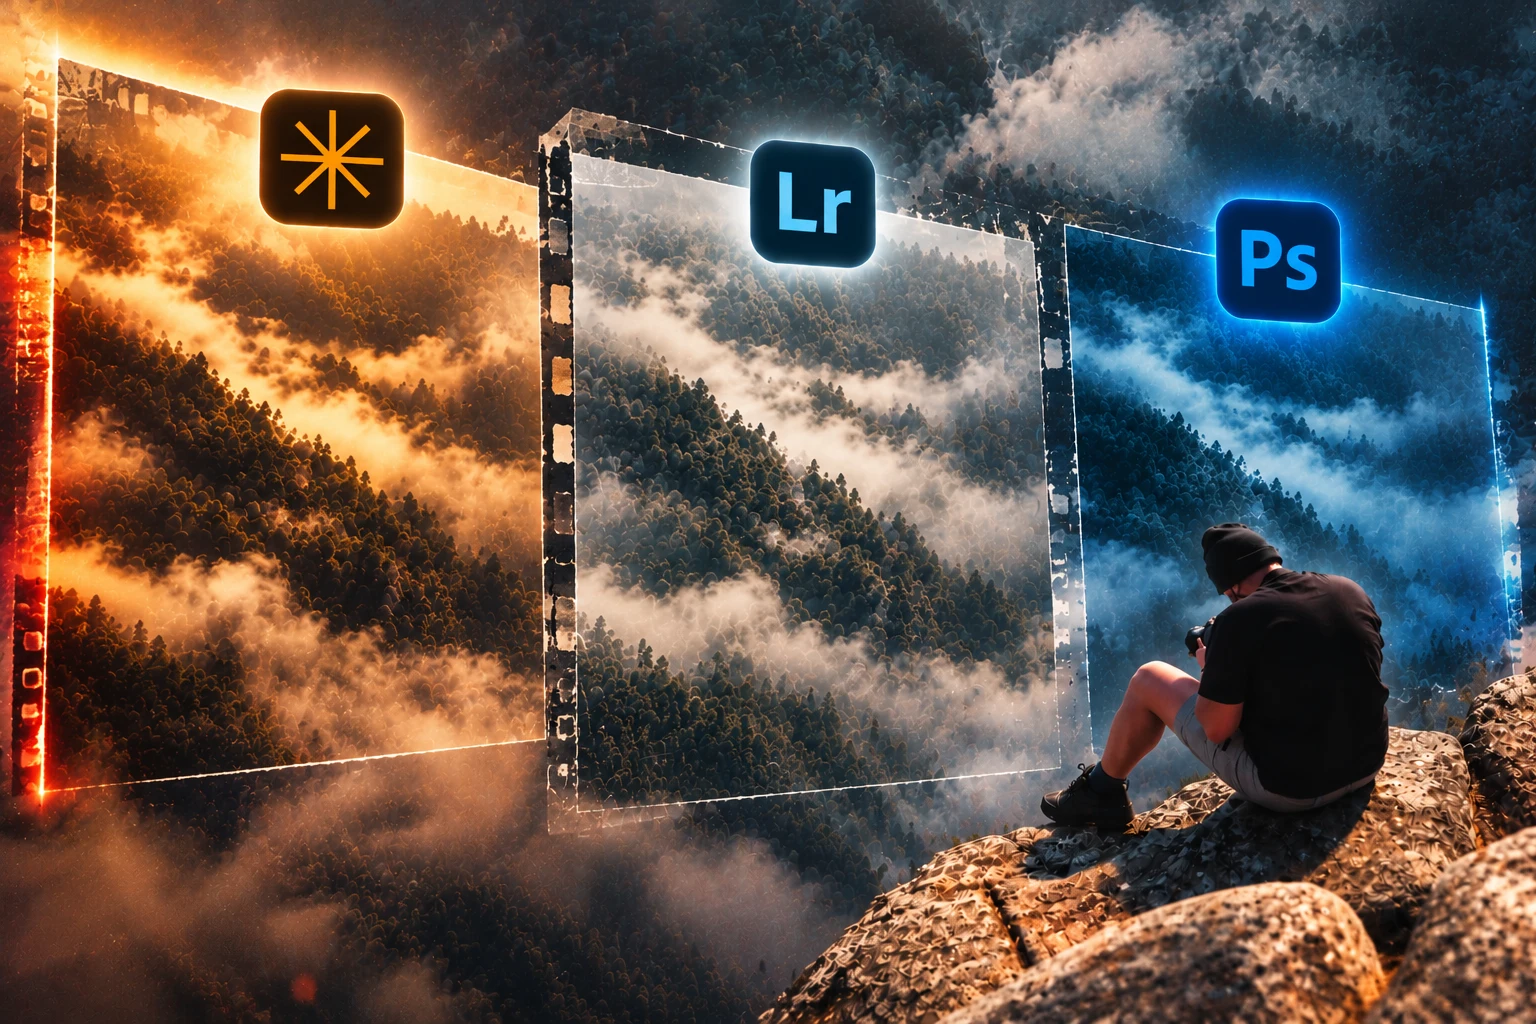
Alternatively, you can create a fog effect using Lightroom or Photoshop. The right editing tool comes down to how much control you need and how much time you’re willing to spend.
In Lightroom, moving the Dehaze slider into negative values can create a soft haze or misty atmosphere. This works well for subtle effects, but it won’t generate realistic, volumetric fog that sits naturally within the scene.
Photoshop offers more advanced control through layers, masks, and blending modes. You can fine-tune where the fog appears and how it interacts with different elements of the image. The trade-off is a more time-consuming compositing process.
Our verdict: Luminar makes the most sense when you want to create convincing atmospheric depth efficiently. Photoshop is stronger when the scene demands precise compositing, while Lightroom remains a practical option for subtle haze and tonal adjustments. You can also keep Lightroom or Photoshop as your main editor and use Luminar as a creative plugin (our preferred approach) rather than changing your entire editing workflow.
Ready to create more atmosphere in your images? Explore our Luminar review and use code CLICKWITHSAL for 10% off eligible purchases.
Mistakes to Avoid When Adding Fog to a Photo
When adding fog to your photos, avoid these common mistakes:
- Applying fog across the entire image
- Making the fog too bright
- Ignoring the original lighting
- Removing too much contrast
- Treating every photo as a candidate for a fog effect
Adding fog should make a photo more evocative without compromising its visual integrity. That’s what makes the final result feel convincing.
How to Add Fog to a Photo FAQs
Yes. You can add fog to an existing photo using Luminar’s Atmosphere tool, Photoshop overlays, or Lightroom’s Dehaze adjustment. For realistic results, the fog should complement the scene’s natural depth, lighting, and composition.
Start with a photograph that has clear foreground and background separation. Use Luminar’s Atmosphere tool to introduce fog, then adjust its placement, density, and height. Preserve contrast around your subject and match the fog to the existing lighting.
Yes. Moving Lightroom’s Dehaze slider into negative values can create a soft mist or haze effect. You can also use masks to apply the adjustment selectively. However, Lightroom doesn’t generate volumetric fog like Luminar’s Atmosphere tool.
Luminar is generally faster for creating atmospheric effects because its Atmosphere tool uses scene depth to position fog. Photoshop offers greater manual control through overlays, layers, and masks, making it better suited to complex composites.
Key Takeaways
- A realistic fog effect should enhance the scene rather than cover it with a flat gray layer
- Luminar offers the fastest approach. Its Atmosphere tool creates volumetric fog with adjustable placement, density, and height
- Choose the right photograph. Landscapes, coastlines, forests, and environmental portraits with visible depth are strong candidates
- Less is often more. Preserve contrasts and avoid excessive fog that weakens the original photograph
Affiliate Disclosure: Some links or promo codes in this article may earn us a commission if you buy through them, at no extra cost to you. That does not change our opinion. We recommend tools based on whether they actually fit the workflow.












Leave a Reply