
A mood board for photoshoot planning is a visual tool that turns loose ideas into clear decisions about mood, lighting, color, location, wardrobe, poses, and the final creative direction. Scrolling through Pinterest can be useful for collecting inspiration, but there is a catch: a board may look cohesive while quietly borrowing someone else’s visual language. In this article, we will explore a stronger way to create a photoshoot mood board, one that begins with your own concept and preserves your observations, wardrobe, location, and style as much as possible.
Bonus for readers: Build the concept before collecting the references. Try our free Photo Concept Optimizer to organize your mood, narrative, location, palette, wardrobe, and visual direction. Your eye still makes the final decisions.
Open the Photo Concept Optimizer →
What is a Photoshoot Mood Board and What Should It Include?
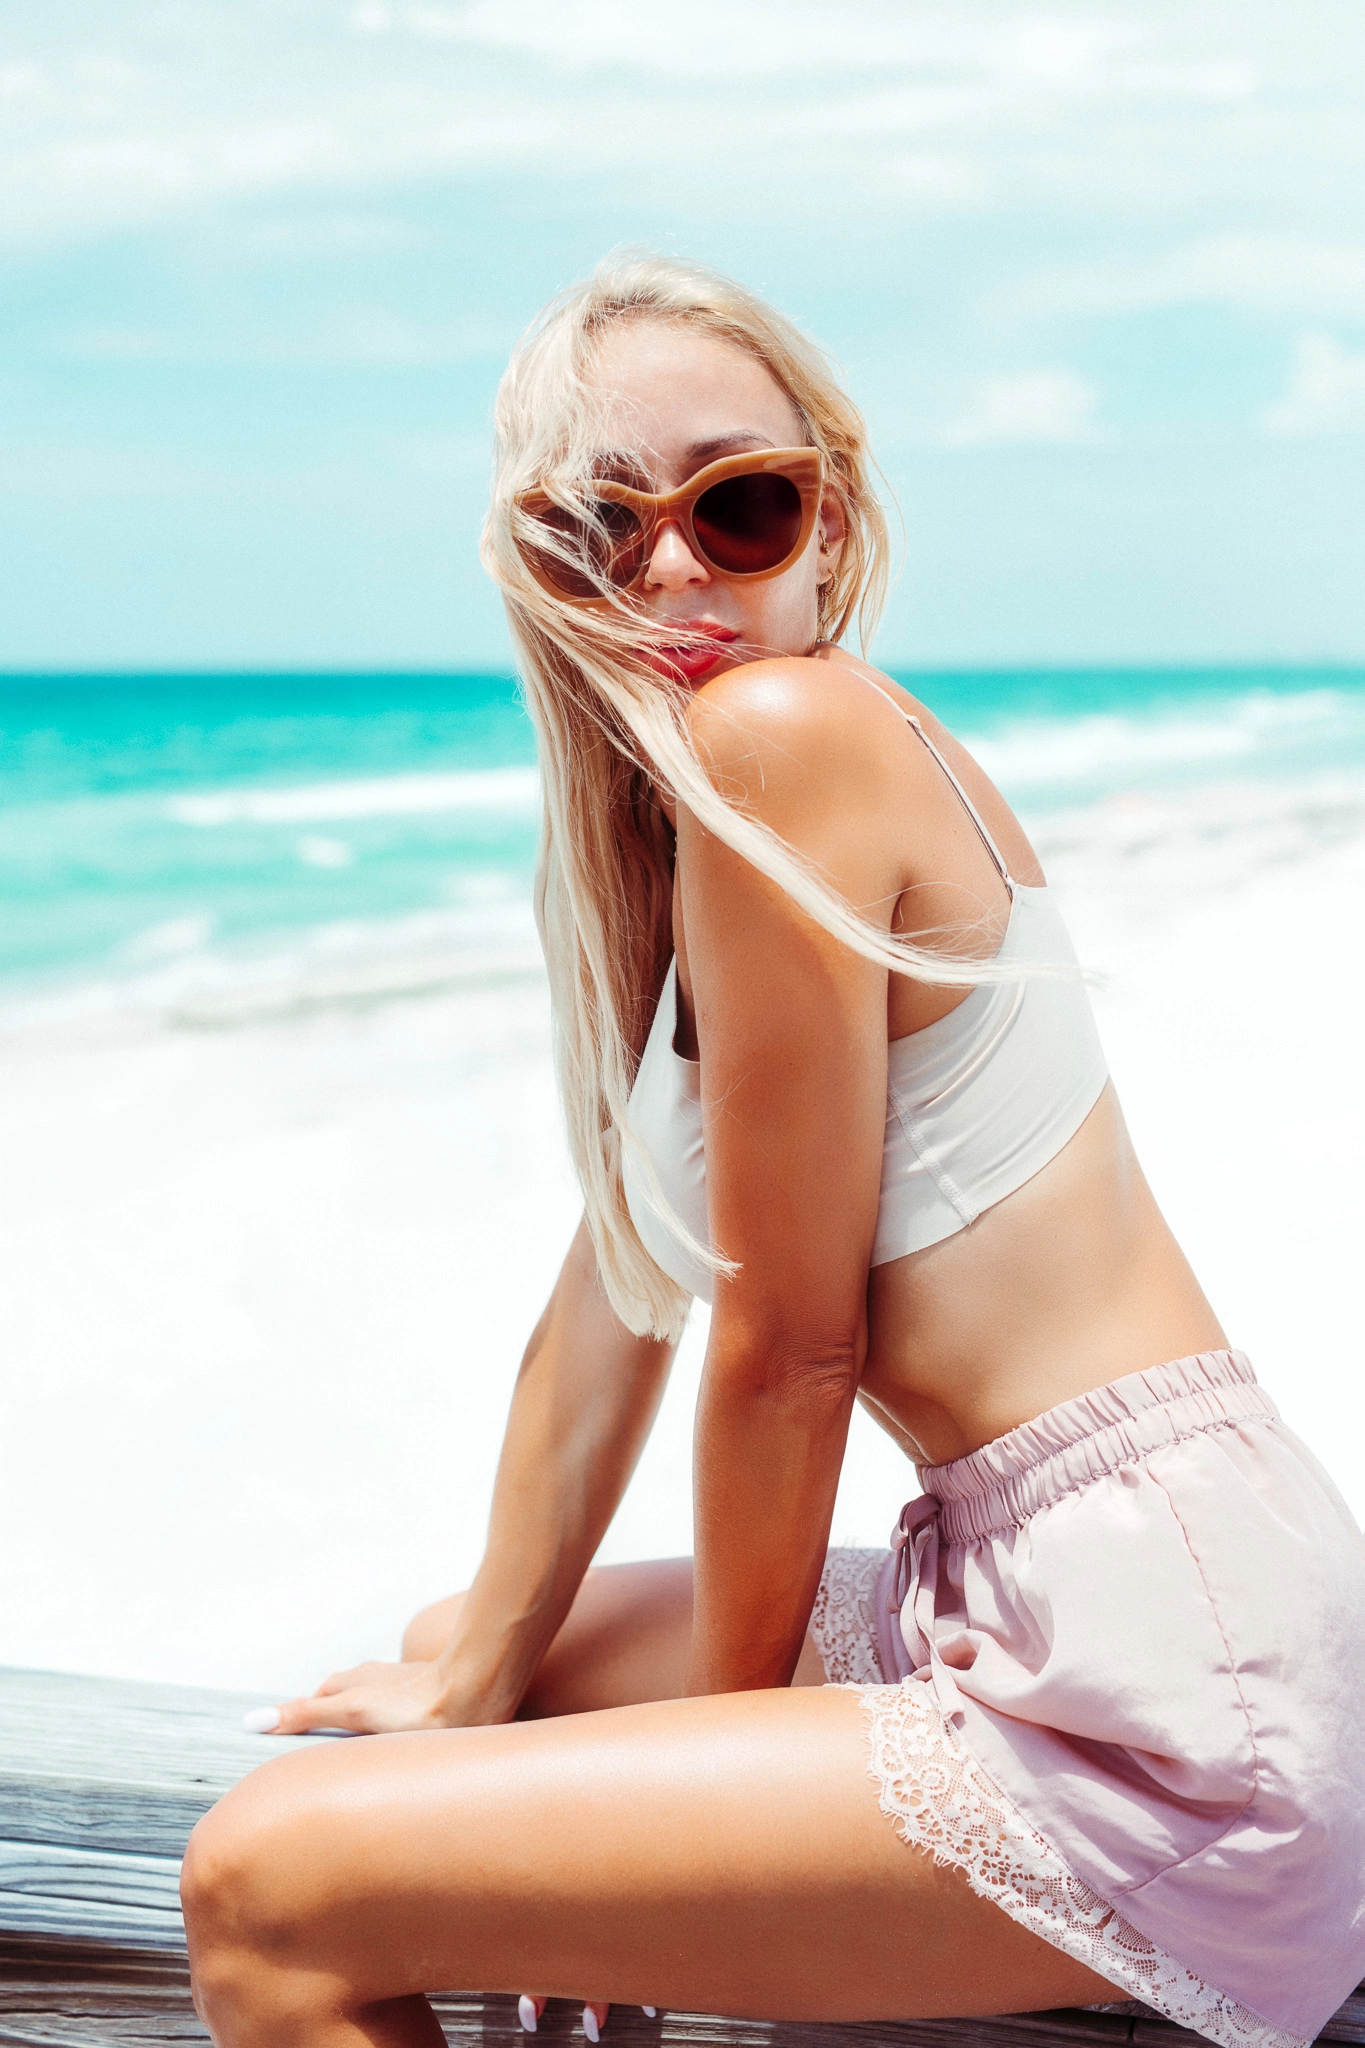
A photoshoot mood board is a curated collection of images and visual references that defines the creative direction of the shoot. It is more than an inspiration collage. A useful photography mood board should answer the following questions:
- What is this shoot actually about?
- Where does this idea belong?
- Which colors control the visual direction?
- What should the model wear, and why?
- How should the environment and subject interact?
- What should the finished photographs feel like?
A photography mood board doesn’t need fifty images. It needs enough information to remove confusion and turn the direction into a workable plan.
How to Create a Mood Board for a Photoshoot in 5 Steps
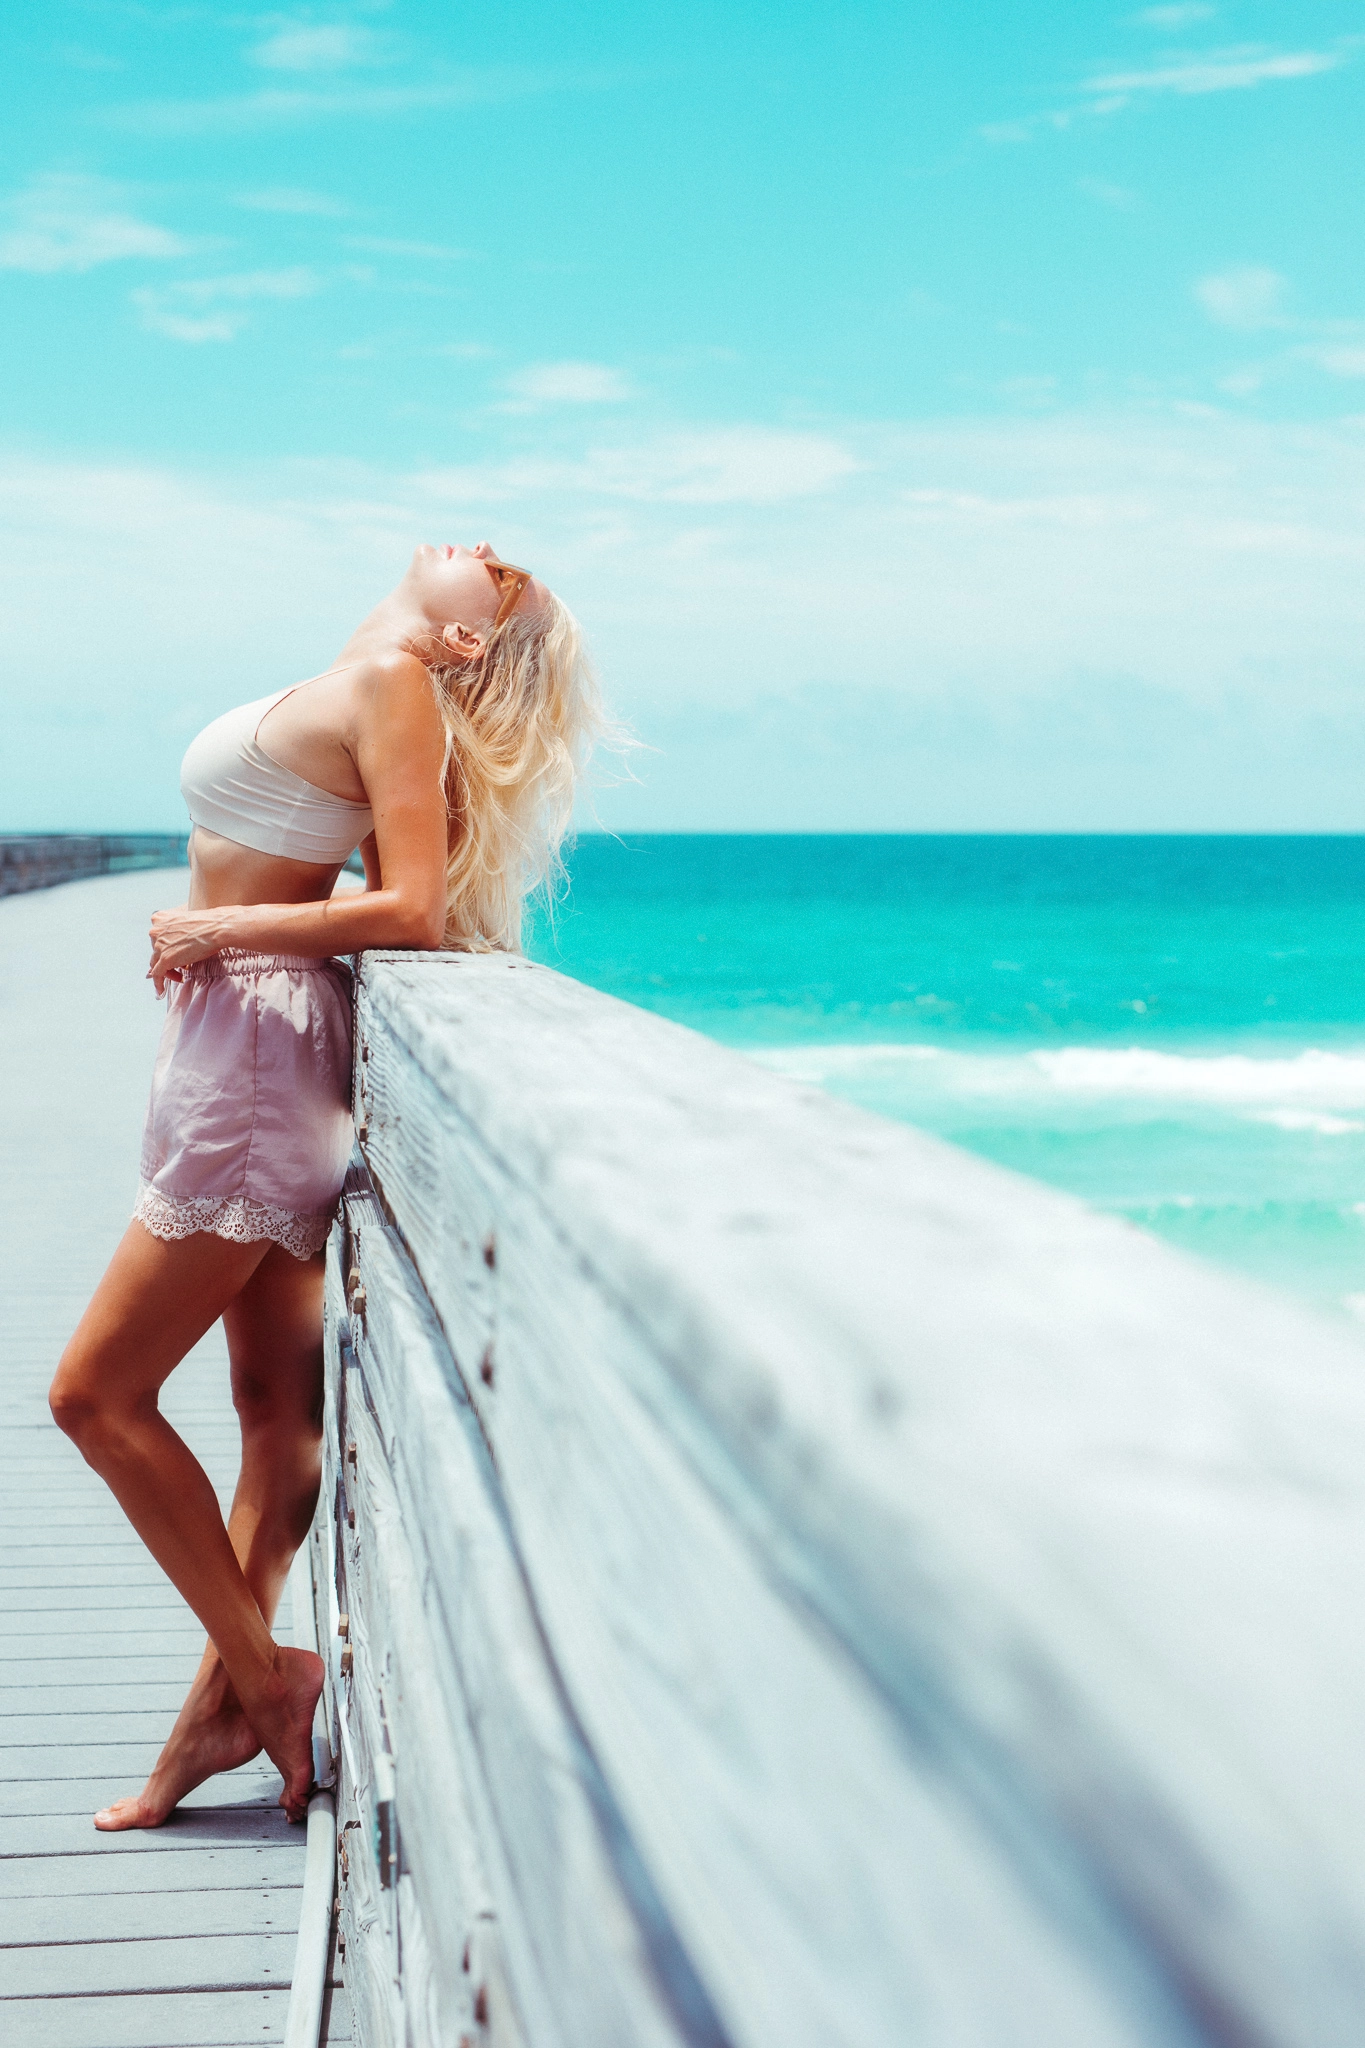
1. Describe the concept
Before collecting images, describe the shoot in one sentence.
Weak concept: A cool editorial shoot on a pier.
Strong concept: A controlled editorial portrait series that places polished styling against an exposed waterfront environment, using open space and restrained body language to create tension.
The right description establishes the styling, environment, mood, and body language with enough specificity to guide the shoot. If the same sentence could describe thousands of unrelated concepts, the idea is still too vague. Ultimately, a mood board cannot rescue a concept that was never clearly defined.
2. List the real constraints
Constraints prevent the mood board from becoming a fantasy that collapses on location. Write down what is already known:
- Available location
- Time of day
- Weather
- Model or subject
- Wardrobe
- Shoot duration
Considering practical constraints will make your photoshoot mood board more precise and the actual shoot more efficient.
3. Select a focused color palette
Choose three to five colors that belong naturally to the wardrobe and location. The palette does not mean that every frame must contain every color. Instead, it creates boundaries that prevent one bright or overly aggressive color from disrupting the visual direction.
4. Define the lighting behavior
Since lighting can change the mood of a shoot, include the time of day and whether you plan to use flash, natural light, or a combination of both.
Bonus for readers: When your mood board depends on controlled light, review our portrait photography gear guide before buying equipment the shoot does not need.
5. Add posing references
Pose references are useful for communicating body language and the relationship between the subject and the environment. But a reference should identify a principle, not become an instruction to duplicate someone else’s frame. A pose board can provide direction, but the strongest images often emerge when the model moves naturally.
Can AI Help Create a Photography Mood Board?
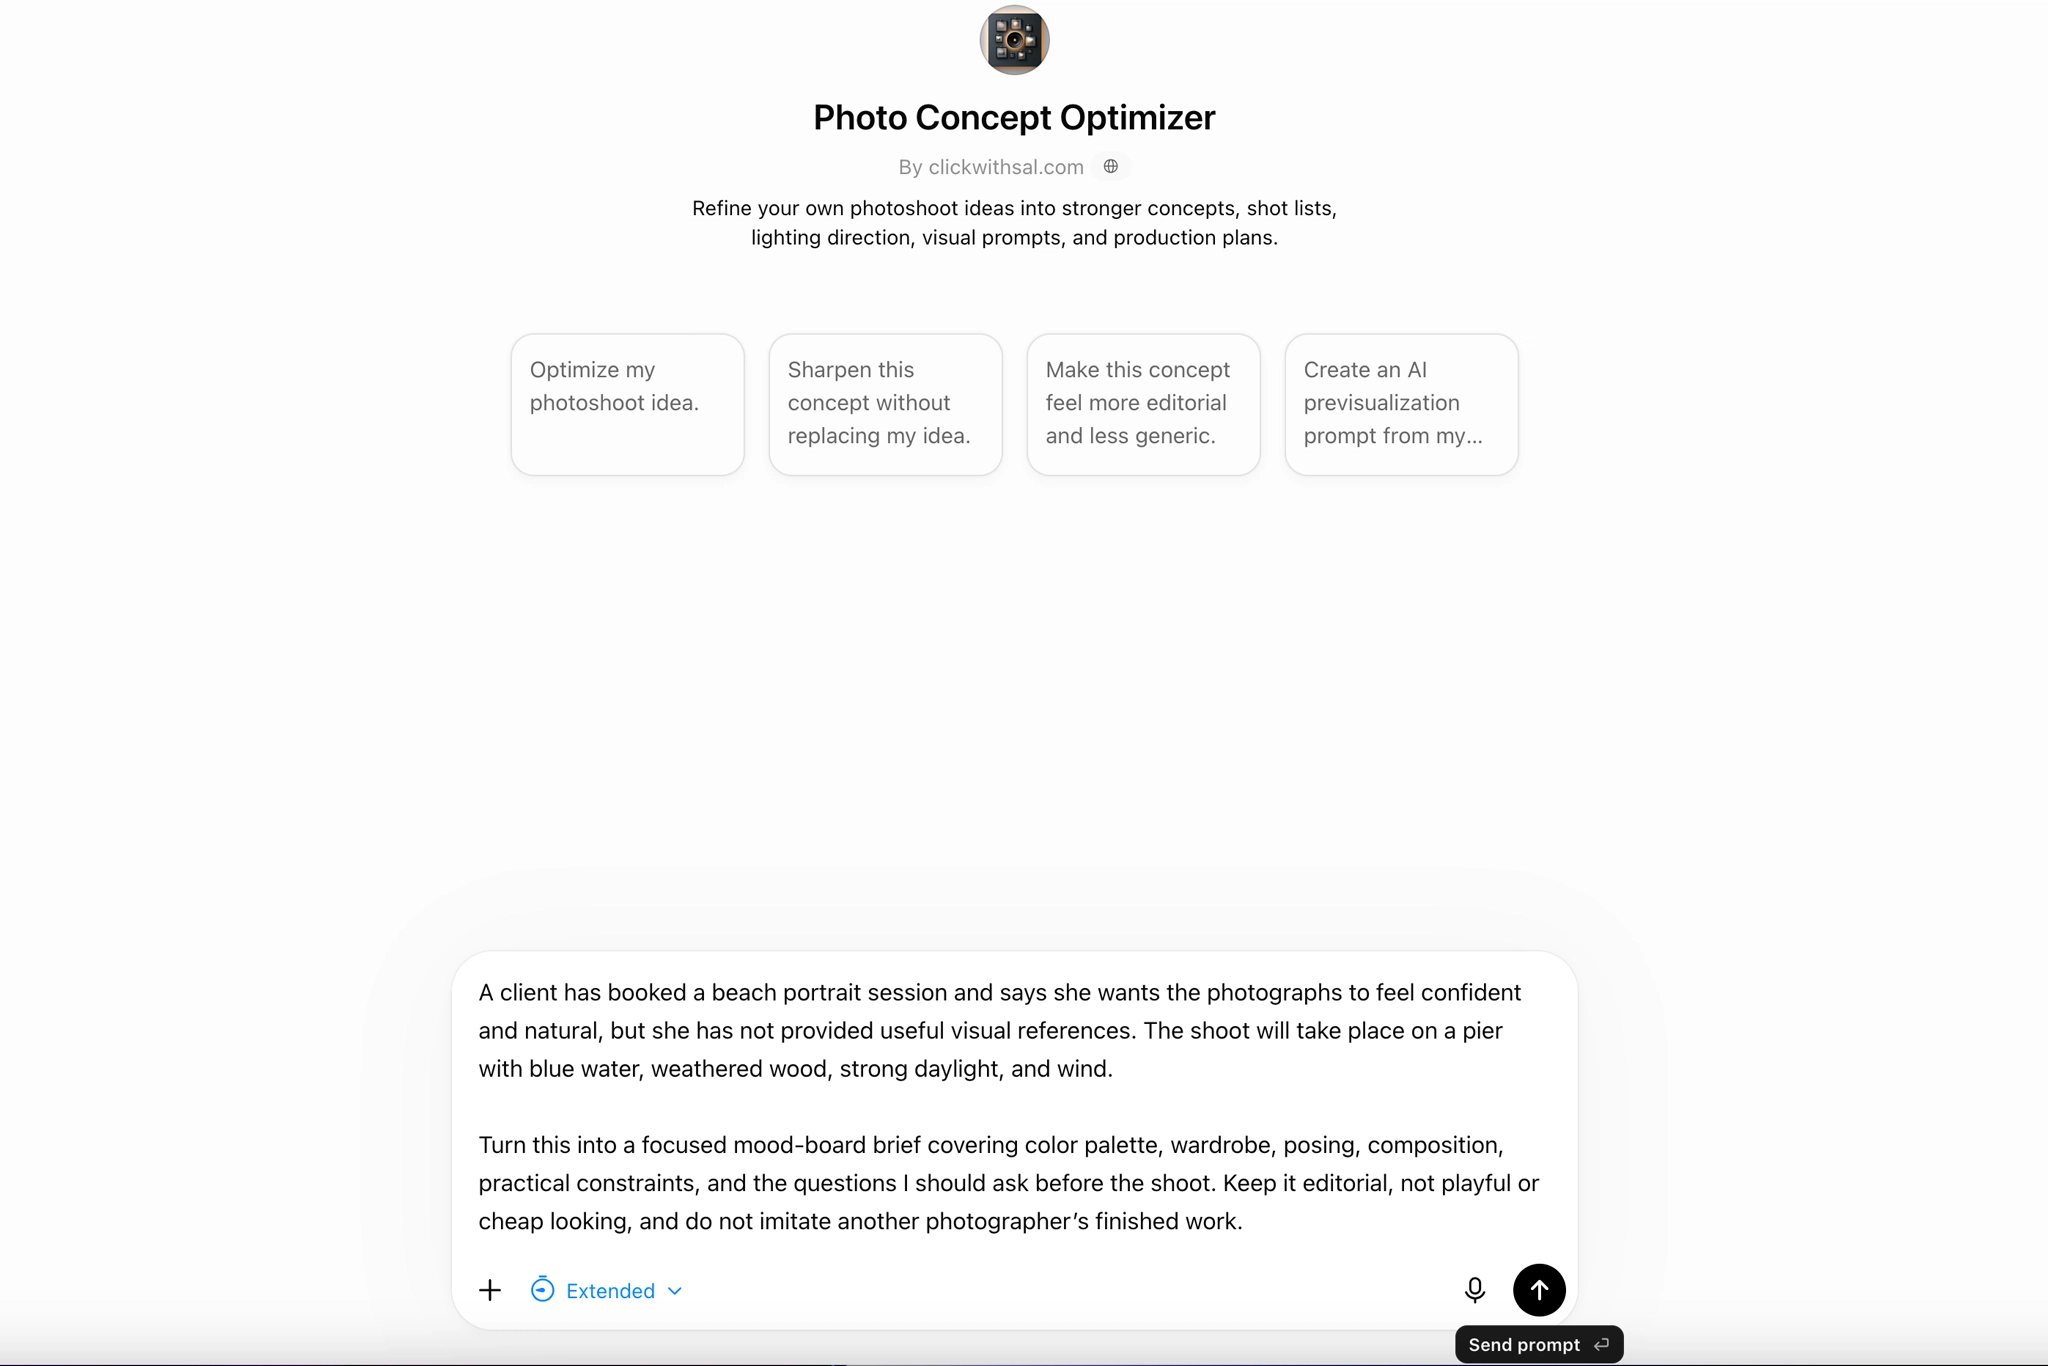
AI can help photographers develop a strong mood board from an initial idea, especially when it is given clear creative direction and practical constraints. That does not mean AI will automatically produce something original. The result still depends heavily on the quality of the input, but AI can be surprisingly useful for refining a concept, testing visual directions, and exploring alternatives you may not have considered.
AI is most valuable when it functions as a creative partner. Our free GPTs for photographers are built to help you sharpen photoshoot concepts, explore editing directions, and make more intentional decisions about your photography business.
Creating a Mood Board for a Client
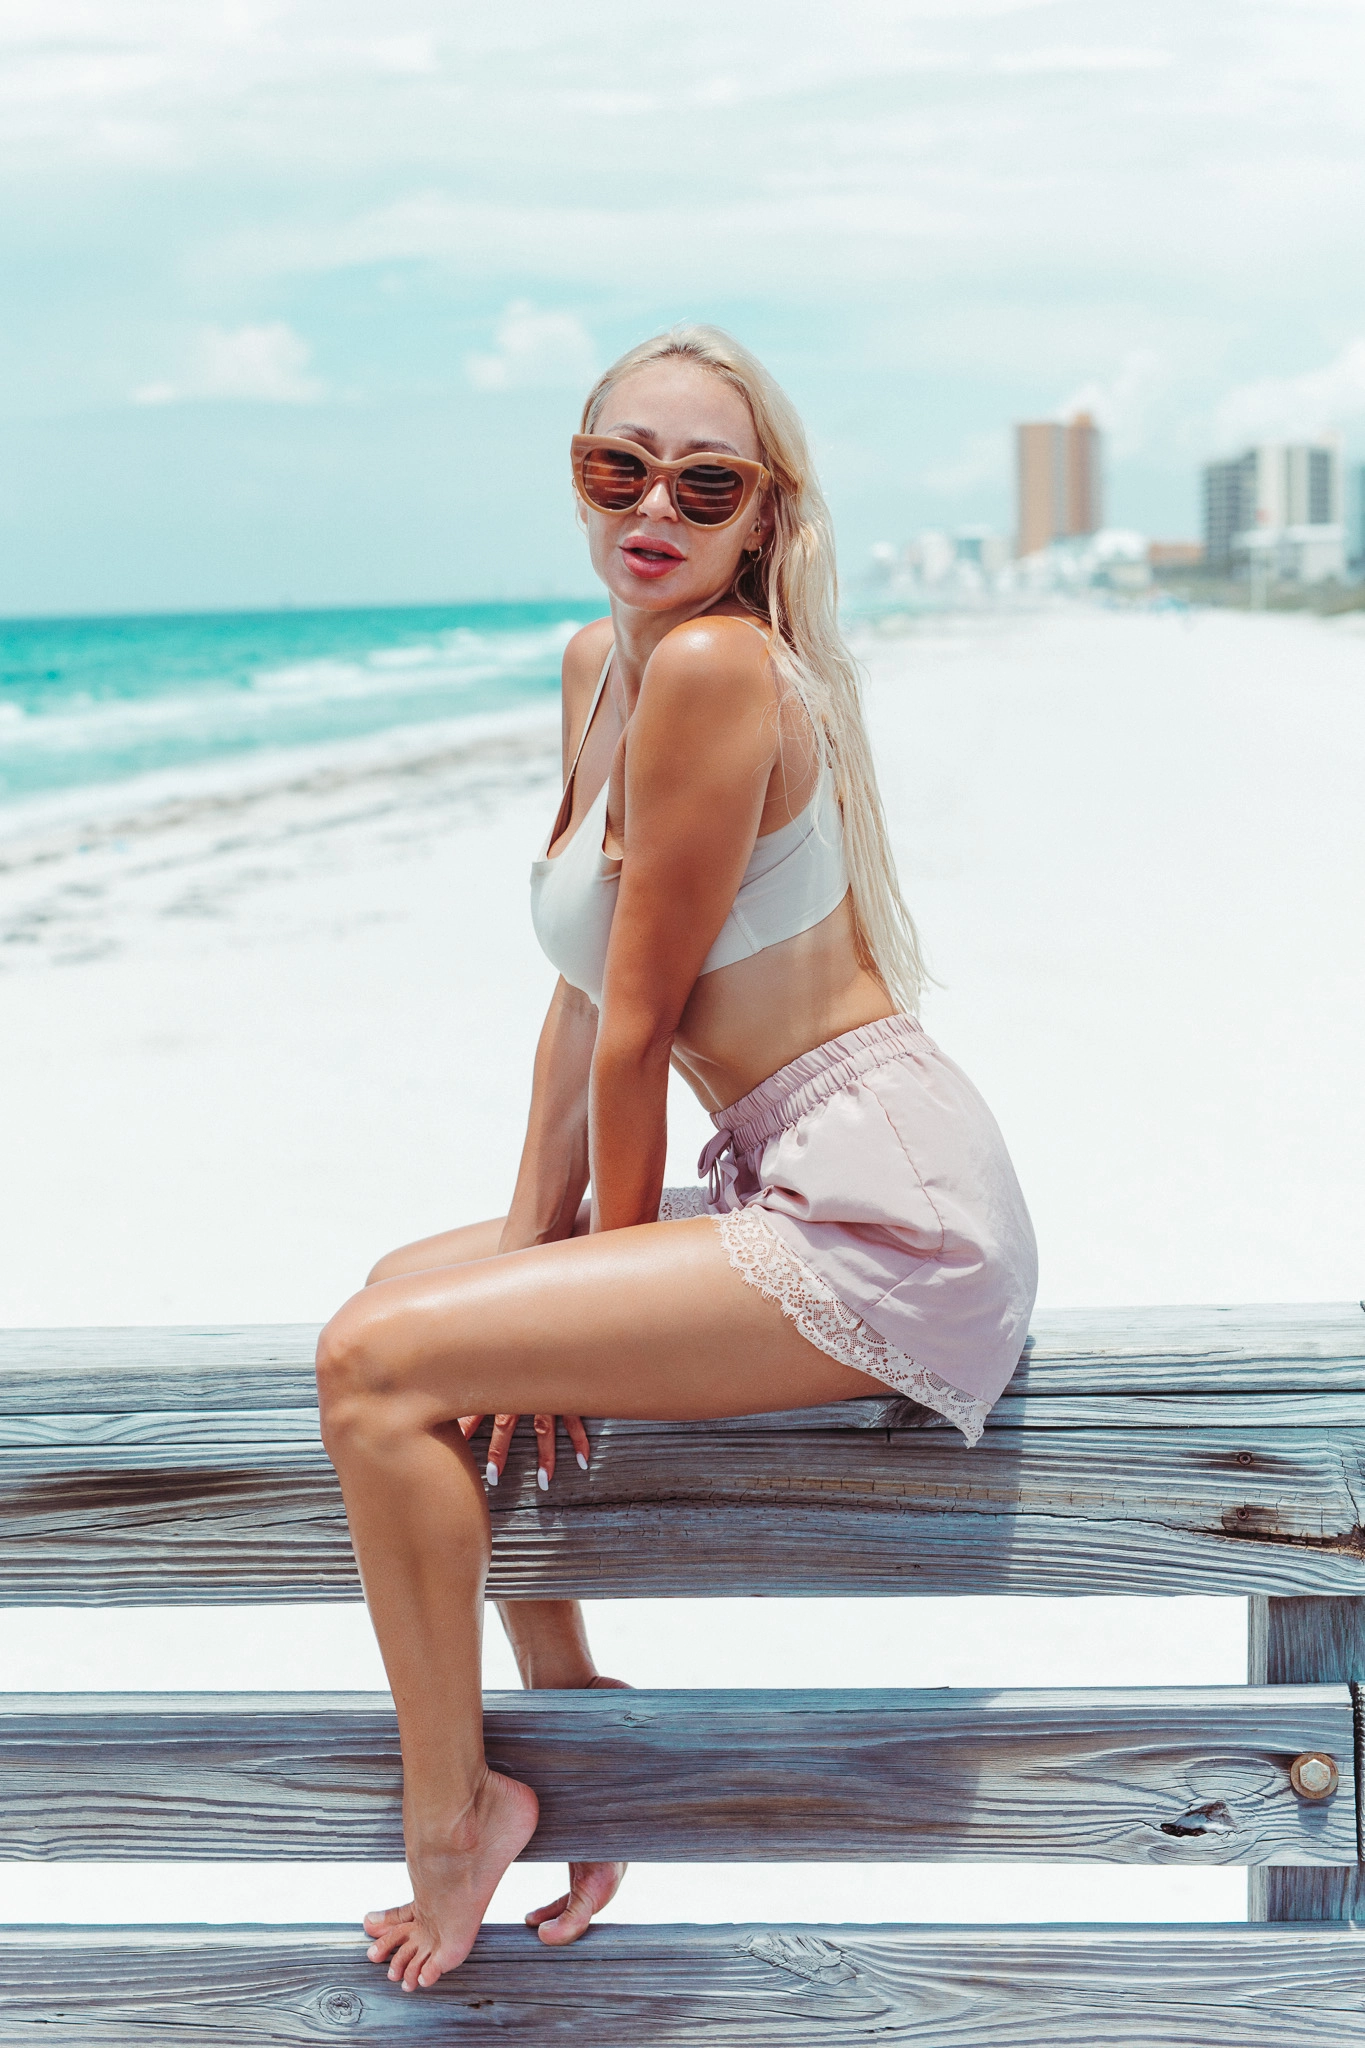
Mood boards for photography clients should reduce uncertainty, not overwhelm them. Before building one, ask about:
- The purpose of the shoot
- The intended audience
- Their brand or personal image
- The mood they want to create
- Colors to use or avoid
- Wardrobe options
- Location limitations
- Must-have shots
Working with a client? Download our free photography client questionnaire to collect the essential details before you begin planning the shoot.
Mood Board for Photoshoot FAQs
Yes, but Pinterest should be treated as one reference source rather than the creative foundation of the entire shoot. Identify what each image contributes, such as lighting direction or body language, instead of trying to recreate the complete photograph.
AI can help structure the concept, identify missing decisions, generate exploratory visuals, and organize a board. It cannot guarantee originality, practical execution, or artistic quality. Use AI to develop and test your direction, then make the final decisions yourself.
Yes. The model should understand the wardrobe and visual direction. The mood board should guide performance without reducing the model to a copy of someone else’s pose.
Not every portrait session needs a detailed presentation. A compact mood board with one concept sentence, a palette, two lighting references, wardrobe guidance, and two composition examples can be enough to prevent confusion.
Key Takeaways
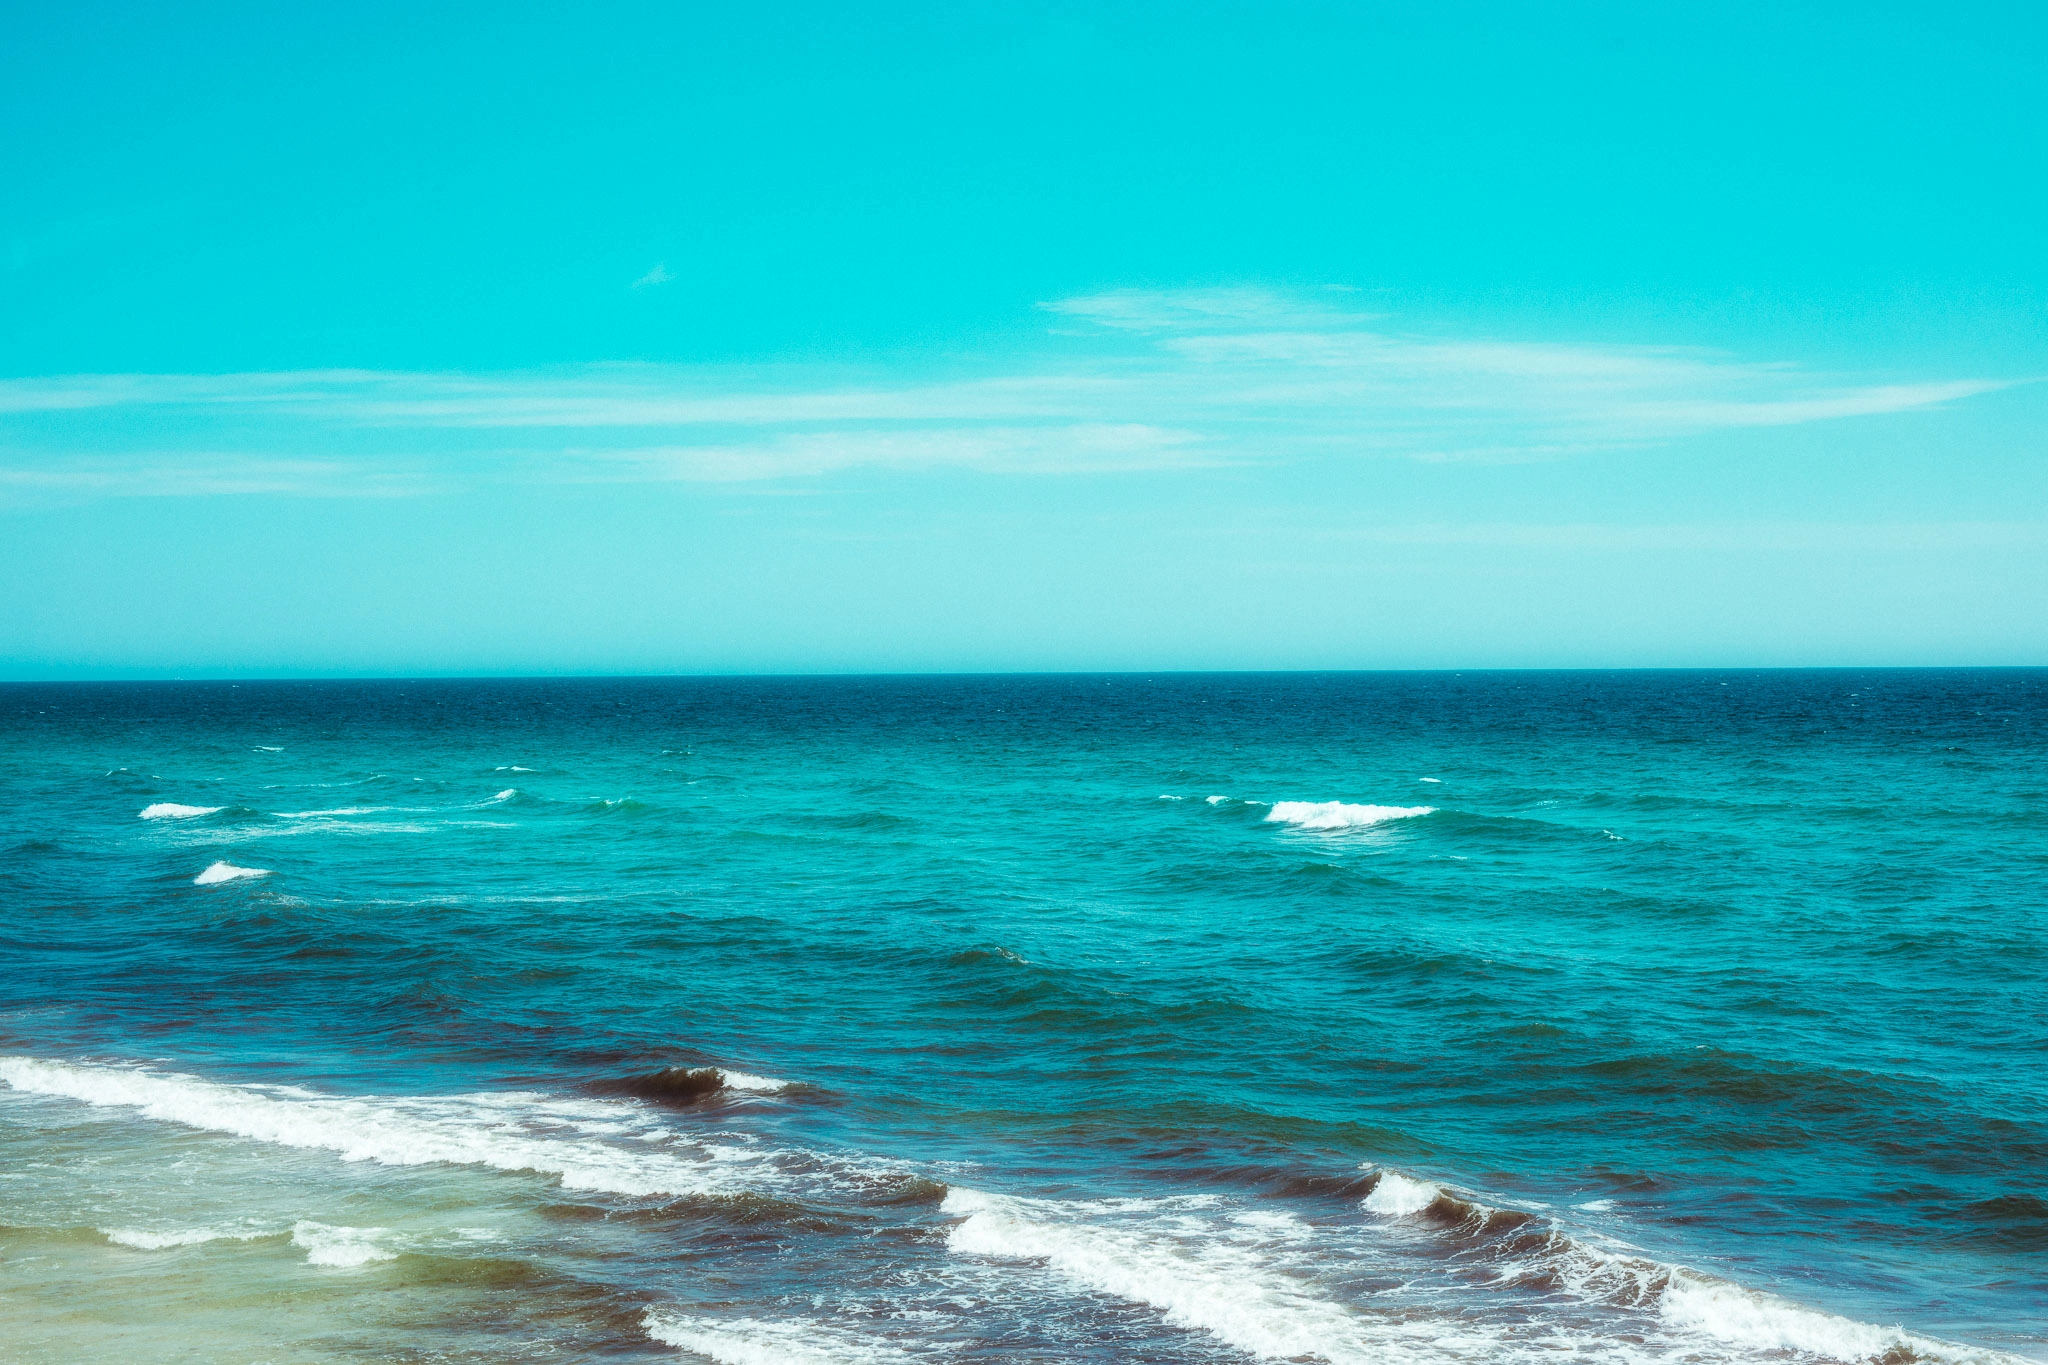
- A useful mood board begins with a defined concept, not a search for attractive images
- Include practical decisions about color, lighting, wardrobe, location, and body language
- Use Pinterest for selective inspiration, not as the source of the entire visual direction
- AI can organize and challenge an idea, but the photographer still determines what belongs in the final board
- Share the finished direction before the shoot so the client, model, and team understand the same visual target









Leave a Reply