
Culling in photography is not the same as editing. Culling decides which photographs move forward, while editing determines how those selected images will look. A strong cull removes technical failures and unnecessary duplicates, but it also shapes the direction, consistency, and overall story of the final selection. The culling process comes before editing begins, and it involves more than simply eliminating mistakes.
Culling photos meaning: Culling photos means reviewing all the images from a shoot and selecting the strongest photographs to edit, deliver, publish, or keep. Photographers typically reject blurry images, missed focus, closed eyes, weak expressions, accidental frames, and unnecessary duplicates.
Bonus for readers: Aftershoot uses AI to group similar images, flag blur and closed eyes, and help photographers narrow down large shoots before editing. Use code CLICKWITHSAL15 to save 15% on any paid Aftershoot plan.
Why Culling Matters
Photo culling determines the true size of the editing job, which means it shapes a major part of the post-processing workload. When done manually, selecting the strongest images can take a significant amount of time. That workload, however, varies depending on the photographer, the genre, and the number of images captured.
A stong photo culling process protects the quality of the final work. Delivering more photos does not automatically create more value, especially when similar or weaker frames dilute the impact of the best ones. A deliberate selection makes the edit sharper, the gallery stronger, and the photographer’s point of view easier to recognize.
How to Cull Photos
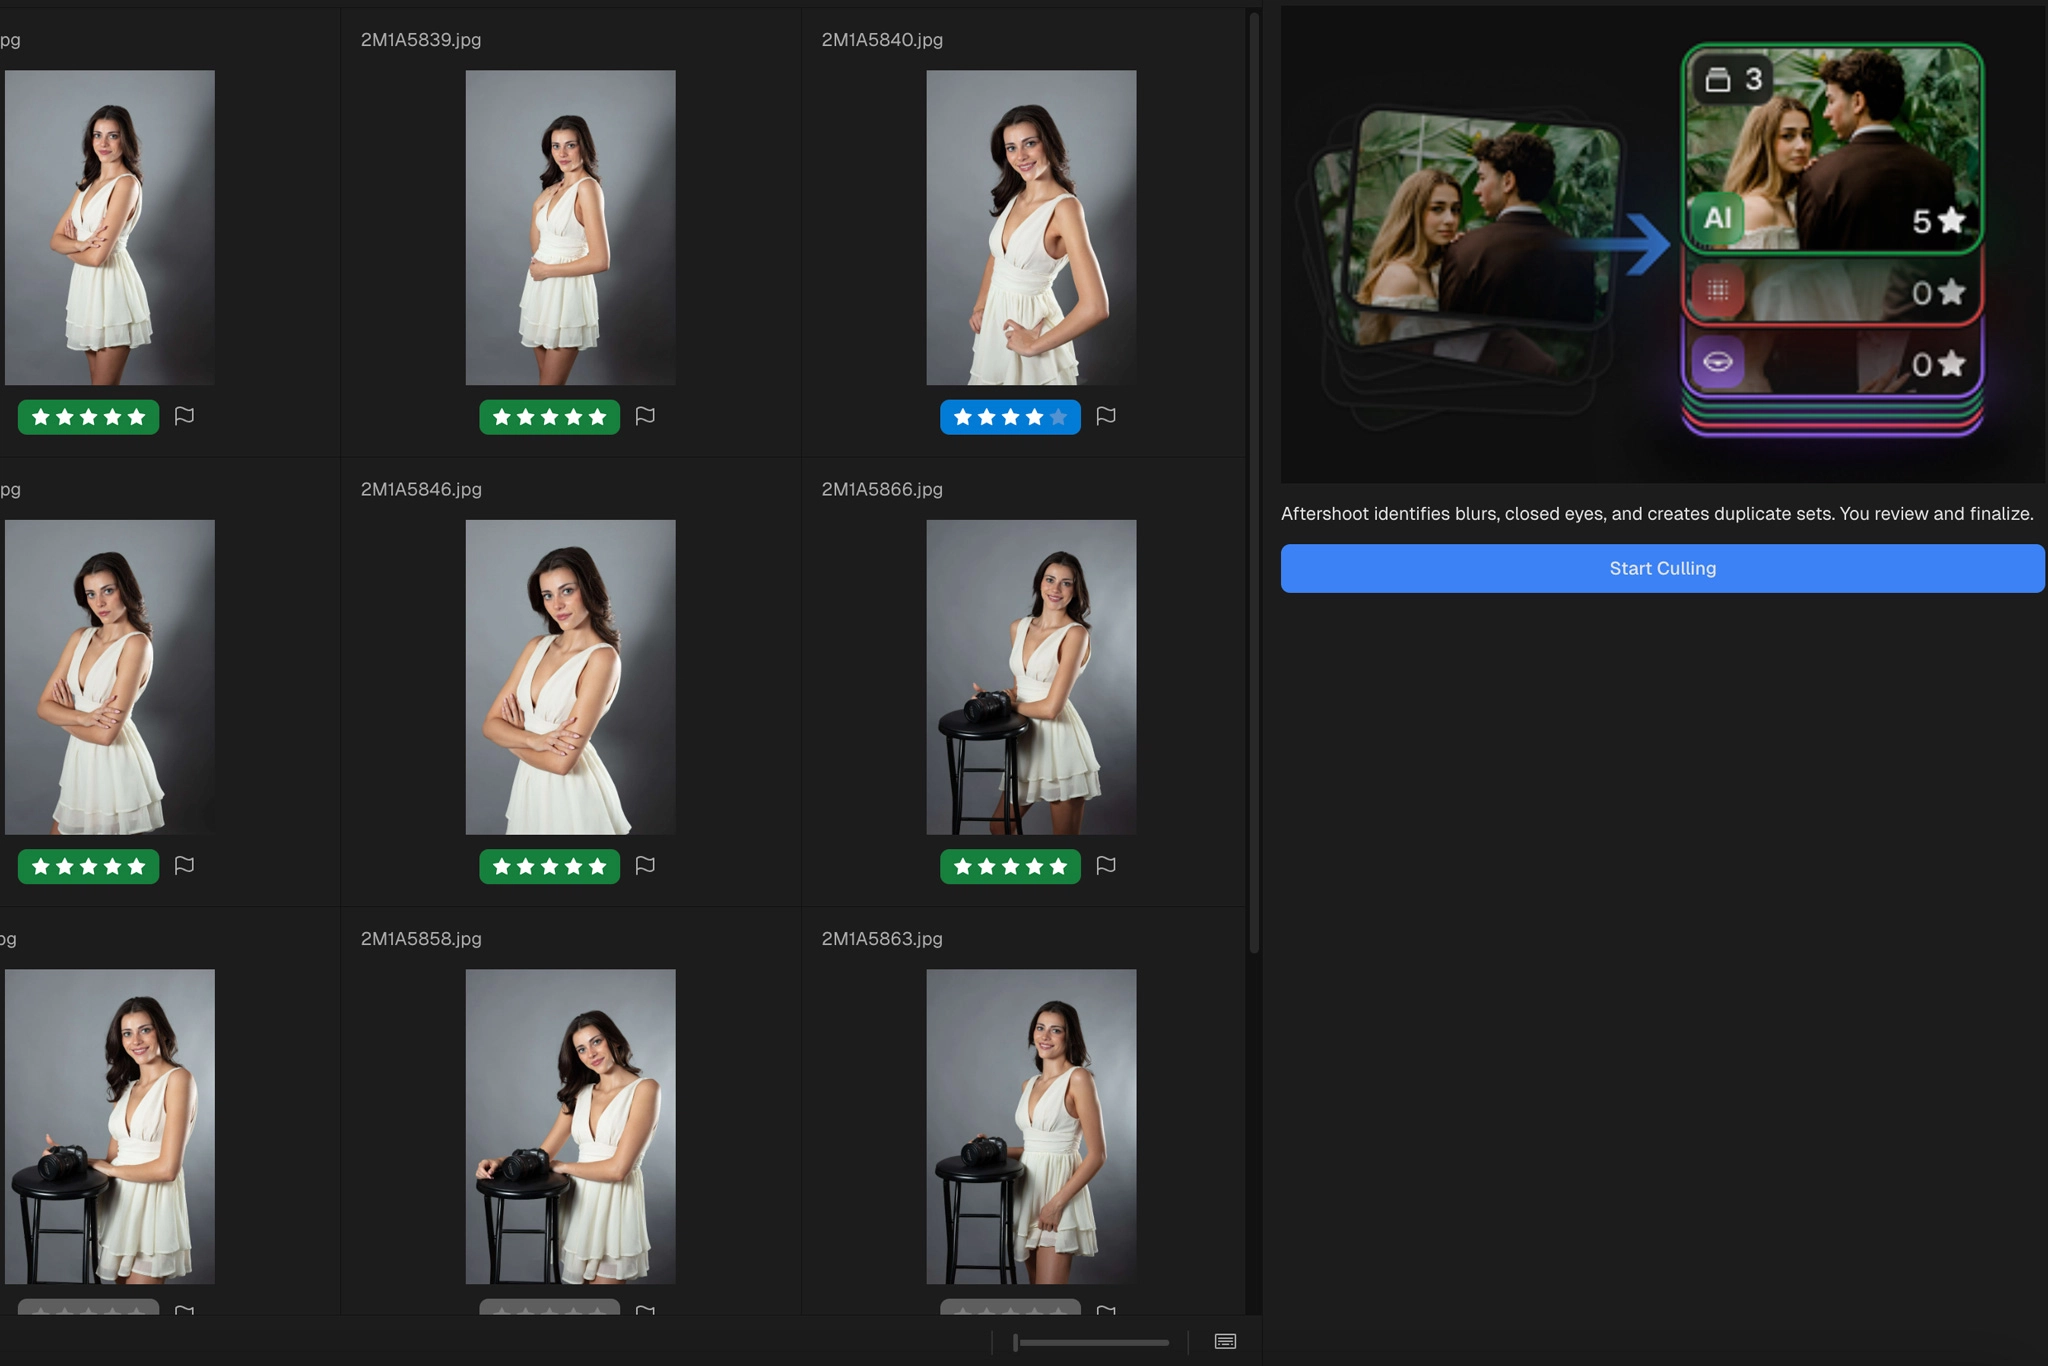
There is no universal culling percentage that proves a shoot was successful. The agreed deliverables and the purpose of the shoot should guide the selection process, without forcing weaker images into the final set. Here is a practical three-pass culling workflow:
1. Remove technical failures
Remove photographs with obvious problems, such as:
- Missed critical focus
- Unintentional motion blur
- Irrecoverable exposure failure
- Flash misfires
- Obstructed faces
- Closed eyes where open eyes were clearly intended
- Exact duplicates with no meaningful difference
During this first pass, the goal is to remove obvious noise from the selection. However, do not automatically reject every imperfect image. A technically flawed photograph can still be the strongest frame if it captures the right gesture, expression, or moment.
2. Compare similar images
Look specifically for the photographs you want to keep instead of spending the entire session identifying everything that is wrong. When several images are similar, compare:
- Eye and facial sharpness
- Expression
- Body language
- Subject separation
- Background distractions
- Emotional presence
Choose the strongest frame first. Add an alternate only when it contributes something meaningfully different.
3. Build the story
After selecting the strongest individual images, review the set as a sequence. Check whether it contains enough variation in:
- Wide, medium, and close framing
- Expressions
- Gestures and poses
- Horizontal and vertical orientation
- Location and environment details
- Quiet moments and peak moments
After completing this three-pass culling workflow, run one final quality-control check before you start editing. Instead of asking, Is this a good photograph? ask yourself, Does this selection come together as a complete, cohesive body of work?
Manual Culling vs AI Photo Culling
Manual and AI culling are not opposing philosophies. They are simply different ways of reducing the same decision load. Photo culling software helps photographers review, compare, rate, flag, group, and select images more efficiently. When AI is involved, it is particularly effective at identifying repeatable technical issues such as missed focus, closed eyes, exposure problems, duplicate frames, and visual similarity. It is less reliable when a decision depends on:
- Emotional importance
- Subtle tension
- Narrative context
- Deliberate imperfection
That does not mean AI-assisted culling is incapable of understanding your preferences. Aftershoot can learn from your selections and adapt to your editing habits over time. The photographer still shapes the final result, but the software can gradually become better aligned with the way they evaluate a shoot. That becomes especially valuable when you are working through large galleries. AI culling can save hours of repetitive decision-making, giving you more time to serve clients, grow your business, or simply step away from the screen and reinvest that time in your personal life.
For a deeper comparison between traditional and AI-assisted workflows, read our guide to Aftershoot vs Photo Mechanic.
Whether you cull your photos manually or use AI assistance, these are the most common culling mistakes to avoid:
- Editing before finishing the cull
- Deleting files during the first pass
- Delivering too many similar images
- Allowing the client to make the photographer’s selections
- Trusting AI without reviewing its decisions
AI can speed up and improve your workflow, but it should be treated as a valuable assistant, not the final authority. You should also never send a completely unculled shoot to a client. Unculled galleries may include test exposures, closed eyes, missed focus, repeated frames, lighting adjustments, and photographs that do not meet your intended final standard.
Finally, do not confuse culling with proofing. Proofs should have already survived the photographer’s initial cull. Proofing may allow a client to choose favorites or make final selections, but it should never replace the photographer’s responsibility to remove weak, repetitive, or unusable images first.
Aftershoot AI Culling
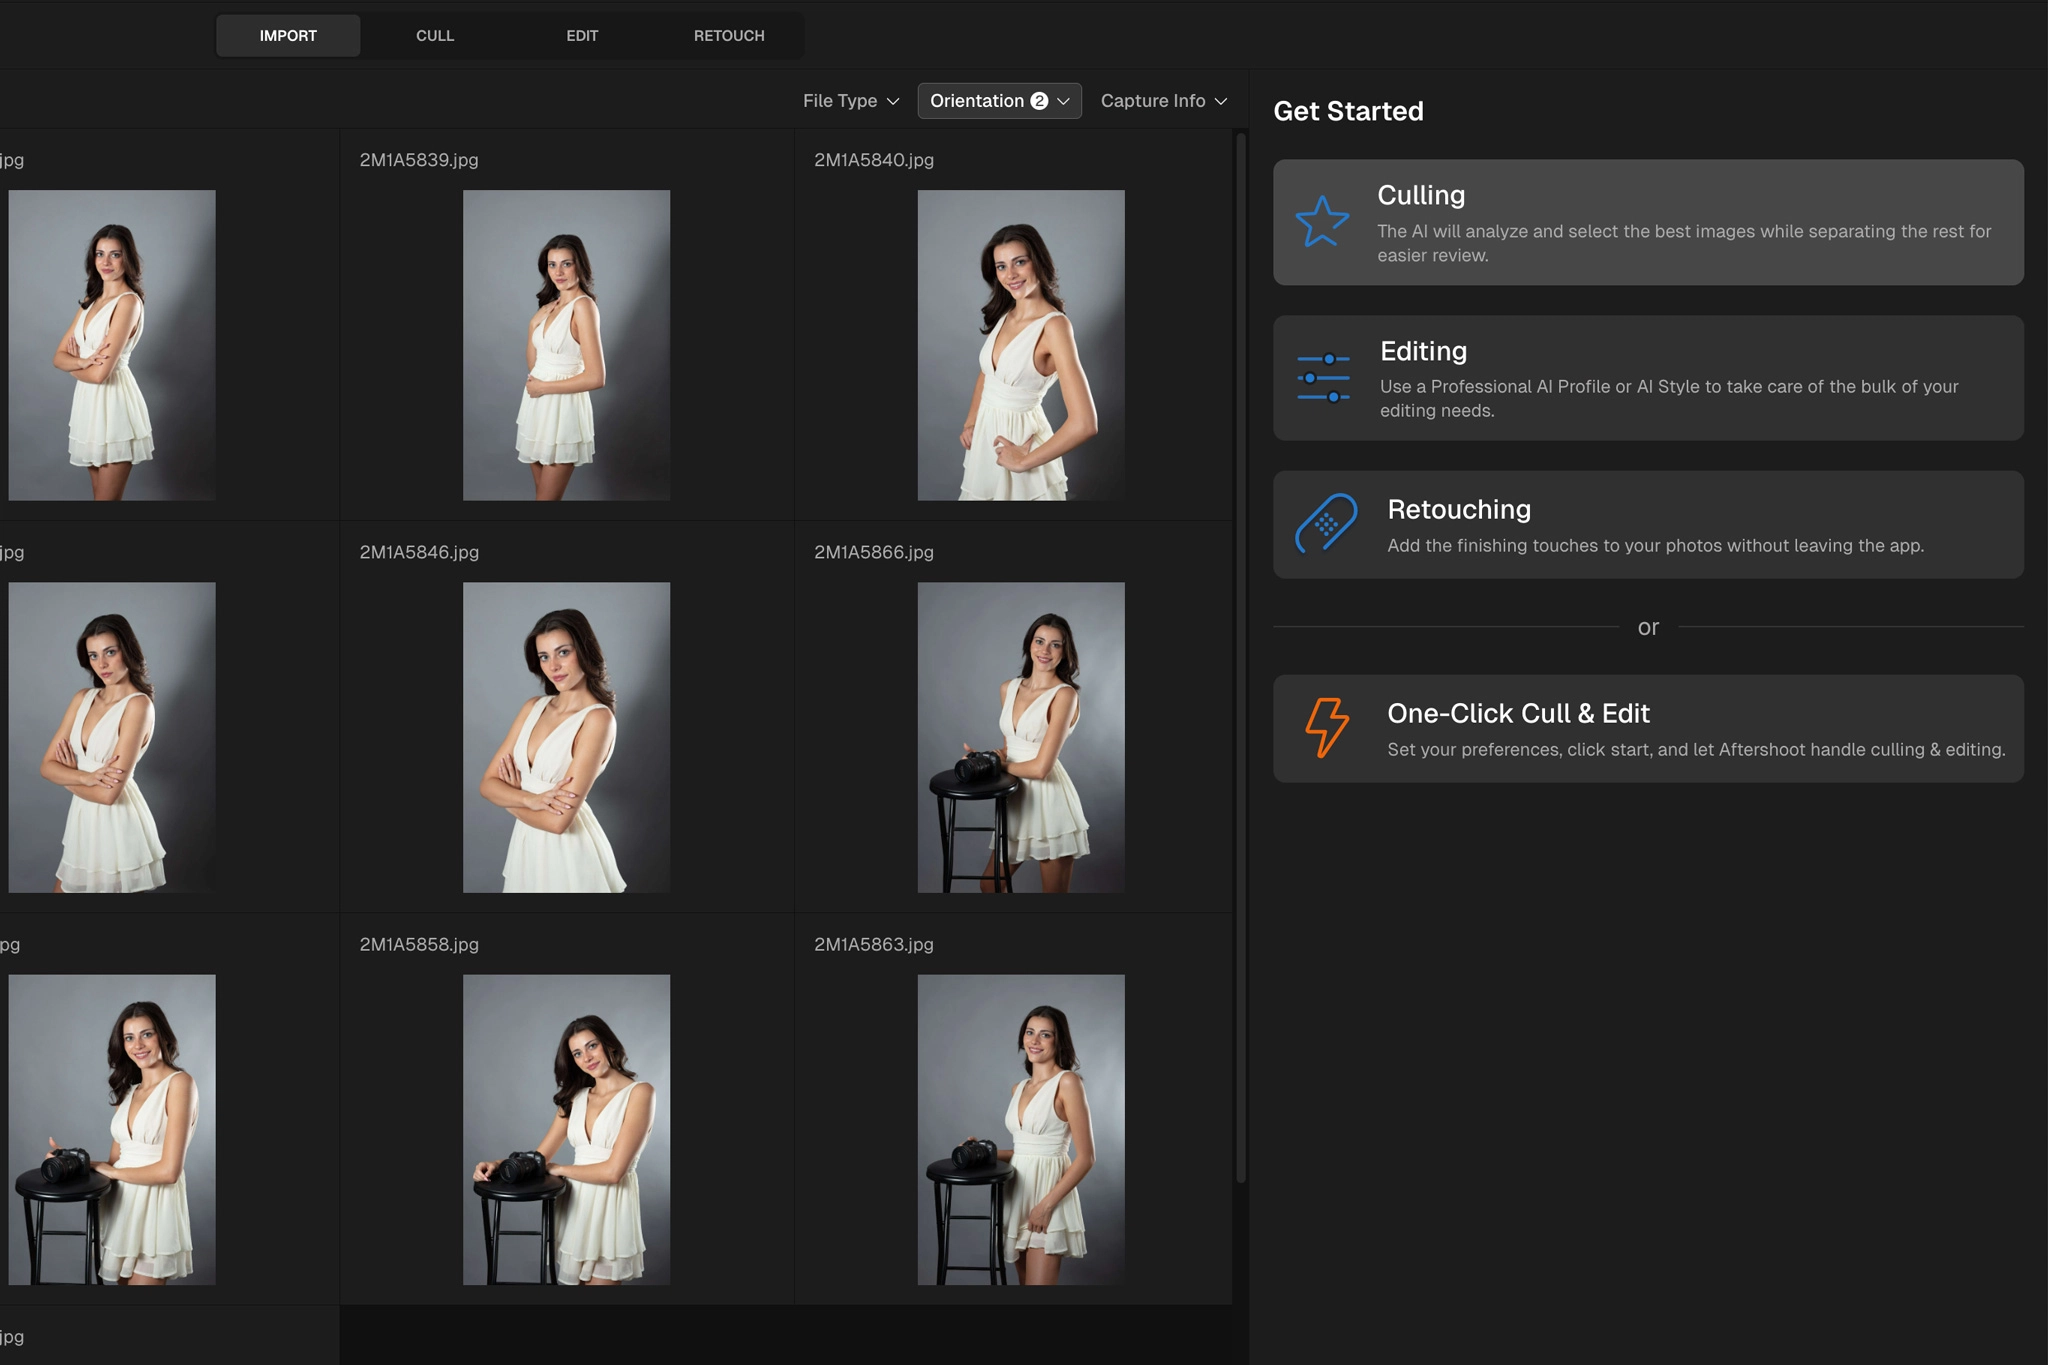
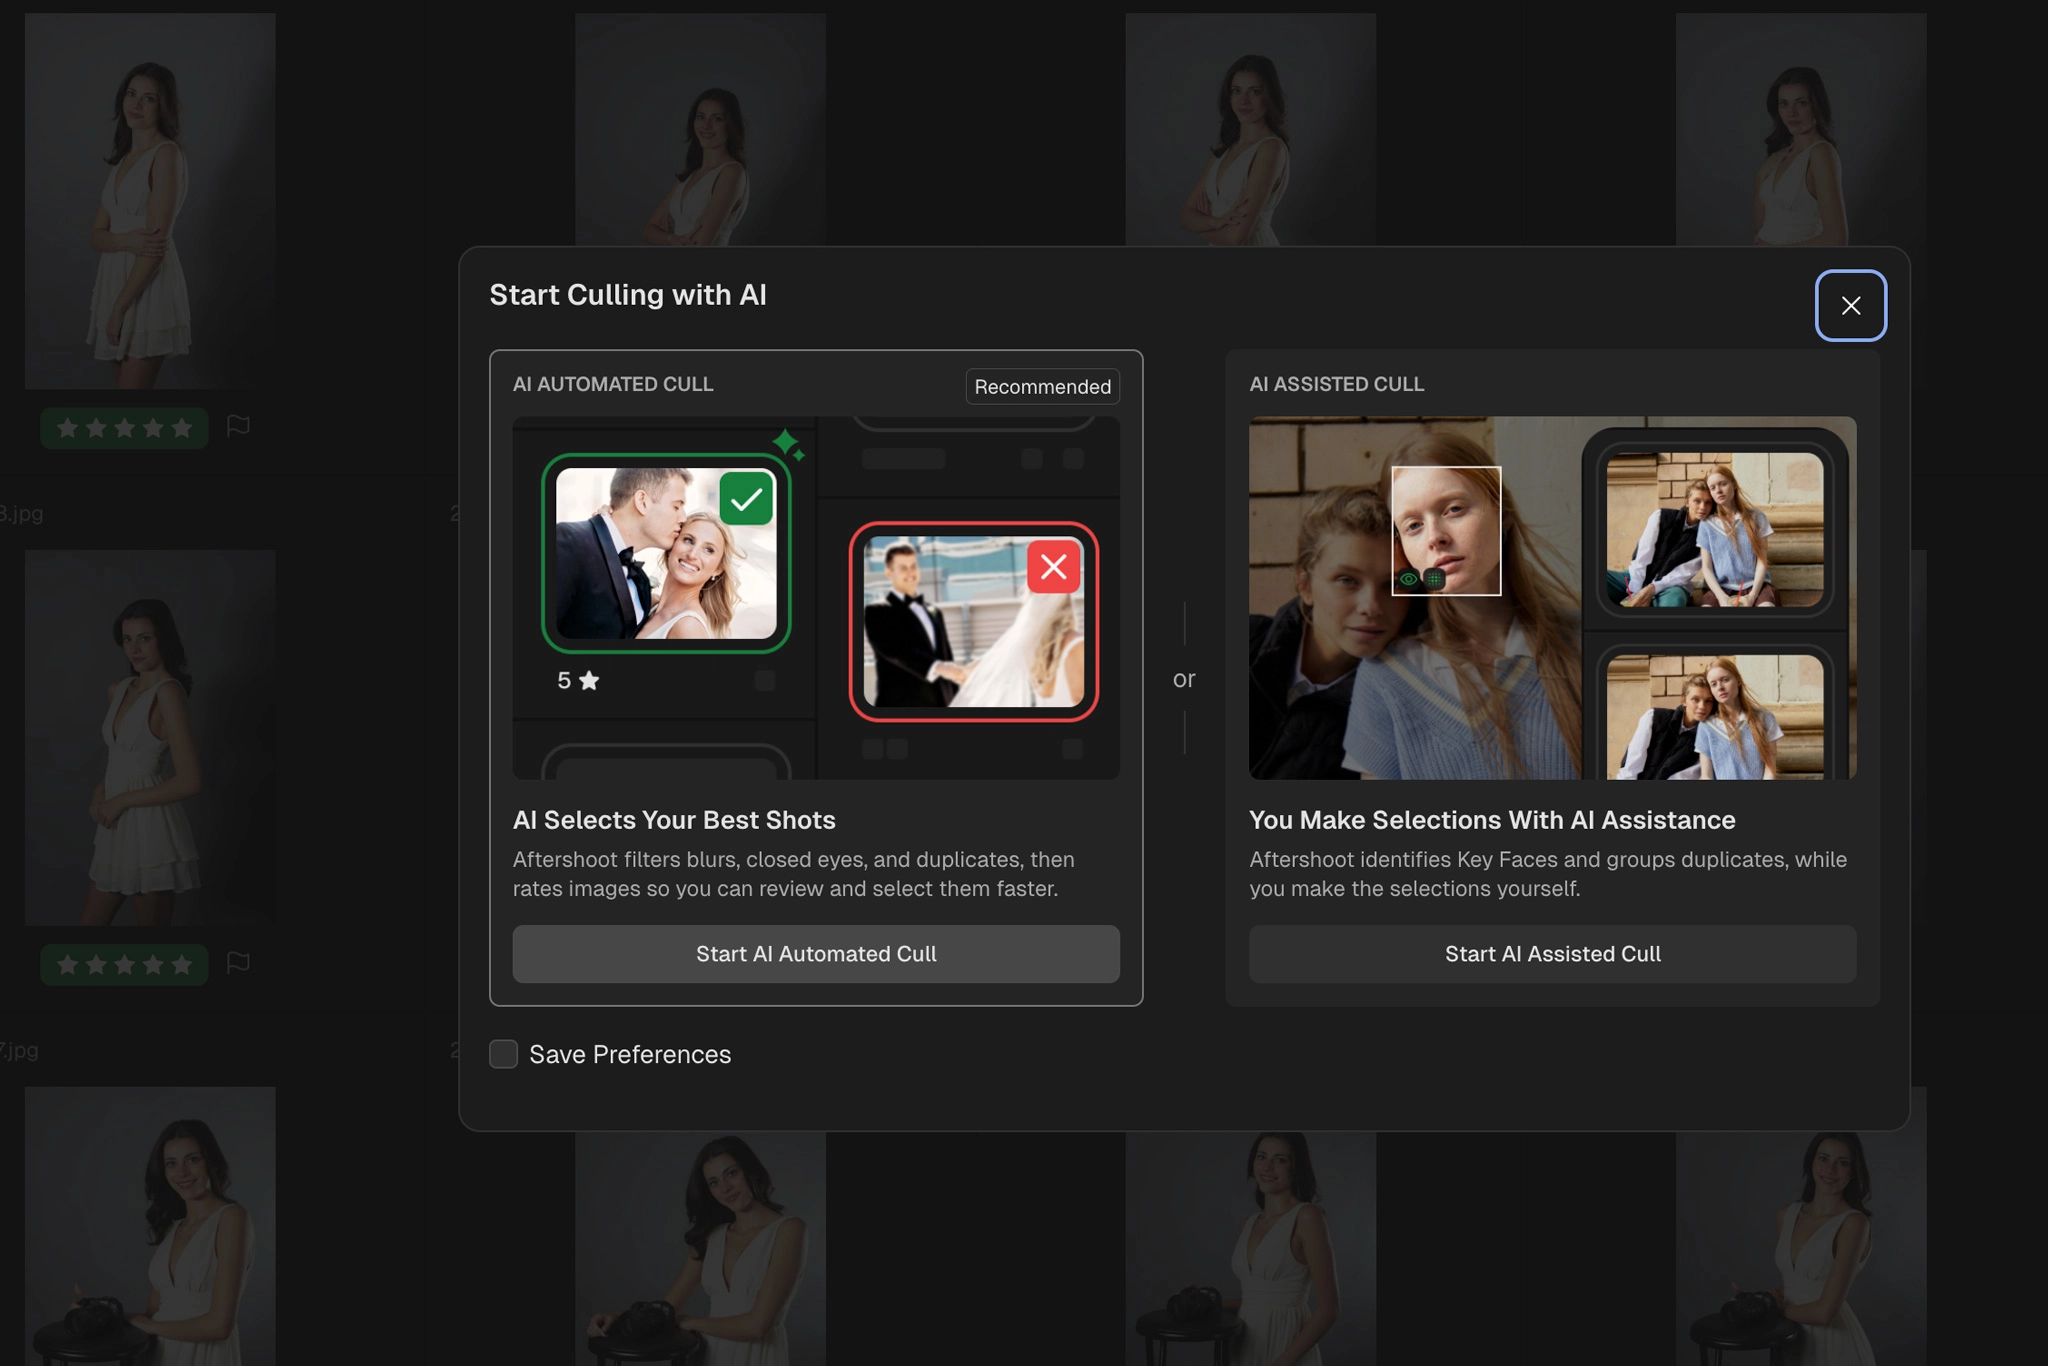
Aftershoot supports three culling workflows: AI automated, AI assisted, and manual mode.
- AI automated culling: Aftershoot performs the initial selection based on the shoot type and the preferences chosen by the photographer. It can group similar photographs, identify stronger images, and flag potential issues. The photographer then reviews the results and adjusts any selections that do not fit the gallery.
- AI assisted culling: AI Assisted Culling keeps the photographer in control of every selection. Aftershoot provides tools such as duplicate grouping, Key Faces, and Image Scores, but the photographer decides which images receive flags, ratings, or color labels.
- Manual culling: Manual culling allows the photographer to review and select every image without relying on AI recommendations. Aftershoot still provides a fast, organized workspace for comparing photographs, assigning ratings, and narrowing down the gallery.
Using Aftershoot to cull your galleries makes sense if you:
- Return from shoots with hundreds or thousands of files
- Use burst shooting for events, action, portraits, or changing expressions
- Spend too much time comparing near-duplicate images
- Want to maintain creative control while receiving AI assistance
- Already use, or plan to use, Aftershoot for editing and retouching
If this sounds like your workflow, use promo code CLICKWITHSAL15 to save 15% on your Aftershoot purchase.
Want to explore the full workflow before deciding? Visit our complete Aftershoot resource hub for hands-on reviews, comparisons, and feature breakdowns.
What is Culling in Photography FAQs
Culling determines which photographs will be kept. Editing happens afterward and changes how the selected images look through adjustments such as exposure, color, cropping, and retouching.
There is no universal percentage of photographs you should keep after culling. The final number should depend on the shoot, agreed deliverables, visual variety, and whether each selected photograph contributes something useful to the final body of work.
No. An unculled shoot can include missed focus, test exposures, closed eyes, duplicate frames, and photographs that do not represent the photographer’s intended final standard. Client proofs should already have passed an initial photographer cull.
AI culling can reduce repetitive work by grouping similar images and identifying issues such as blur, closed eyes, and duplicate frames. The photographer should still review the selection.
AI photo culling software makes the most sense for photographers who regularly work with hundreds or thousands of images.
Key Takeaways
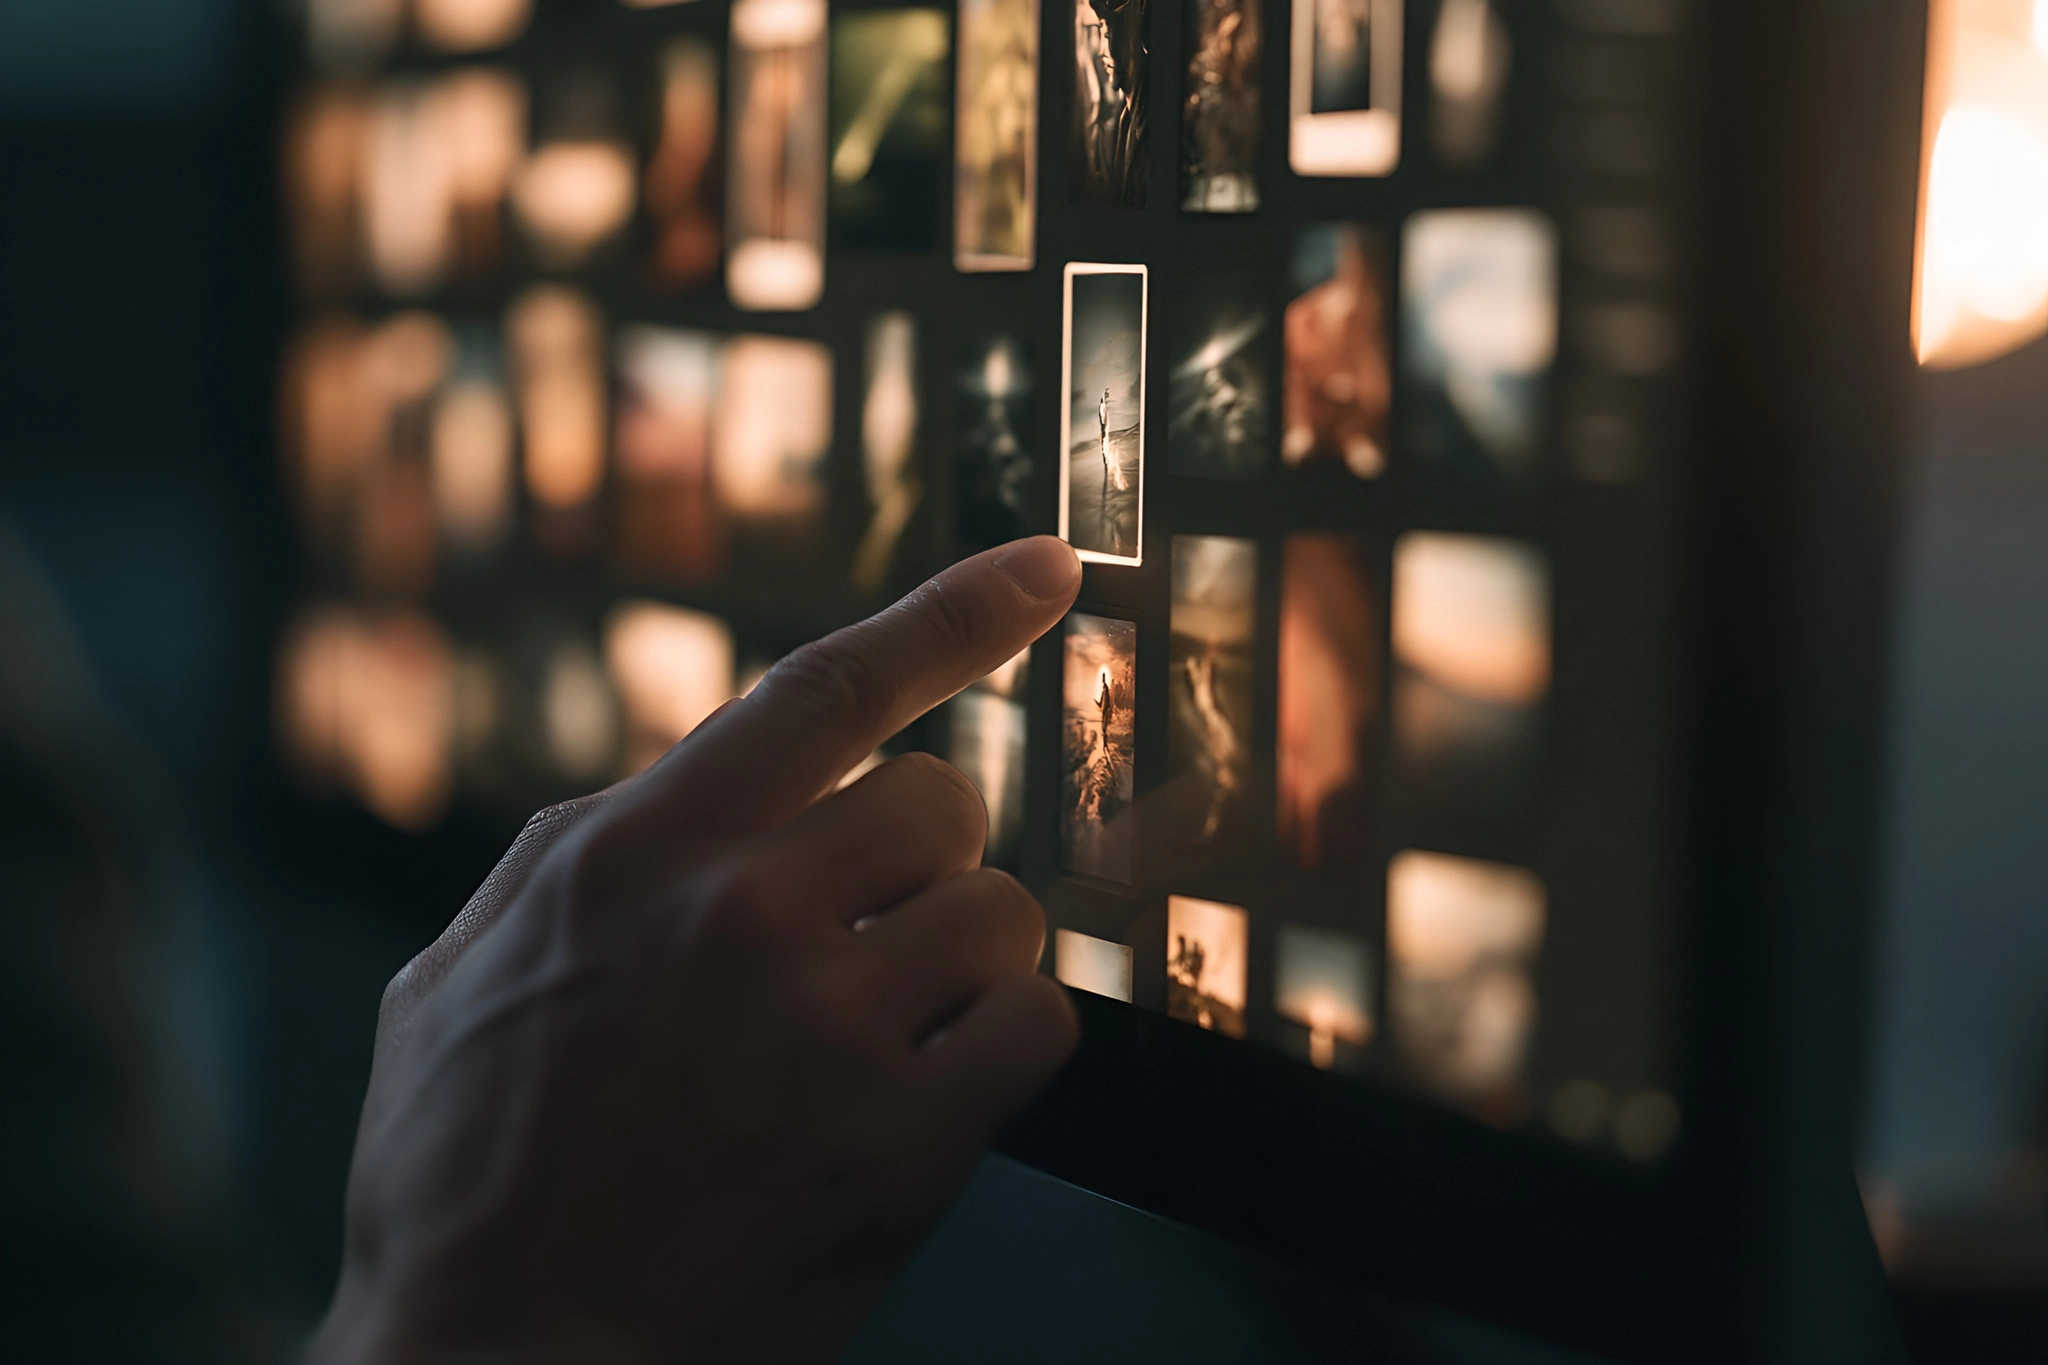
- Culling happens before editing. It determines which photographs move forward rather than how those photographs will ultimately look
- Good culling removes repetition as well as mistakes
- AI photo culling can identify duplicates and technical problems quickly, while the photographer remains responsible for creative decisions
- Aftershoot is most useful for high-volume workflows where duplicate comparison and repetitive selections consume significant time
Affiliate Disclosure: Some links or promo codes in this article may earn us a commission if you buy through them, at no extra cost to you. That does not change our opinion. We recommend tools based on whether they actually fit the workflow.










Leave a Reply