Between thumbnails, sliders, and carousels, before and after editing photos are everywhere. Most of the time, they only show the contrast between the original image and the final result, but rarely explain the thinking, technique, and intent behind it. Stick with this article, because we break down what actually happens between the before and the after, and the decisions that must be made to create visuals people remember.
What “Before” Really Means (And What It Doesn’t)

In professional photography, the before image is not a mistake. It is crucial to understand that if your before image is weak, your after image will be limited. Approach your before image and editing with intention, not to fix mistakes, but to amplify your vision. Here are some actionable tips for your RAW (yes, shoot in RAW) SOOC (straight out of camera) photos:
- Your before image can be slightly underexposed to protect highlights. Blown highlights (overexposed) are gone forever, while shadows are recoverable.
- White balance and light modifiers should be set intentionally.
- Composition, lens choice, and light direction should already be locked in.
As mentioned above, shooting RAW is non-negotiable because RAW files preserve:
- Highlight detail
- Shadow information
- Color depth
- Dynamic range
The Editing Process

The first stage of the after image is where mood is set, achieved through global adjustments:
- Exposure refinement
- Contrast shaping
- White balance correction
- Color tone alignment with the creative direction
In this first stage, you can apply presets as a starting point, because light, skin tone, and environments are never identical. Once the mood is established, it is time to move on to local adjustments:
- Brightening faces subtly
- Deepening skies or backgrounds
- Adding contrasts or highlights where the attention should land
- Softening harsh transitions
Once we have our global and local adjustments in place, we can start cleaning the frame by removing unwanted distractions such as objects or sensor dust. This step is a discipline that elevates your compositions. Some elements may be barely noticeable to the casual eye, but as a serious photographer, attention to detail is what separates a high-level edit from an average one.


For certain edits, when we want to amplify depth, we can use controlled enhancements such as bokeh, flares, atmospheric haze, and overlays. It is important not to overuse these effects, but to apply them with precision and taste.
Bonus for readers: Luminar Neo makes it easy to create controlled effects that elevate your images without overdoing them. For photographers who want a head start, the Luminar Neo Essential Presets Bundle (coupon code SAL for 10% off) provides curated looks that save hours while maintaining full creative control. These Luminar Neo presets are designed to complement your editing workflow and amplify the mood of each shot.

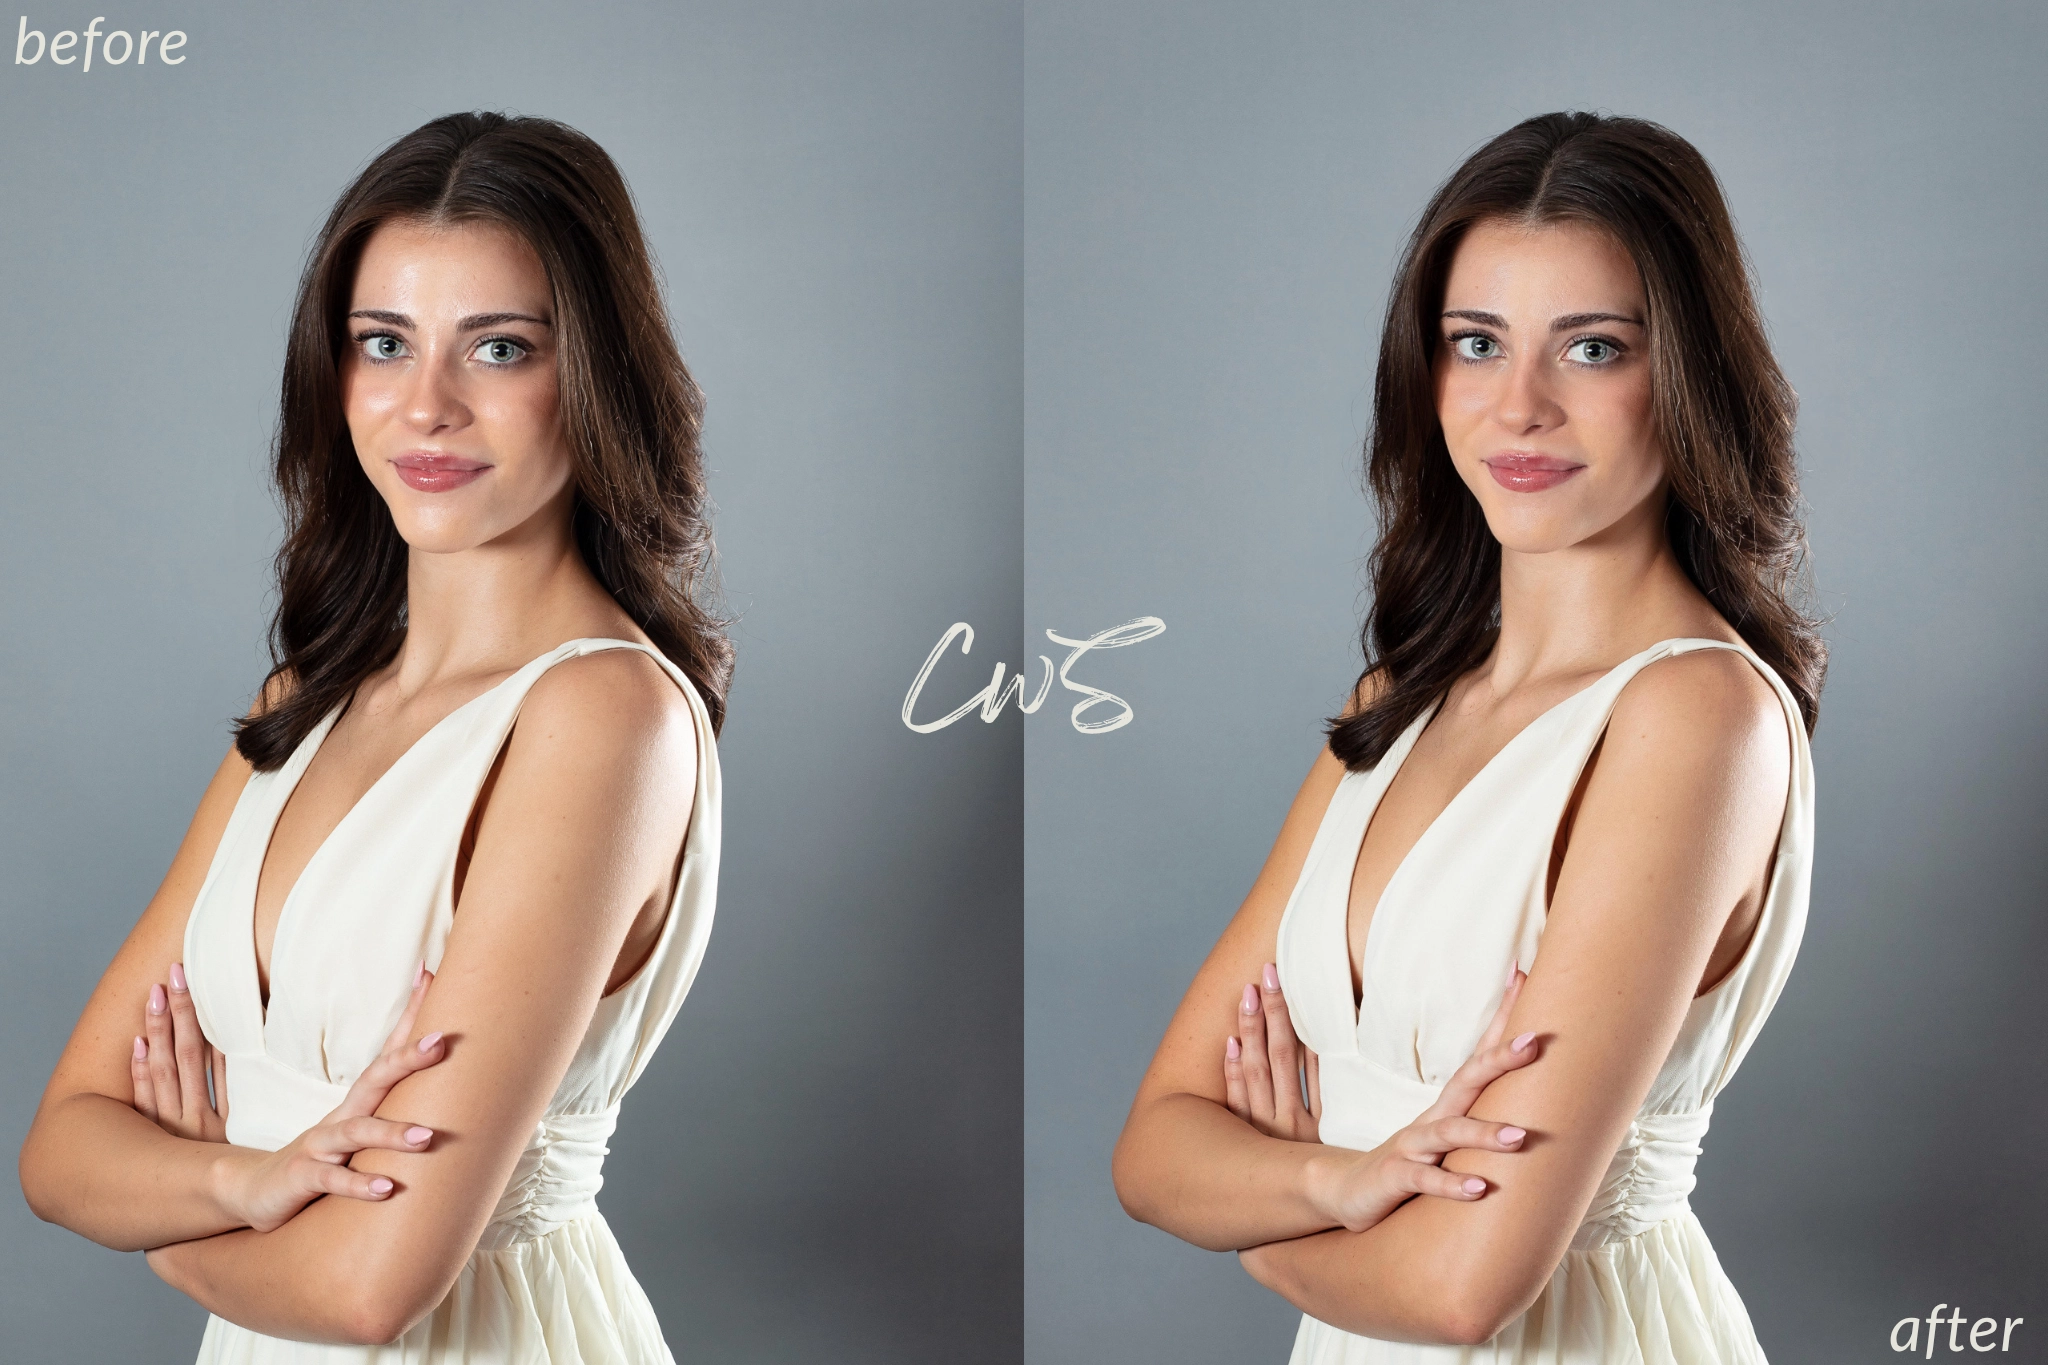
With advanced editing tools like Skylum Aperty and Luminar Neo, which we use for beauty and artistic retouching, the discussion around edited model photos before and after often touches on ethics and reality. Considering that lenses can subtly alter appearances, for us, slight refinements to the body or face are acceptable as long as they respect the subject’s natural structure and identity.
For photographers focusing on portrait and beauty retouching, the Aperty Masterclass from Clever Photographer (coupon code SAL for 10% off) offers practical exercises and workflow strategies that ensure subtle, identity-respecting edits.
Best Photo Editing Tools We’ve Tested
Check out the top editing tools we actually use and the best AI tools in 2026. Discover why we recommend them for tasks like raw control, color science, and achieving precision and efficiency.
If you’re scaling and considering photo editing outsourcing, we offer advanced services for photographers and brands that want finishes with clear intent and distinctive style. Get in touch to see how we can collaborate.
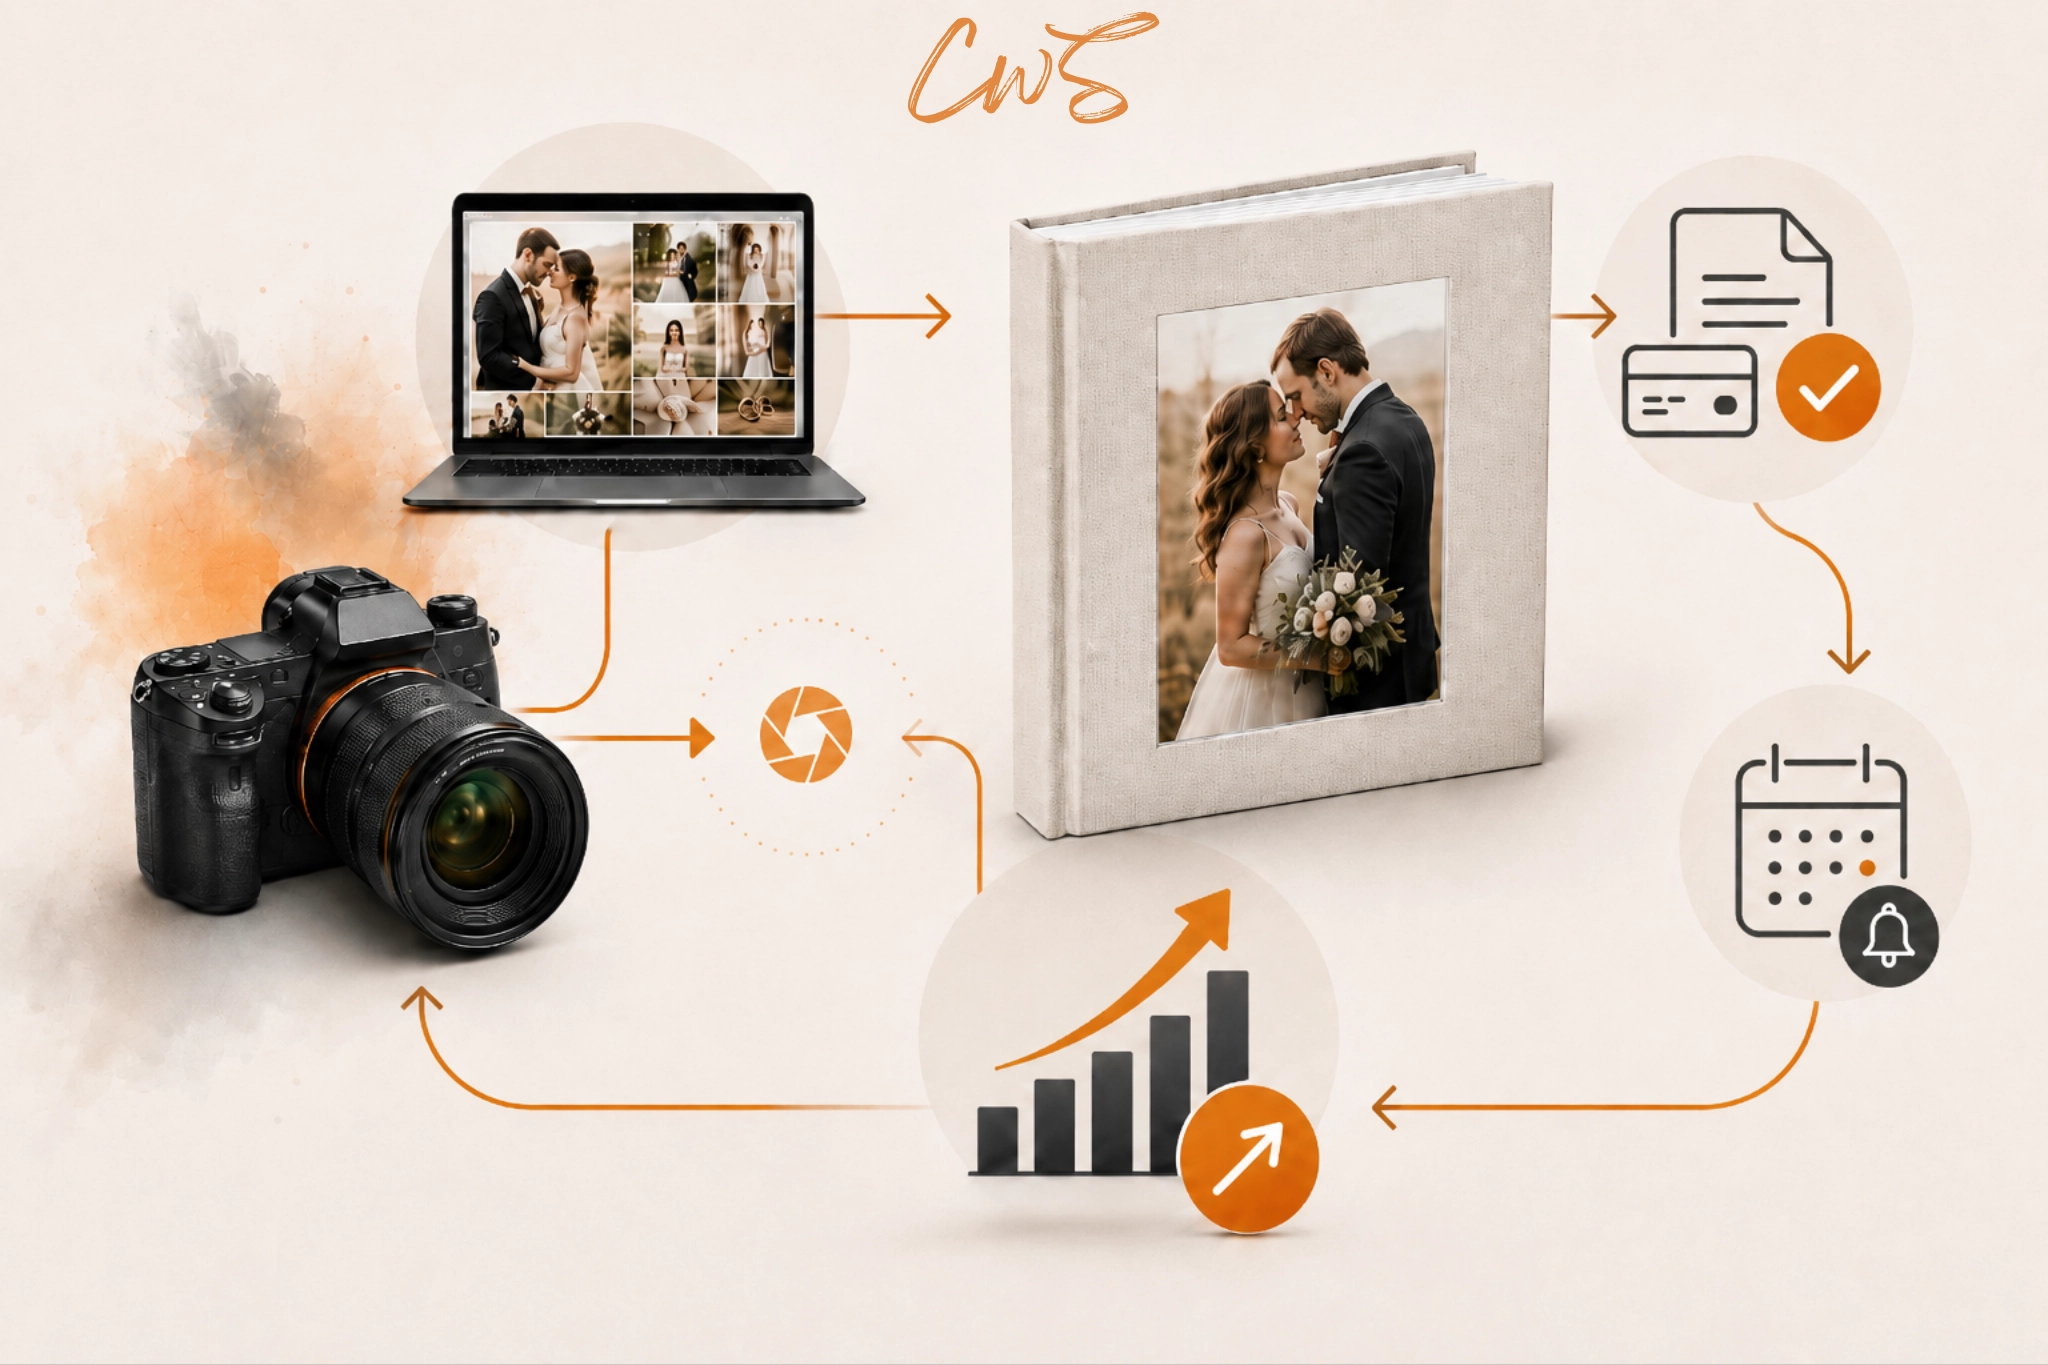
Why Clients Pay More When They See Before & After


Here is a valuable recommendation for photographers selling their photo sessions. Make sure your clients understand the entire process you offer, from shoot day to post-processing. They should also know the difference between basic photo editing and advanced retouching. Educating them on these aspects of your work allows you to stop competing solely on price and position yourself as a professional worth investing in.
Final Takeaways
- Before and after in professional photography is about goals and decisions.
- Strong images begin with intentional capture.
- Presets and editing workflows are tools, not quick fixes.
- Editing bodies and faces is ethical when subtle and identity-respecting.
- Sharing before and after photos with clients is educational and can support your business.


Leave a Reply