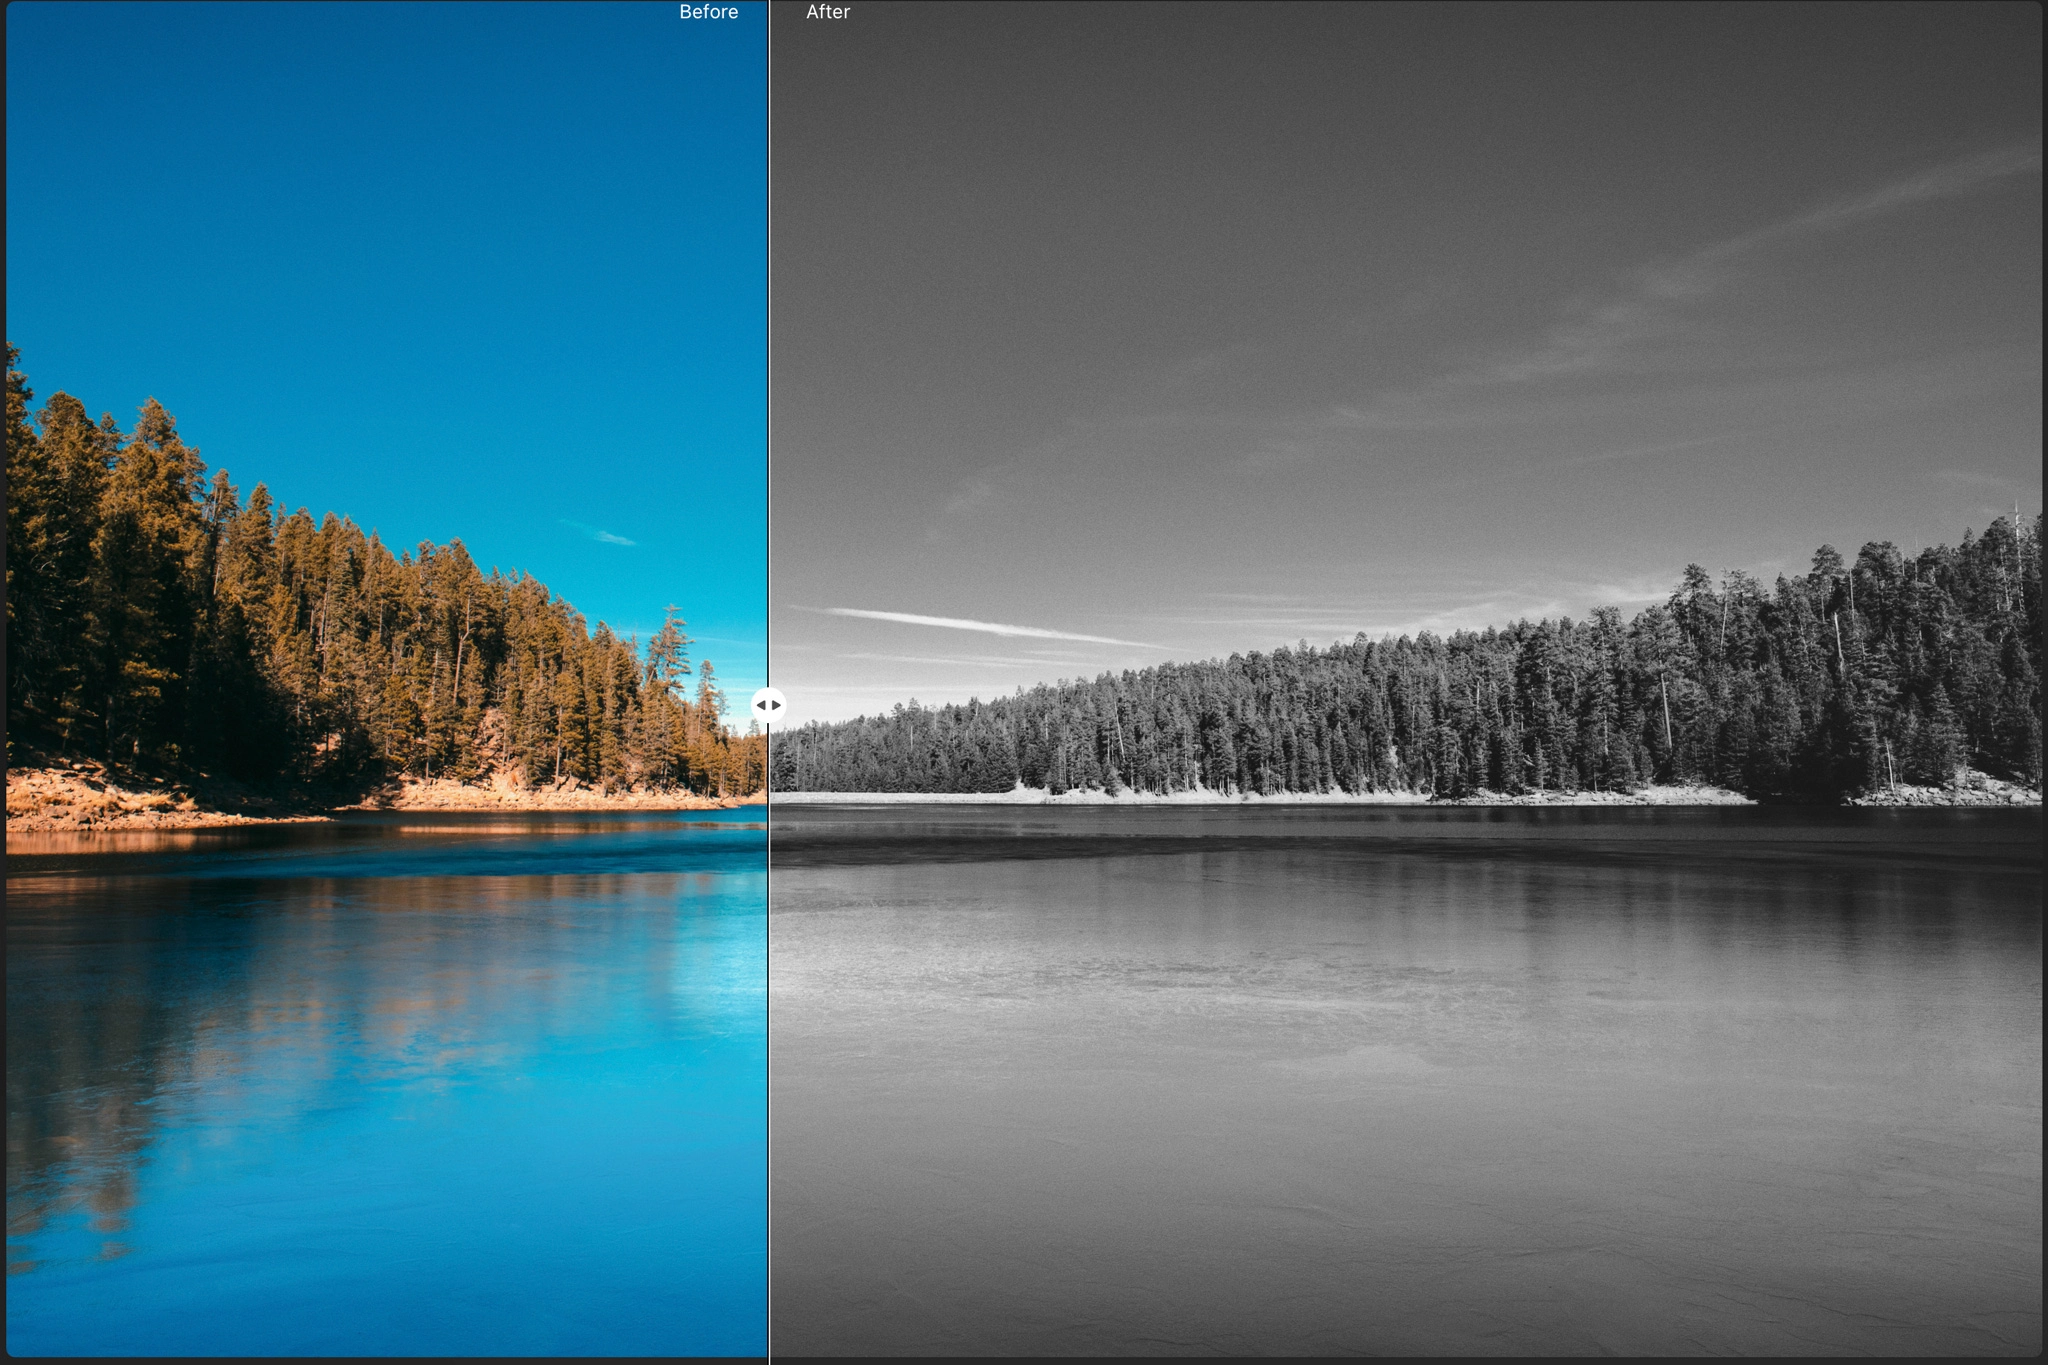
Learning how to mask in Luminar Neo is the difference between a decent edit and a controlled one. Masking is where control lives. You shape the image without leaving visible traces. The edit becomes stronger, but it stays invisible.
Luminar Neo’s masking system is powerful. We tested the latest version, and here is the short answer. Open any tool, go to the Mask tab, and choose a mask type such as Brush, Gradient, AI, or Luminosity. Apply your effect, then refine it using Show, Erase, Invert, or Feather. Now let’s move into the full breakdown.
Bonus for readers: Check out the Clever Photographer Luminar Neo Power Bundle. It includes 986 premium elements such as skies, overlays, textures, backgrounds, sky objects, working layers, LUTs, and presets. Each asset is built to push creativity, cut down editing time, and elevate your final image. These are some of the elements we use before applying selective masking to shape the final look with precision. Use code SAL for 10% off.
What Masking Actually Does in Luminar Neo
Masking lets you apply adjustments to specific parts of your image instead of the whole frame. Inside Luminar Neo, every tool has a mask tab, which means:
- You can control where the effect appears
- You can stack multiple masks across tools
- You can combine AI + manual precision
In real photo editing terms, this means:
- You darken skies without crushing your foreground
- You add contrast only where it matters
- You guide the viewer’s eye instead of letting the image drift
The Masking Workflow

Now, we’ll list all mask types in Luminar Neo and when to use each one:
- Brush Mask: Paint exactly where the effect applies. Adjust softness and opacity to maintain realism. Use it when AI misses details or when you need tight control.
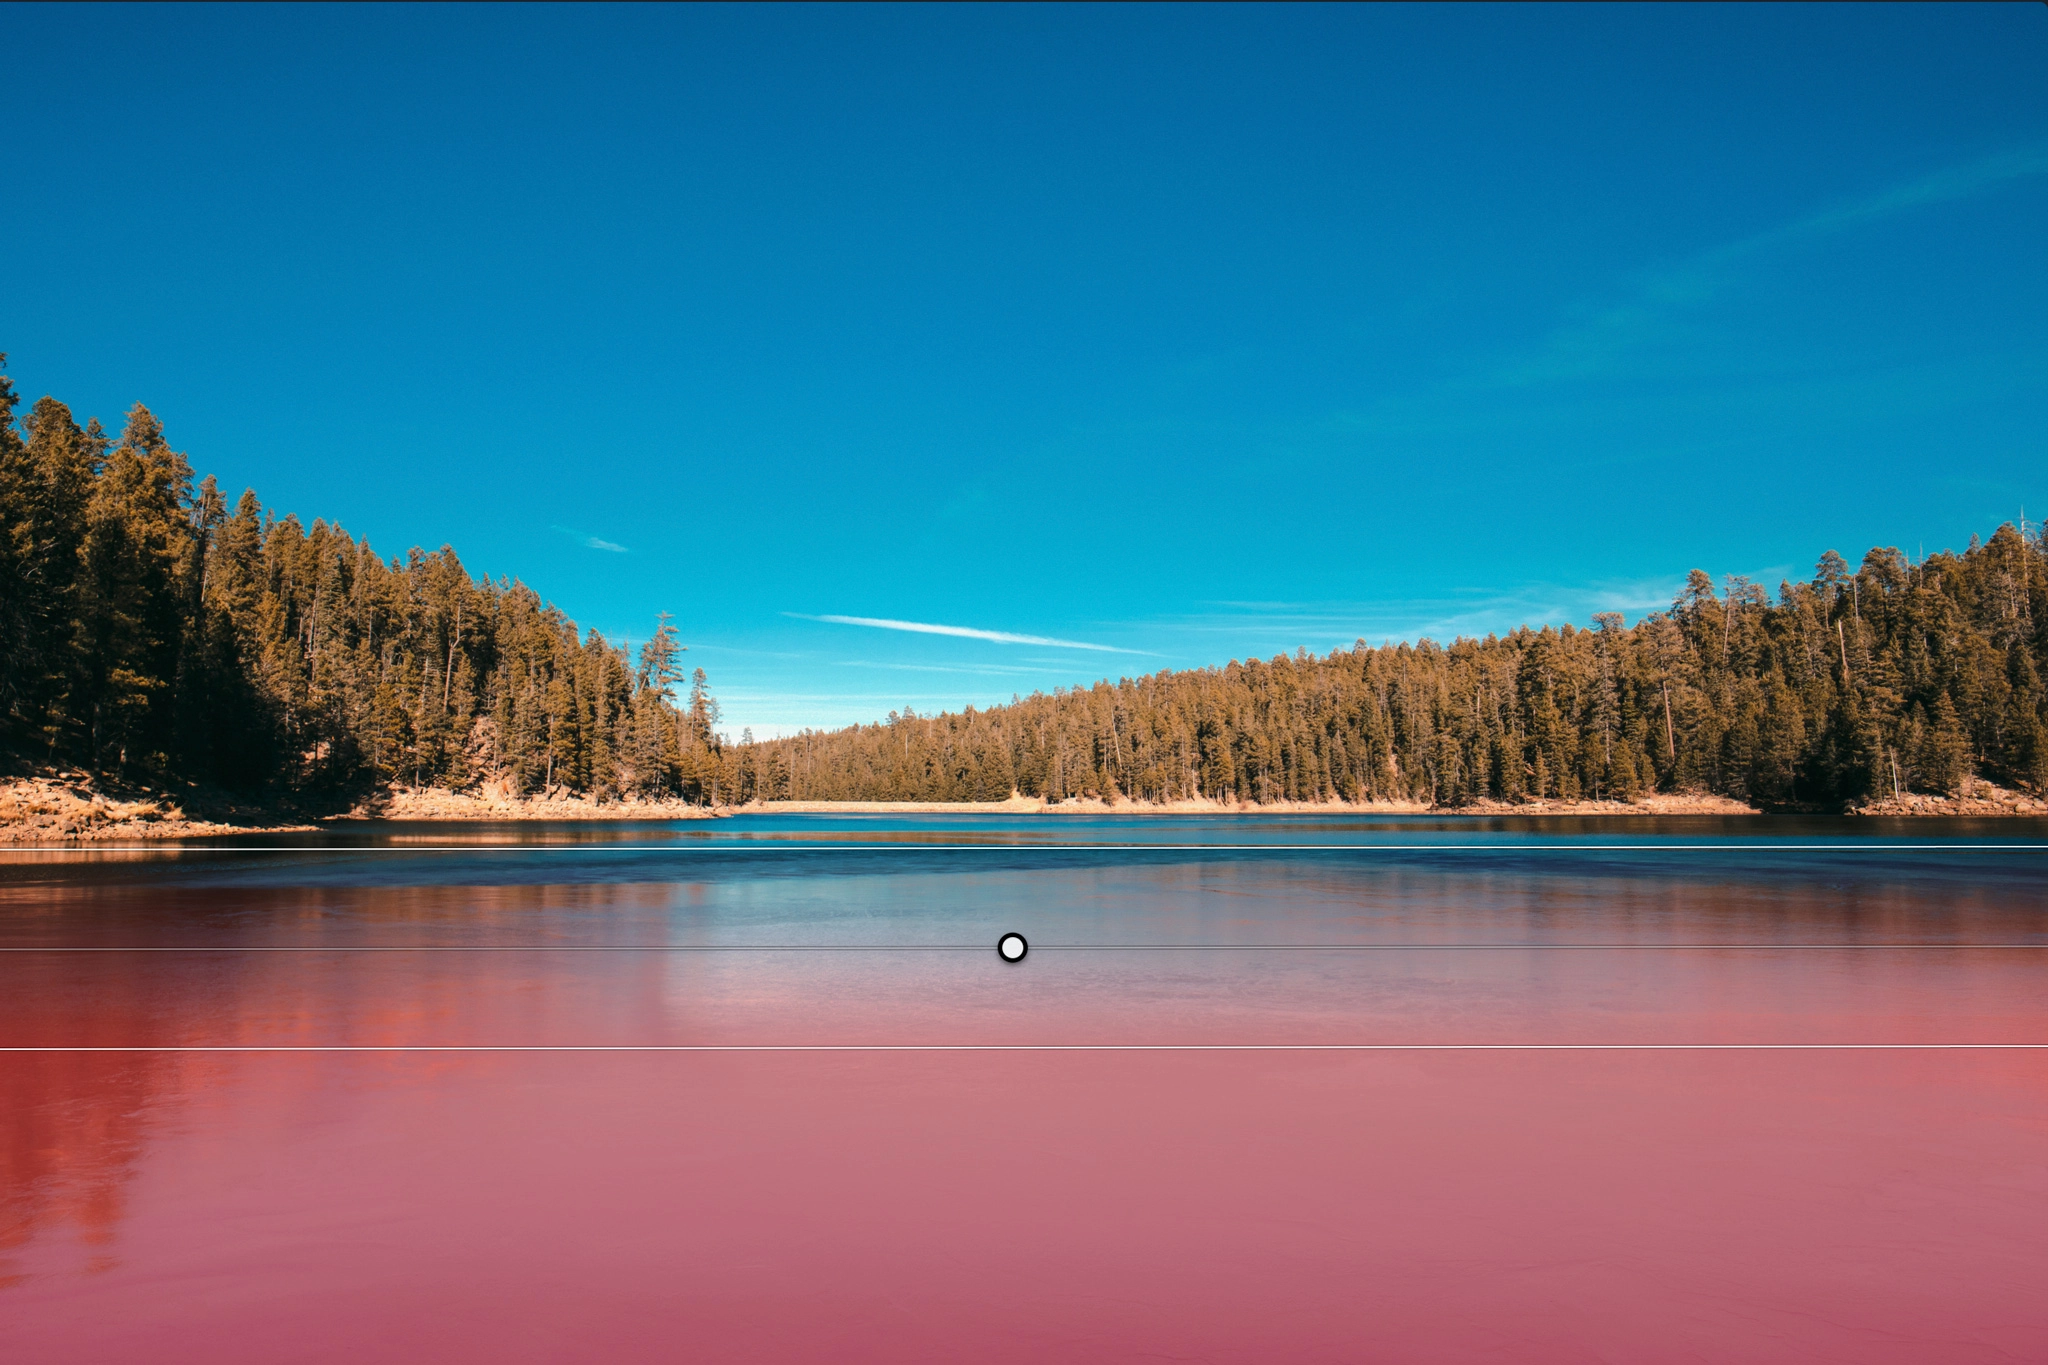
- Linear Gradient: Perfect for skies, horizons, and any directional light falloff. Use it when balancing exposure from top to bottom.
- Radial Gradient: Do not overdo it. Use it subtly when you want to pull attention toward the subject or add a vignette.
- Luminosity Mask: Targets highlights, midtones, and shadows. Use it when you want to recover detail selectively.
- AI Masking: Best for fast subject isolation or high-volume editing. Use AI masking as a starting point, then refine manually for precise detail.
What’s New in Luminar Neo 1.27
With the Spring 2026 update, masking in Luminar Neo adds more realistic masking, improved feathering, and a broader Bokeh AI workflow. We have already tested the new Luminar Neo version. If you are not yet a subscriber, visit our promotional page to unlock 10% off. Here are the key upgrades:
- Mask Feather: Smoother transitions, less edge artifacts.
- Bokeh AI: Now works on objects and scenes, not just portraits.
- Cross-Device Editing: Start masking on mobile, refine on desktop.
In portrait photography editing, Skin AI has received major upgrades with noticeable improvements in accuracy and detail. For Skylum’s portrait editing software, check out our Aperty review for a deeper breakdown of how it performs in real editing workflows.
Is the Luminar Neo Subscription Worth It?
Short and direct answer, yes, and here is why:
- The AI tools are built for speed. They remove repetitive editing tasks and let you focus on shaping the image instead of fighting sliders.
- The subscription model includes frequent updates. That matters because the software is actively evolving, with new features and refinements added regularly instead of being locked into a static version.
- It is part of a growing ecosystem. You are not just buying a tool, you are stepping into a platform that is continuously expanding in capabilities, integrations, and creative flexibility.
Another major advantage of Luminar Neo is its flexible pricing structure, typically offering either a monthly or yearly subscription, with a lifetime license option when available.
Luminar Neo is part of our daily editing toolkit, used both for standalone creative edits and as a plugin inside Lightroom. It consistently acts as a meaningful upgrade in the post-production process, especially when refining images with greater precision and control.
Finally, from experience, when it comes to masking in Luminar Neo, the key is avoiding common mistakes:
- Over-Masking: If everything is masked, nothing stands out.
- Hard Edges: Mask transitions should be invisible.
- Trusting AI blindly: Use AI as a starting point, then adjust if needed for a realistic final result.
Bonus for readers: for better edits, also read Luminar Neo Presets Best Bundles. These are a great starting point. Use them as a base, then refine with masking.
Masking in Luminar Neo FAQs
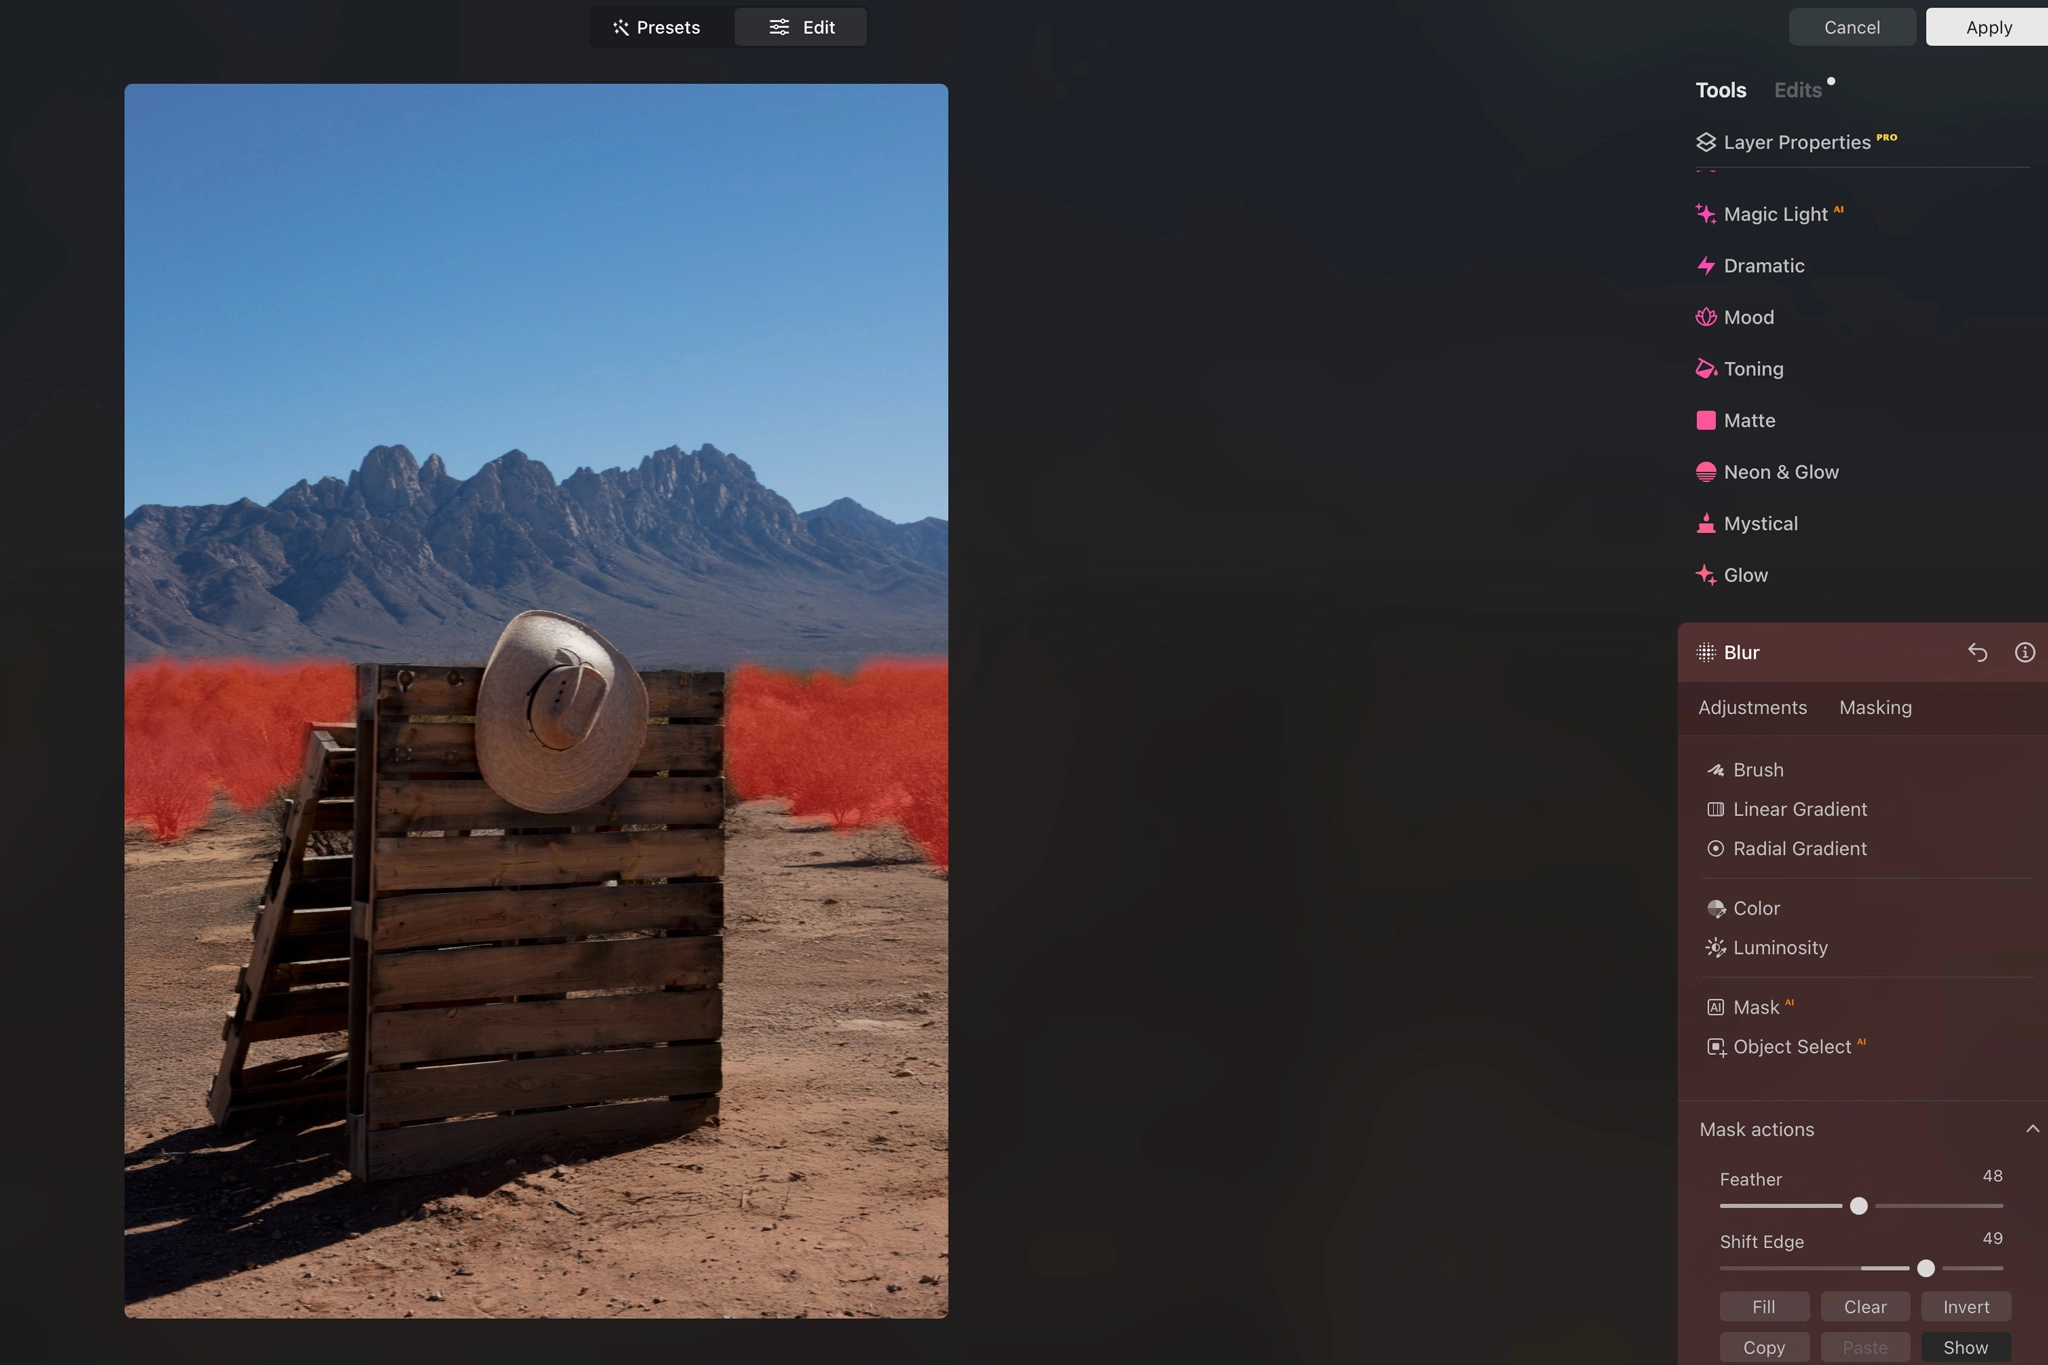
To mask in Luminar Neo, open an editing tool, go to the Mask tab, and choose the mask type you want to use. You can use Brush, Linear Gradient, Radial Gradient, Luminosity Mask, or AI Masking depending on the image.
The best mask type depends on the edit. Use Brush Mask for precise manual control, Linear Gradient for skies and horizons, Radial Gradient for subtle subject emphasis, Luminosity Mask for highlights and shadows, and AI Masking when you want Luminar Neo to quickly detect subjects or objects.
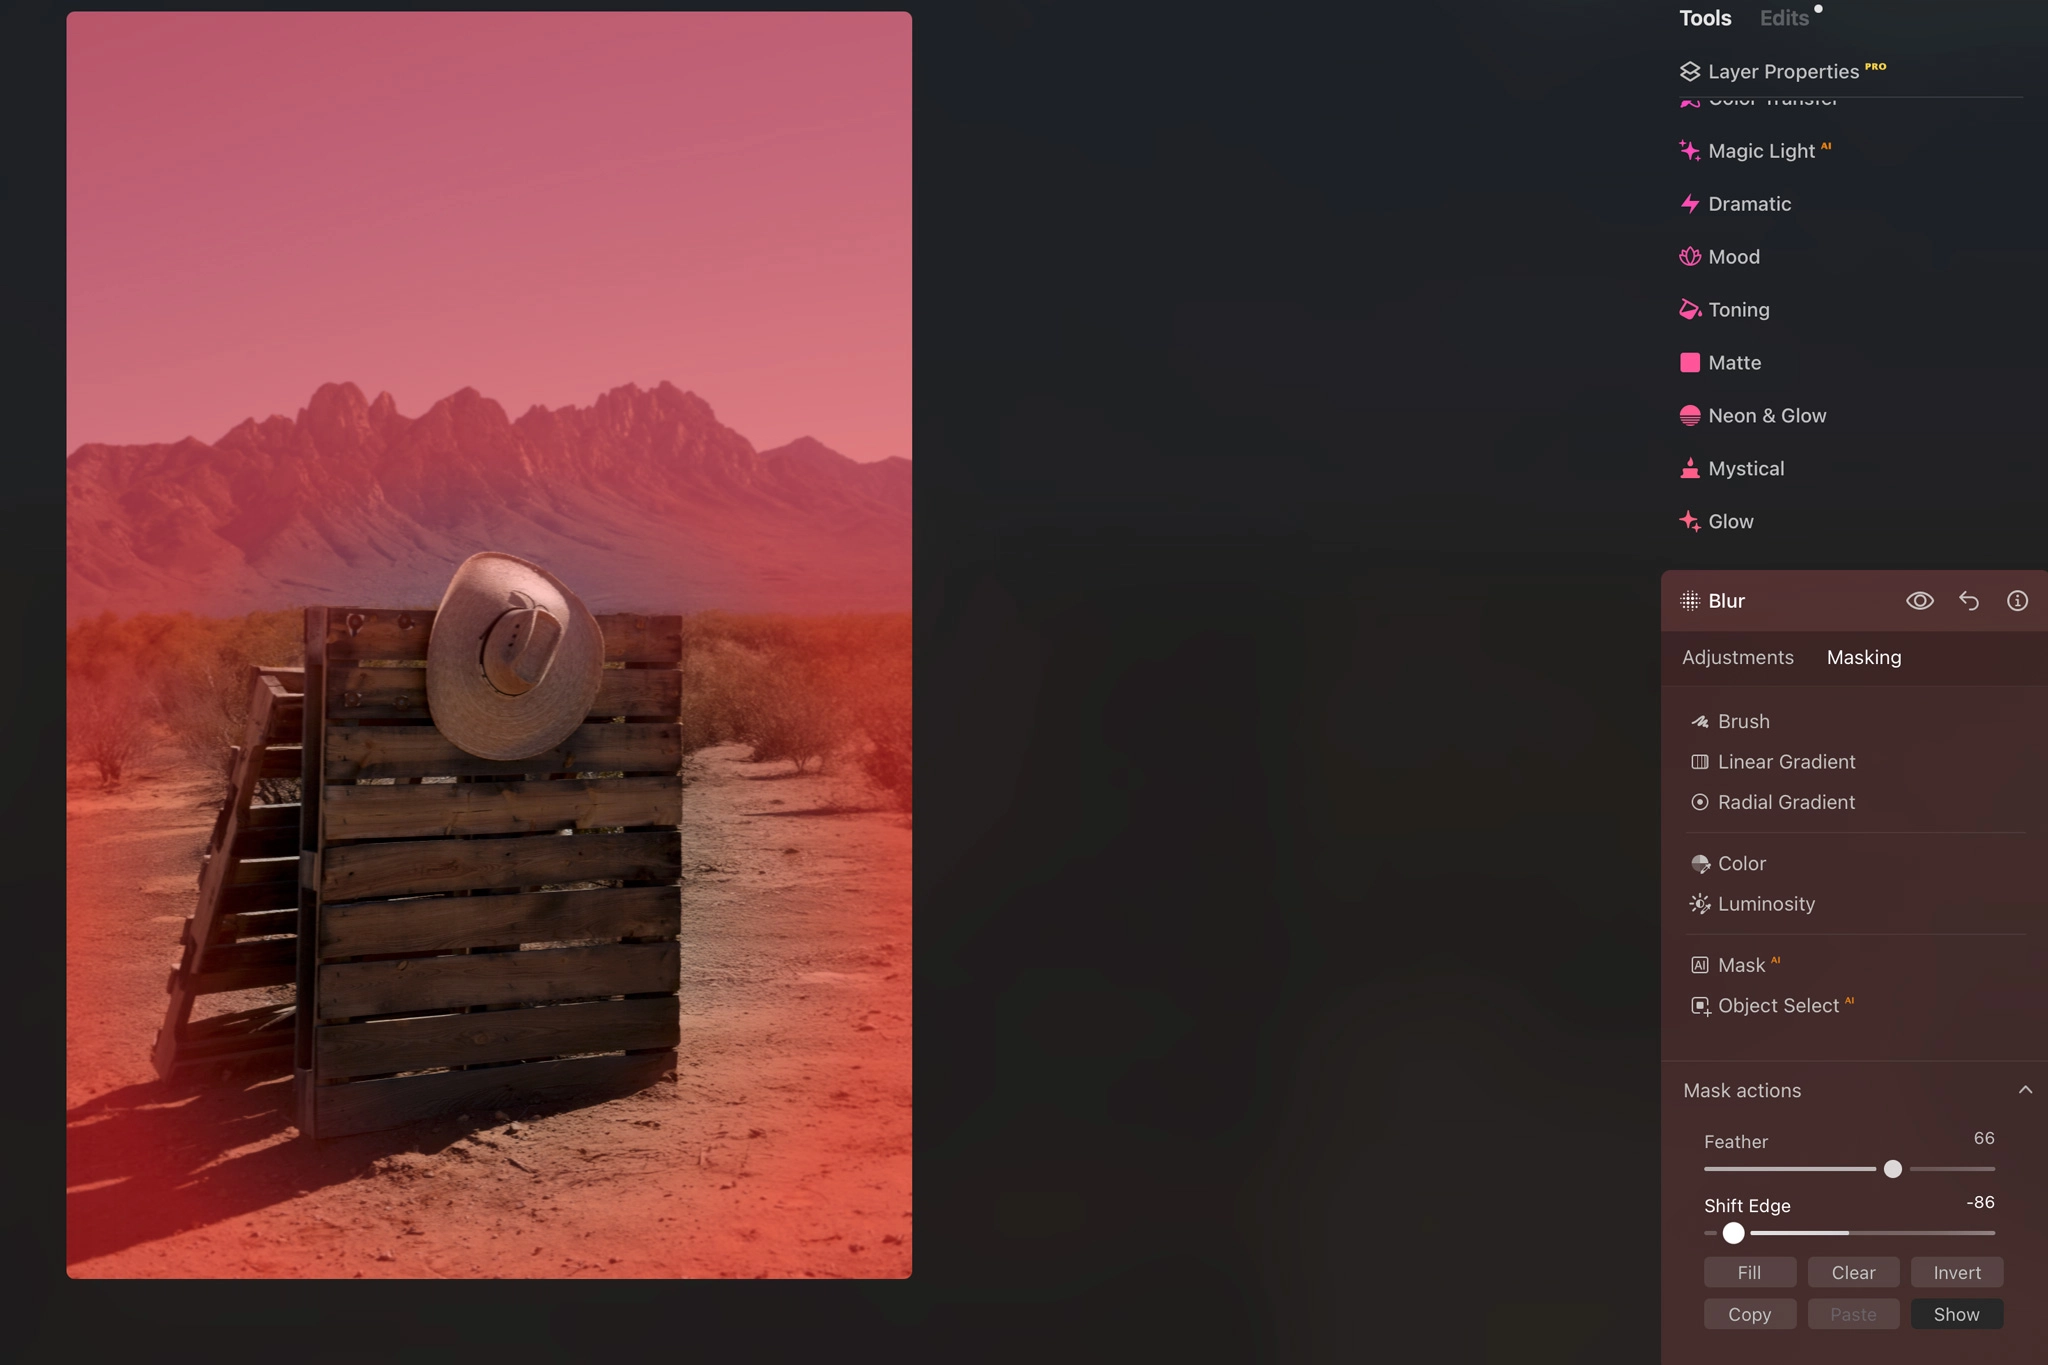
Mask feathering softens the edge of a mask so the adjustment blends more naturally into the image. This is important because hard mask edges can make edits look fake, especially around faces, skin, skies, and detailed transitions.
Yes. Inverting a mask reverses where the effect is applied. For example, if a mask is affecting the sky, inverting it can apply the effect to everything except the sky. This is useful when you want to target the opposite area without repainting the mask manually.
Yes. Luminar Neo is beginner-friendly because AI masking and gradient masks make selective editing easier. However, the strongest results usually come from combining AI selection with manual refinement, especially when working on portraits, skies, or detailed edges.
Key Takeaways

- Masking with Luminar Neo is the difference between amateur and controlled edits.
- AI speeds up selection, but manual refinement is mandatory.
- The 1.27 update improves realism and workflow speed.
- Presets work best when paired with masking.
Affiliate Disclosure: Some links or promo codes in this article may earn us a commission if you buy through them, at no extra cost to you. That does not change our opinion. We recommend tools based on whether they actually fit the workflow.


Leave a Reply